Cute cups

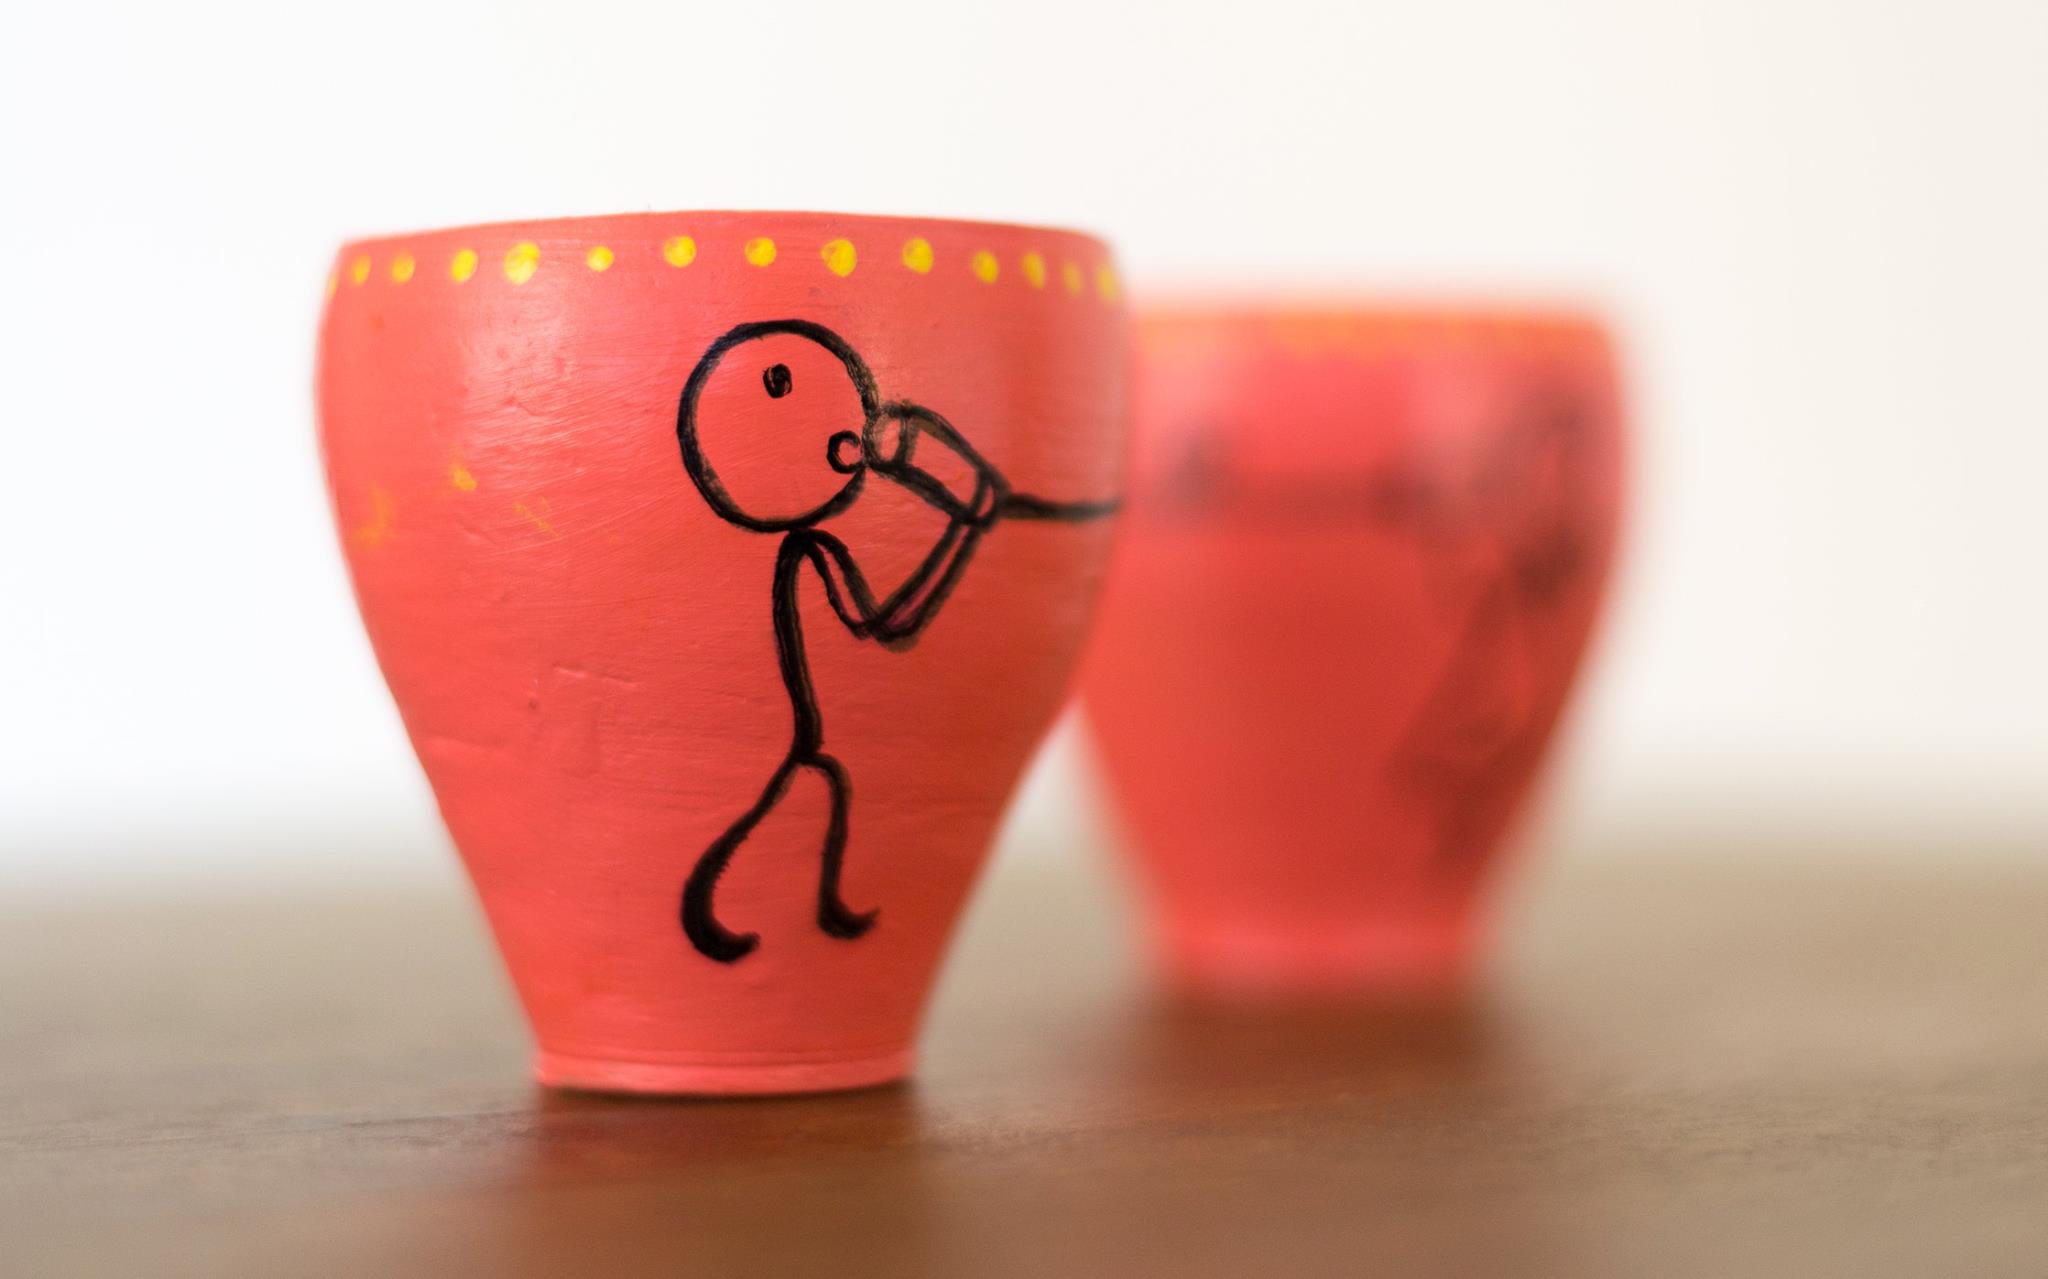
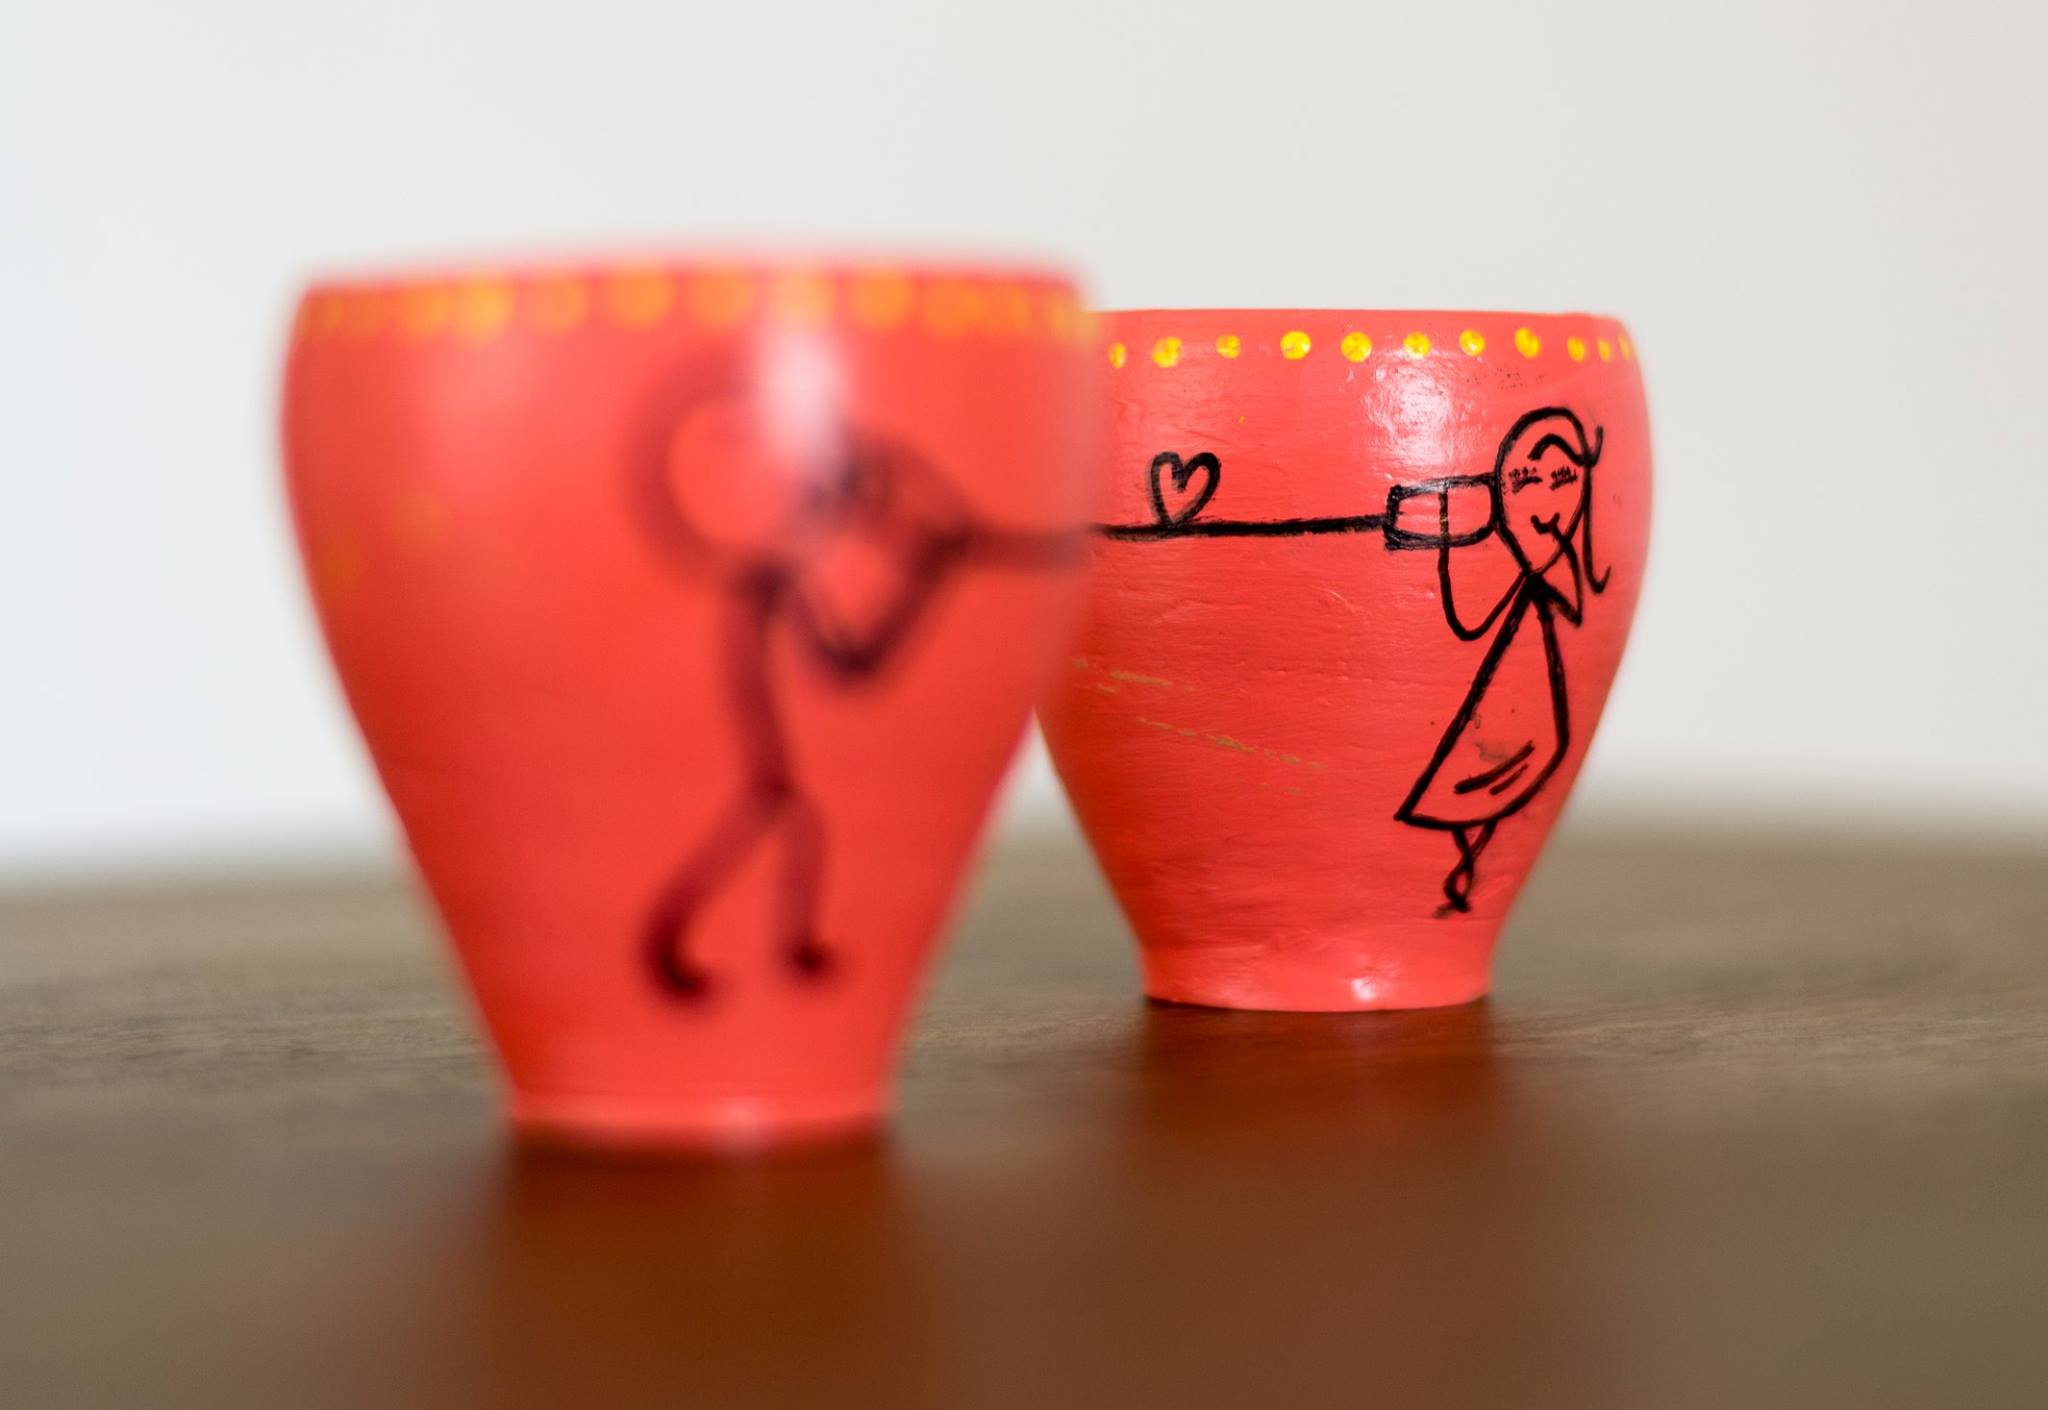
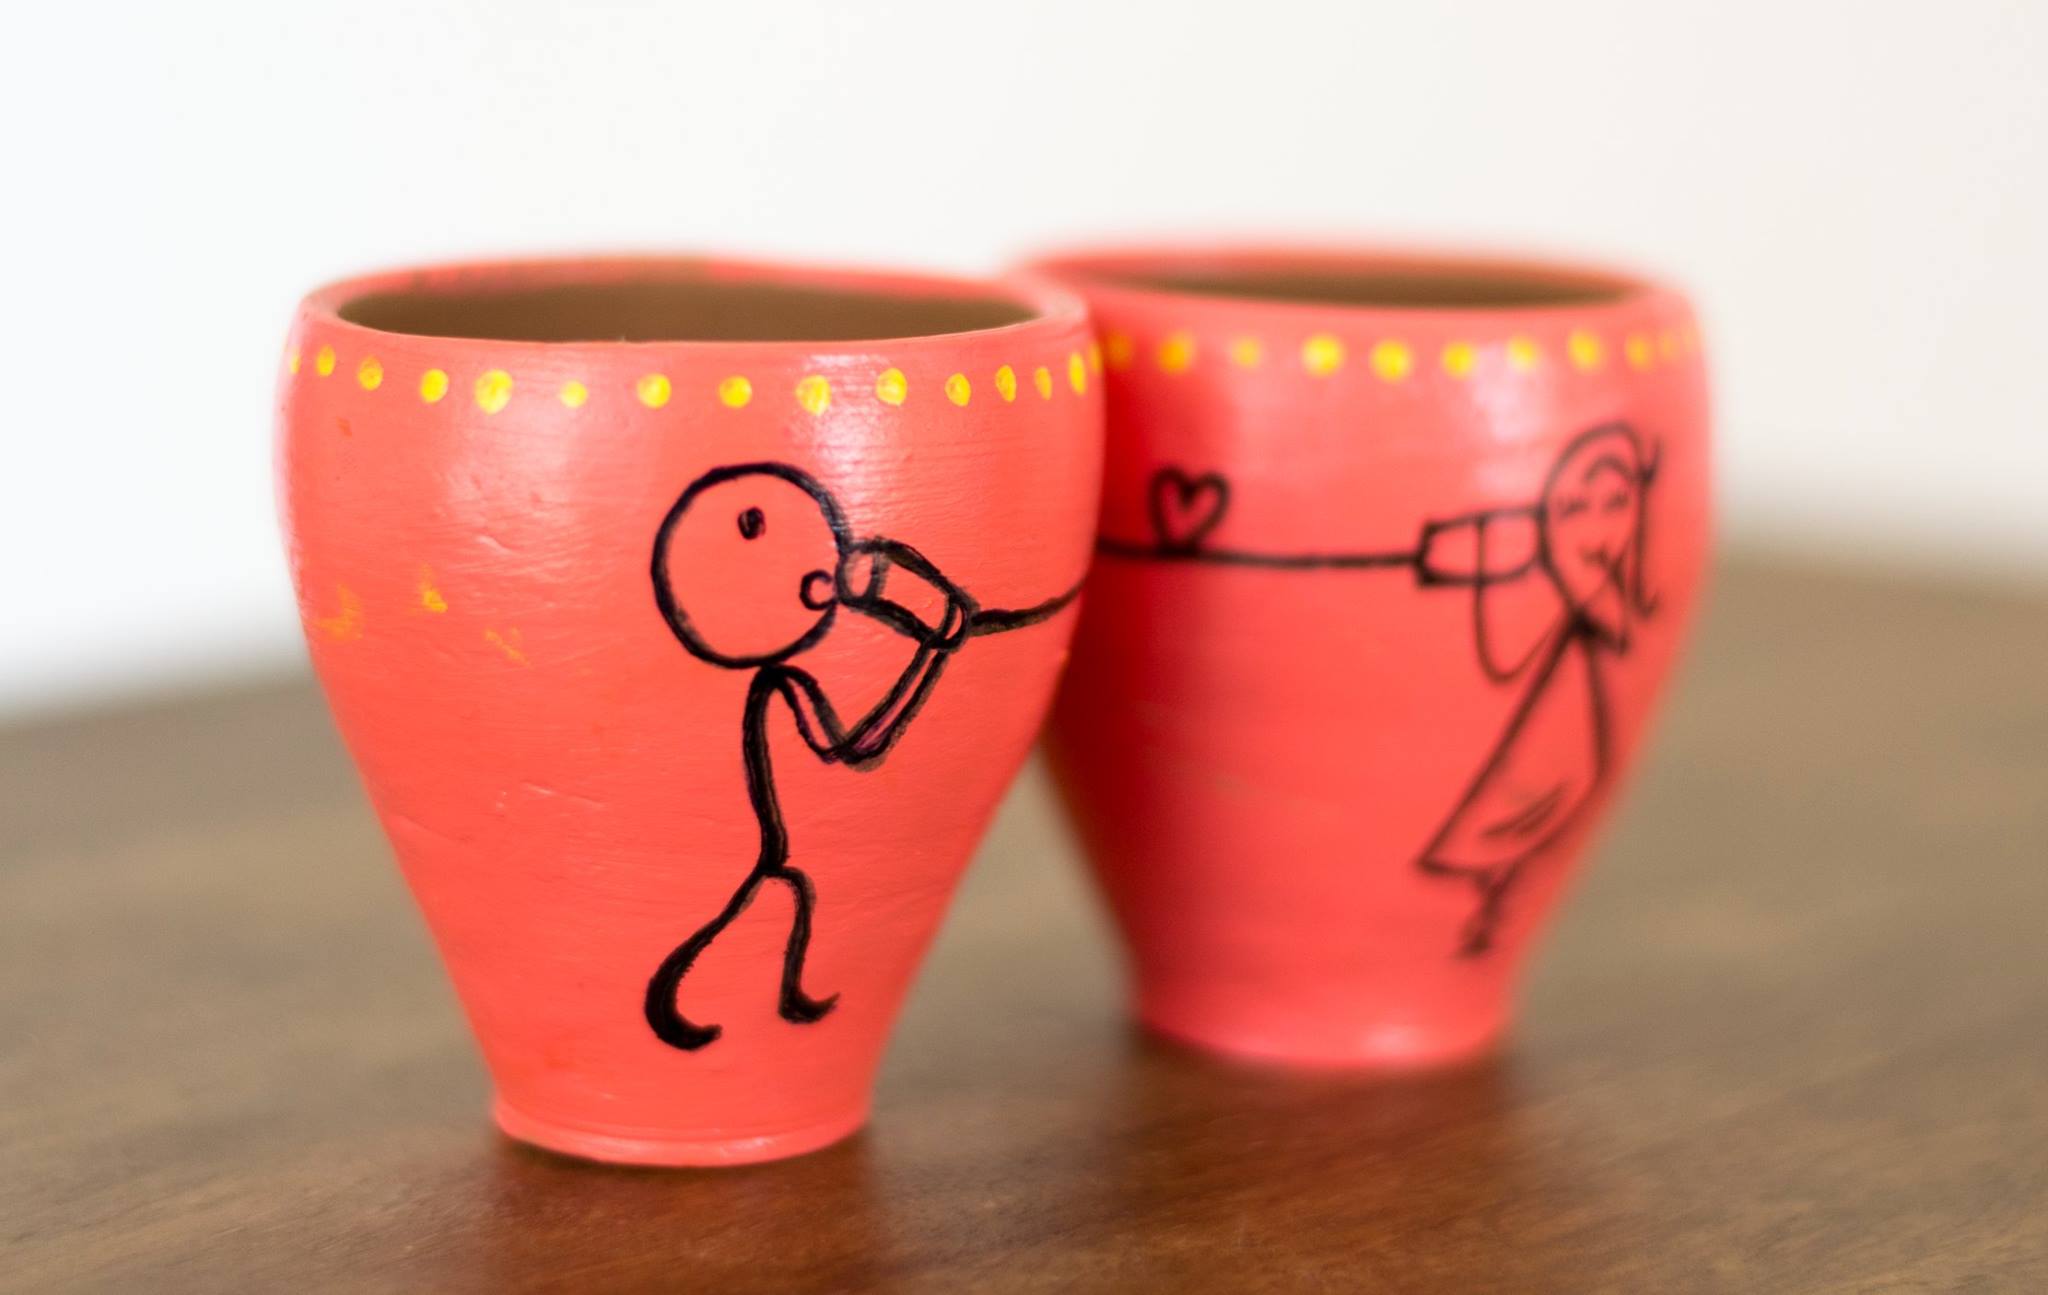
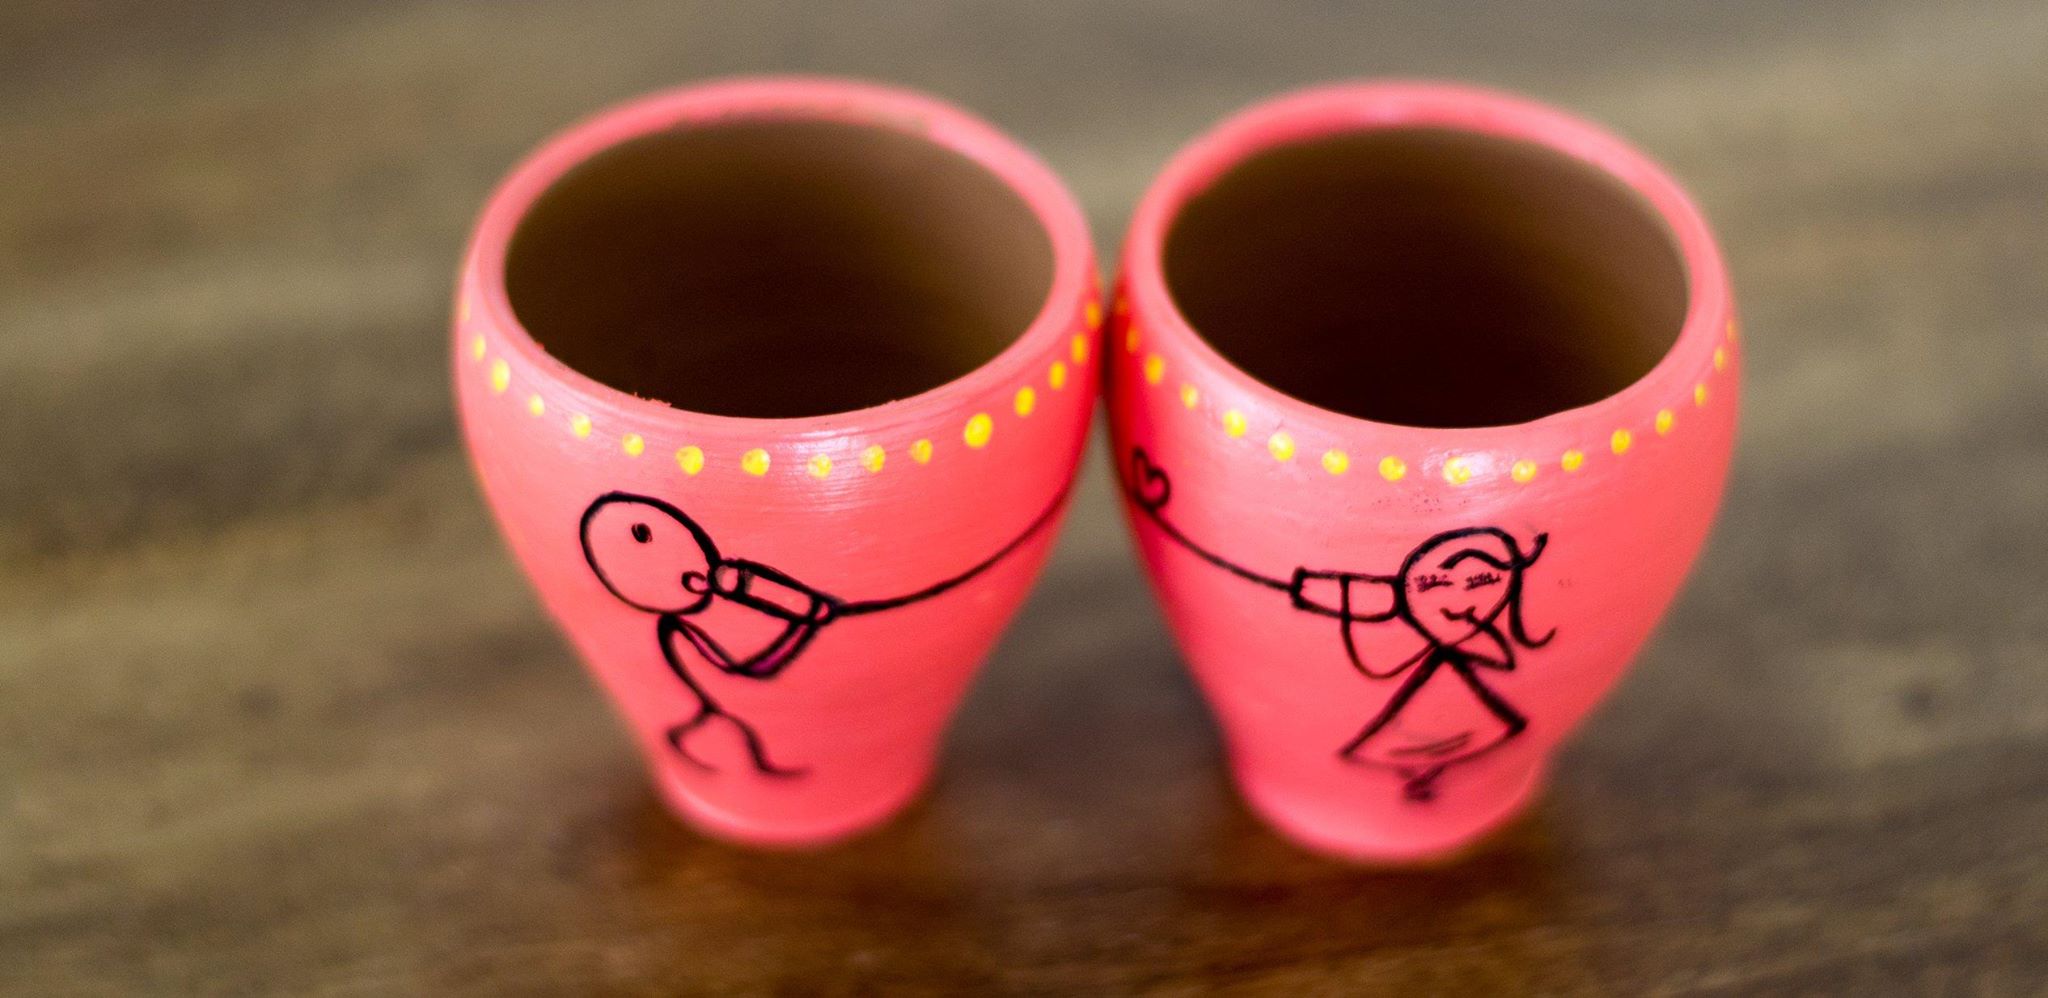
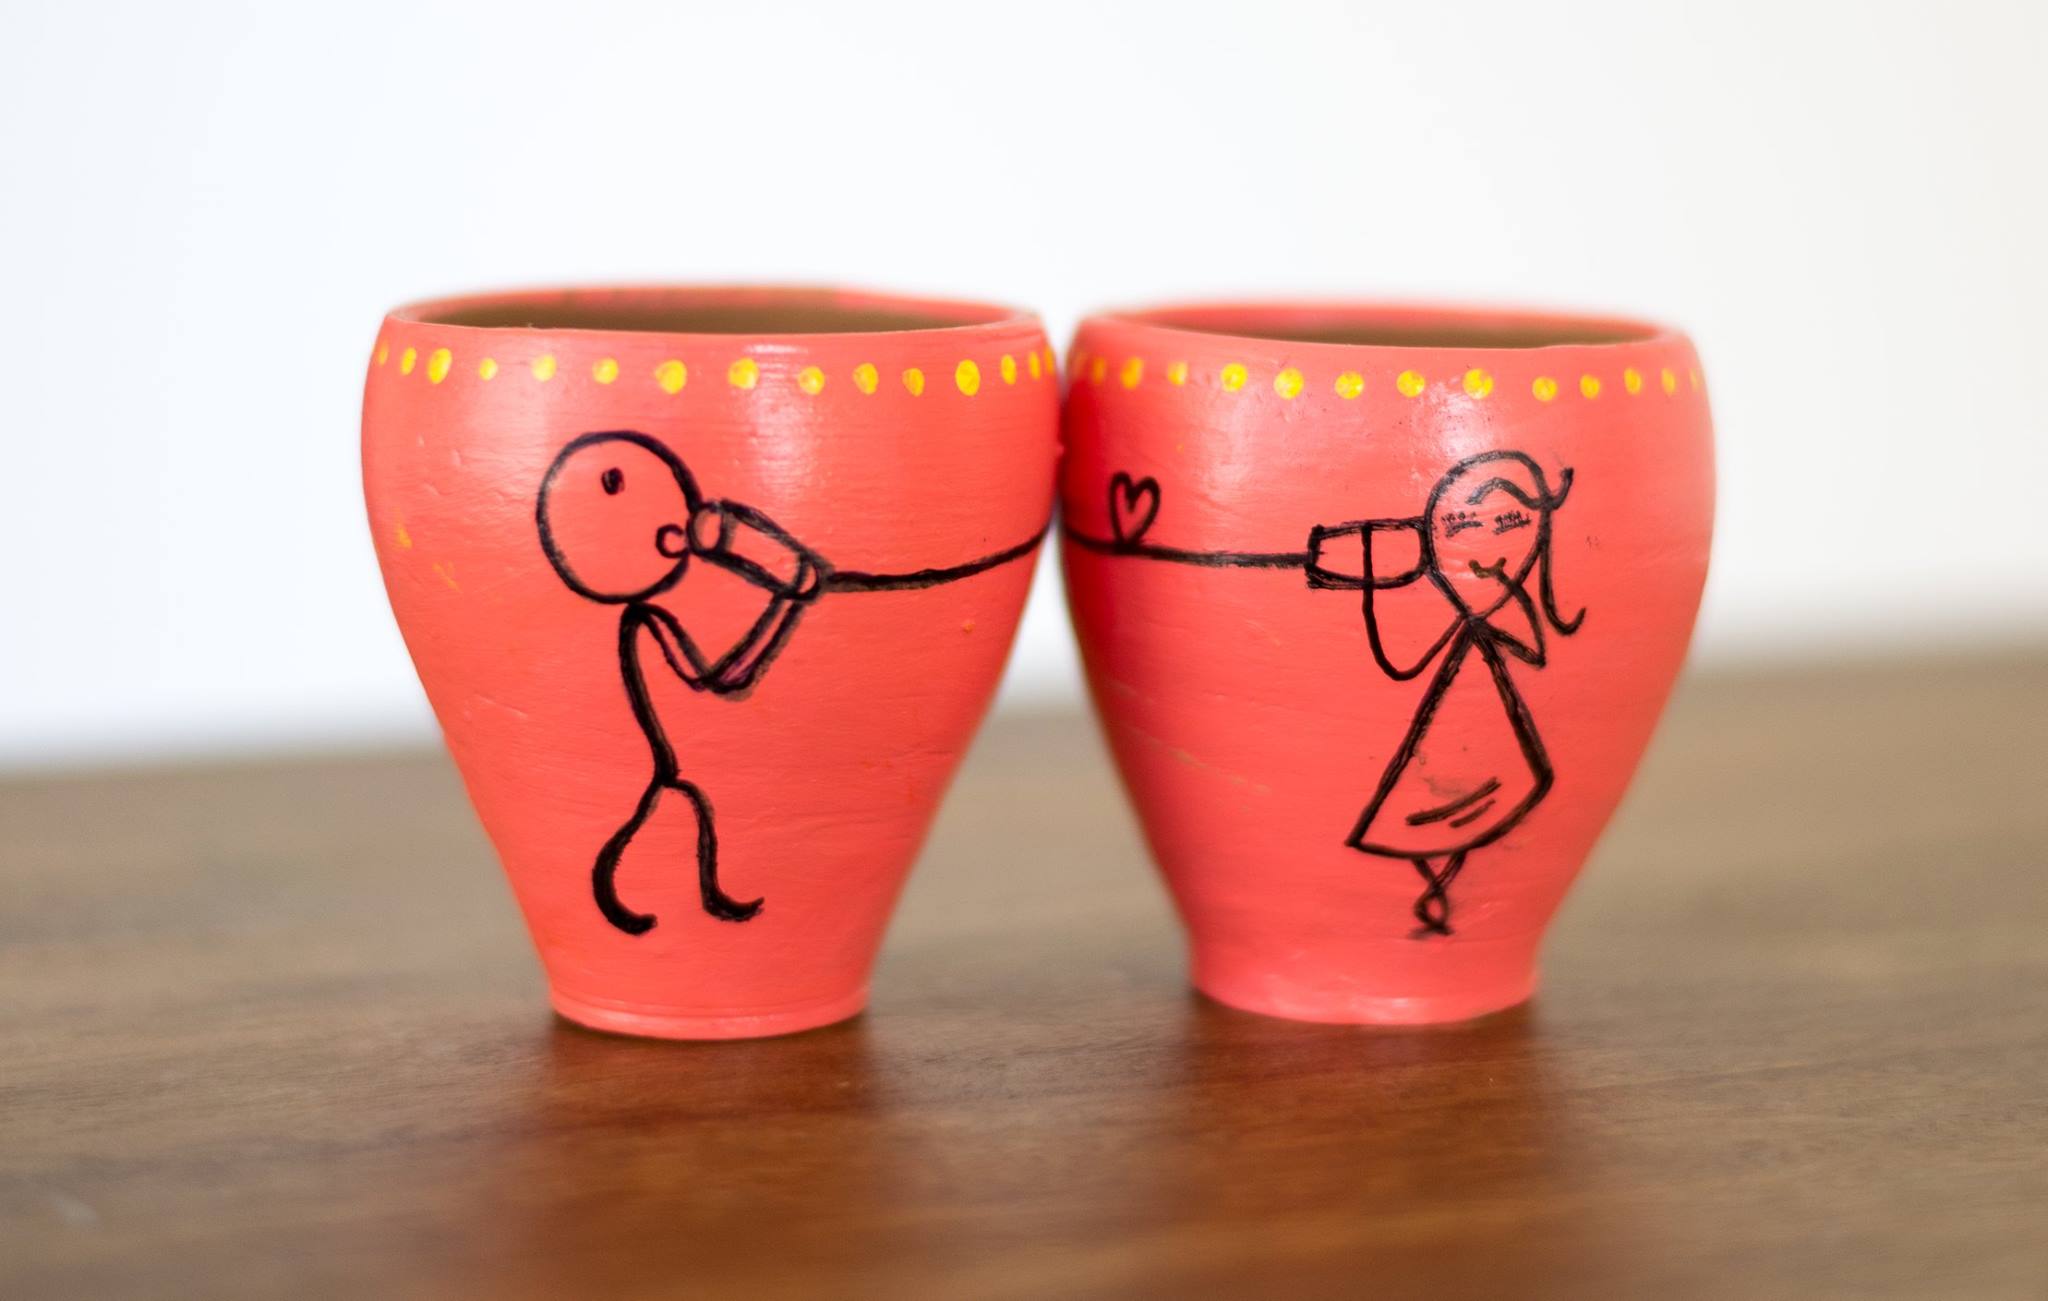
Love cannot be expressed in words, its the form which expresses it. To give expression to your words here is two love cups.A message that skips just as your heartbeat

10958861_521813507995594_6875979717987573660_o

Aren’t they cute??

Try it out:

To make this all you need is two earthen cups of any shape and size. These earthen items always have an uneven surface. Take a sandpaper and smooth-en out the surface. Once done soak the cups overnight in water. Dry them in hot sun.

11059845_521813501328928_1670899906227258481_o

12017700_521813504662261_1165599202996881272_o

Once dry, use acrylic colors to paint the base. After its dry, draw the image on the cup with the help of permanent marker.

11225759_521813511328927_5922673275117028732_o

12120095_521813521328926_2726216523616723173_o

What are you waiting for, make one yourself and gift it 🙂

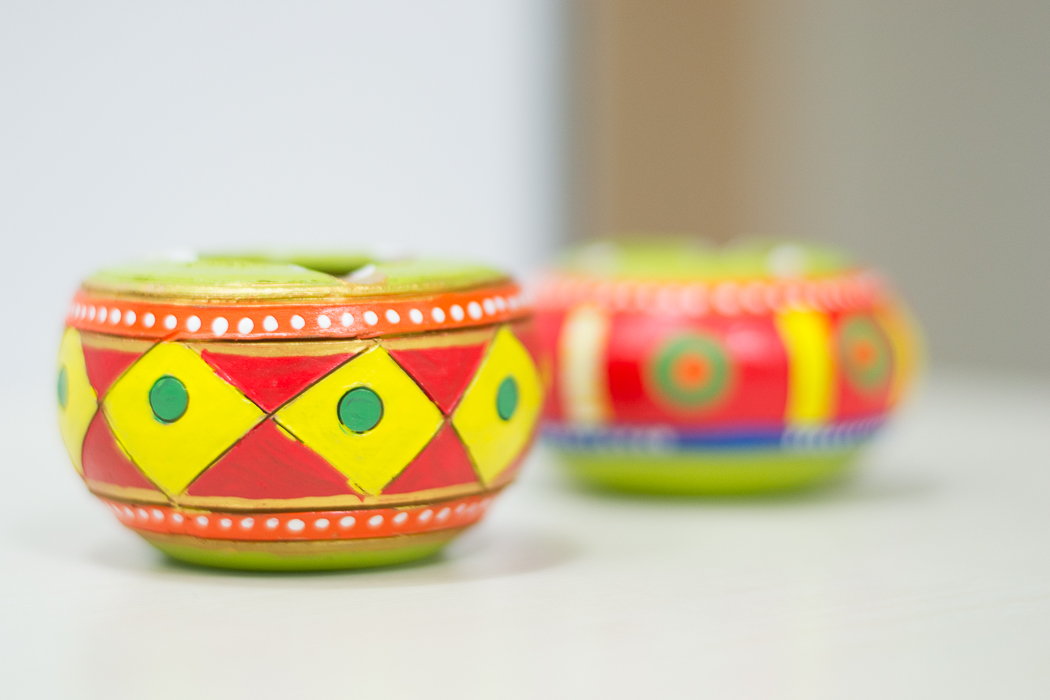
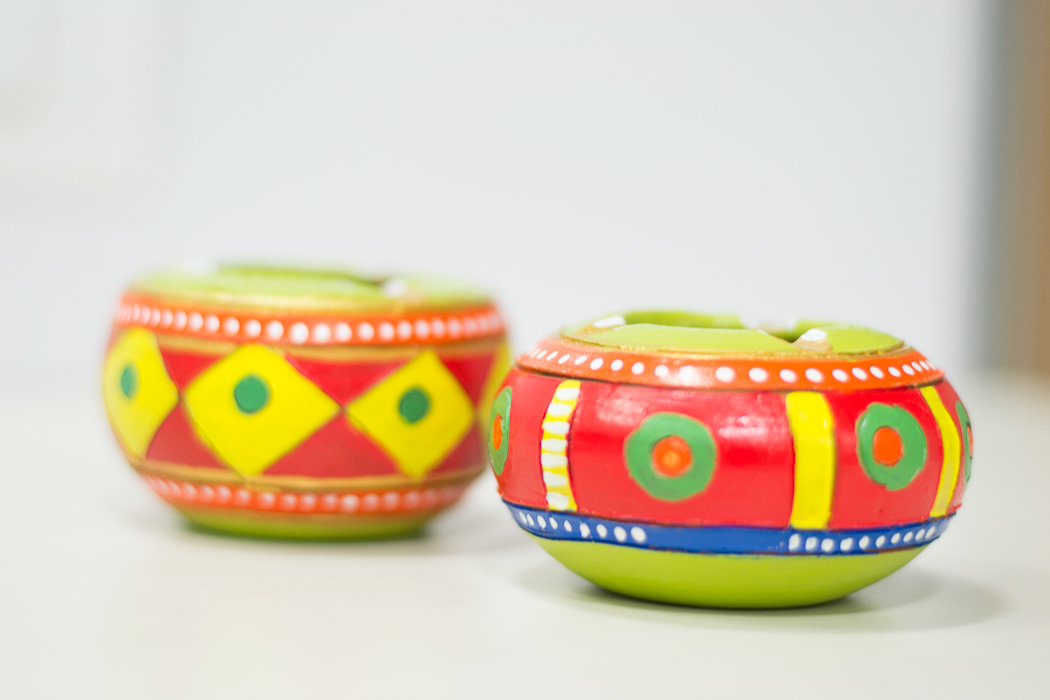
Colored pot for table

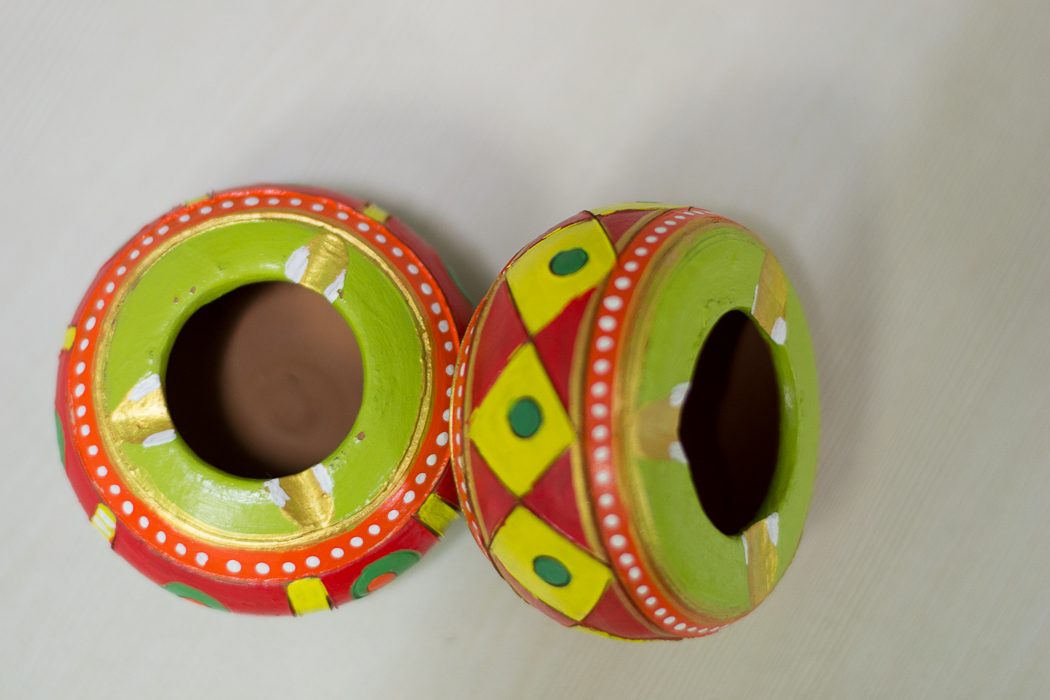
Two small earthen pots painted using acrylic colors, these vibrant colors adds a new life to the pot.

DSC_0404

Decorated with easy to make patterns.

TRY IT OUT :

In order to make this at home, you need two pots small in size.Acrylic colors and sand paper.
These pots usually have an uneven surface, all you need to do is even out the surface by rubbing with sand paper.
Soak the pot overnight in water, next day let them dry in sun.
The pots are ready to be painted.

DSC_0400

DSC_0396

After coloring don’t forget to let them dry out completely.

cute photo album gift

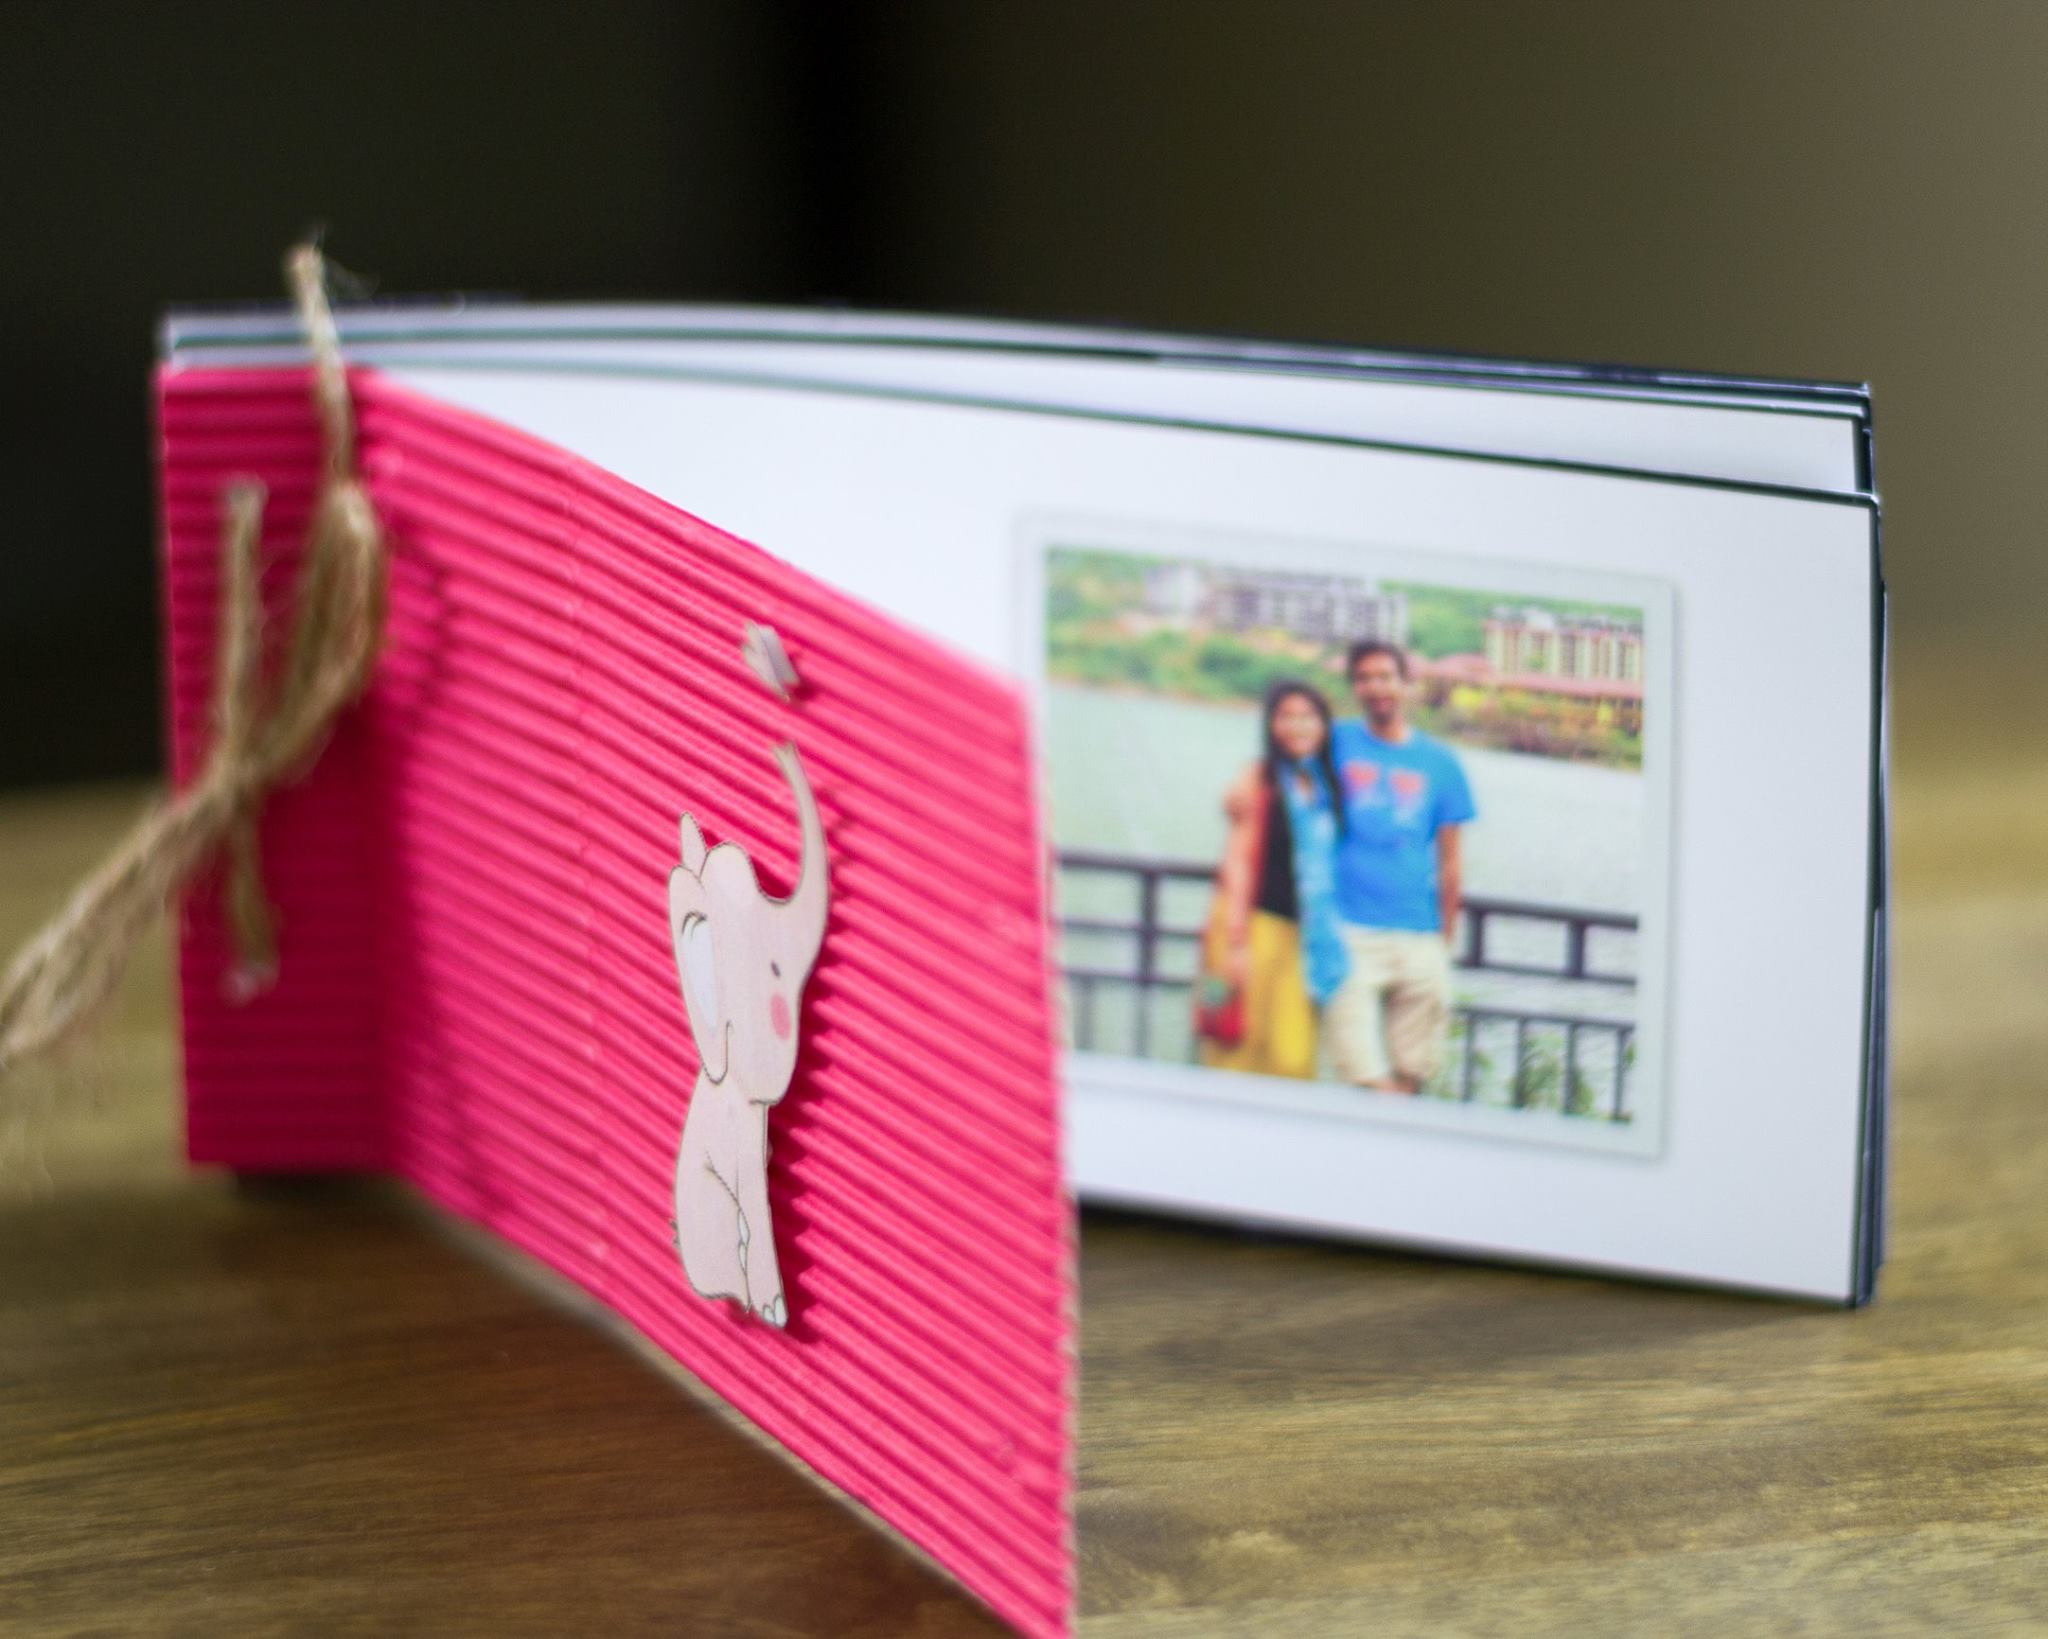
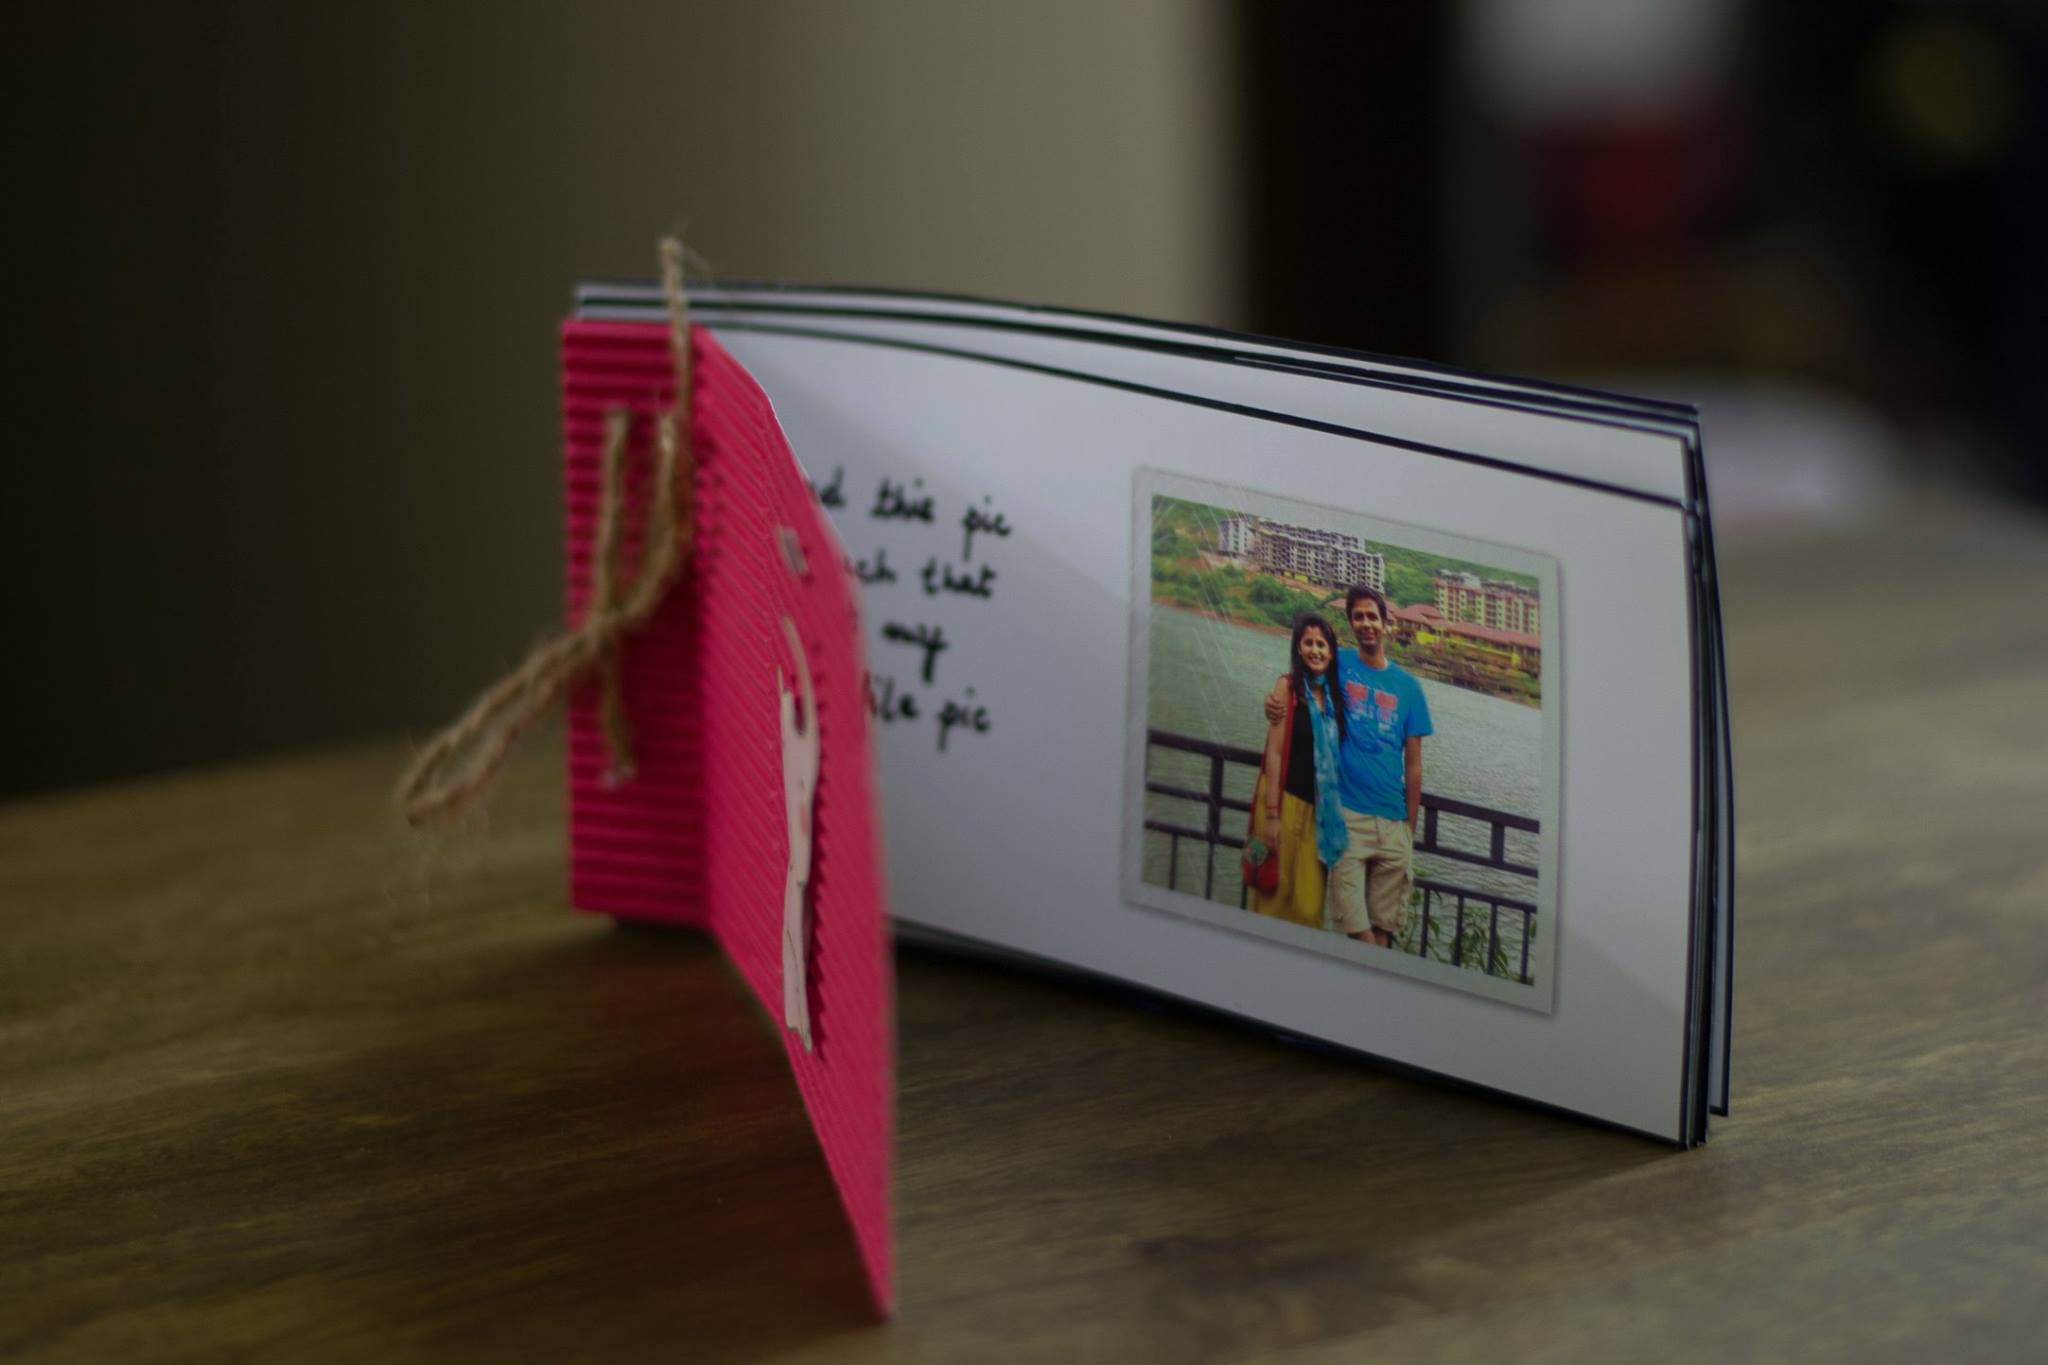
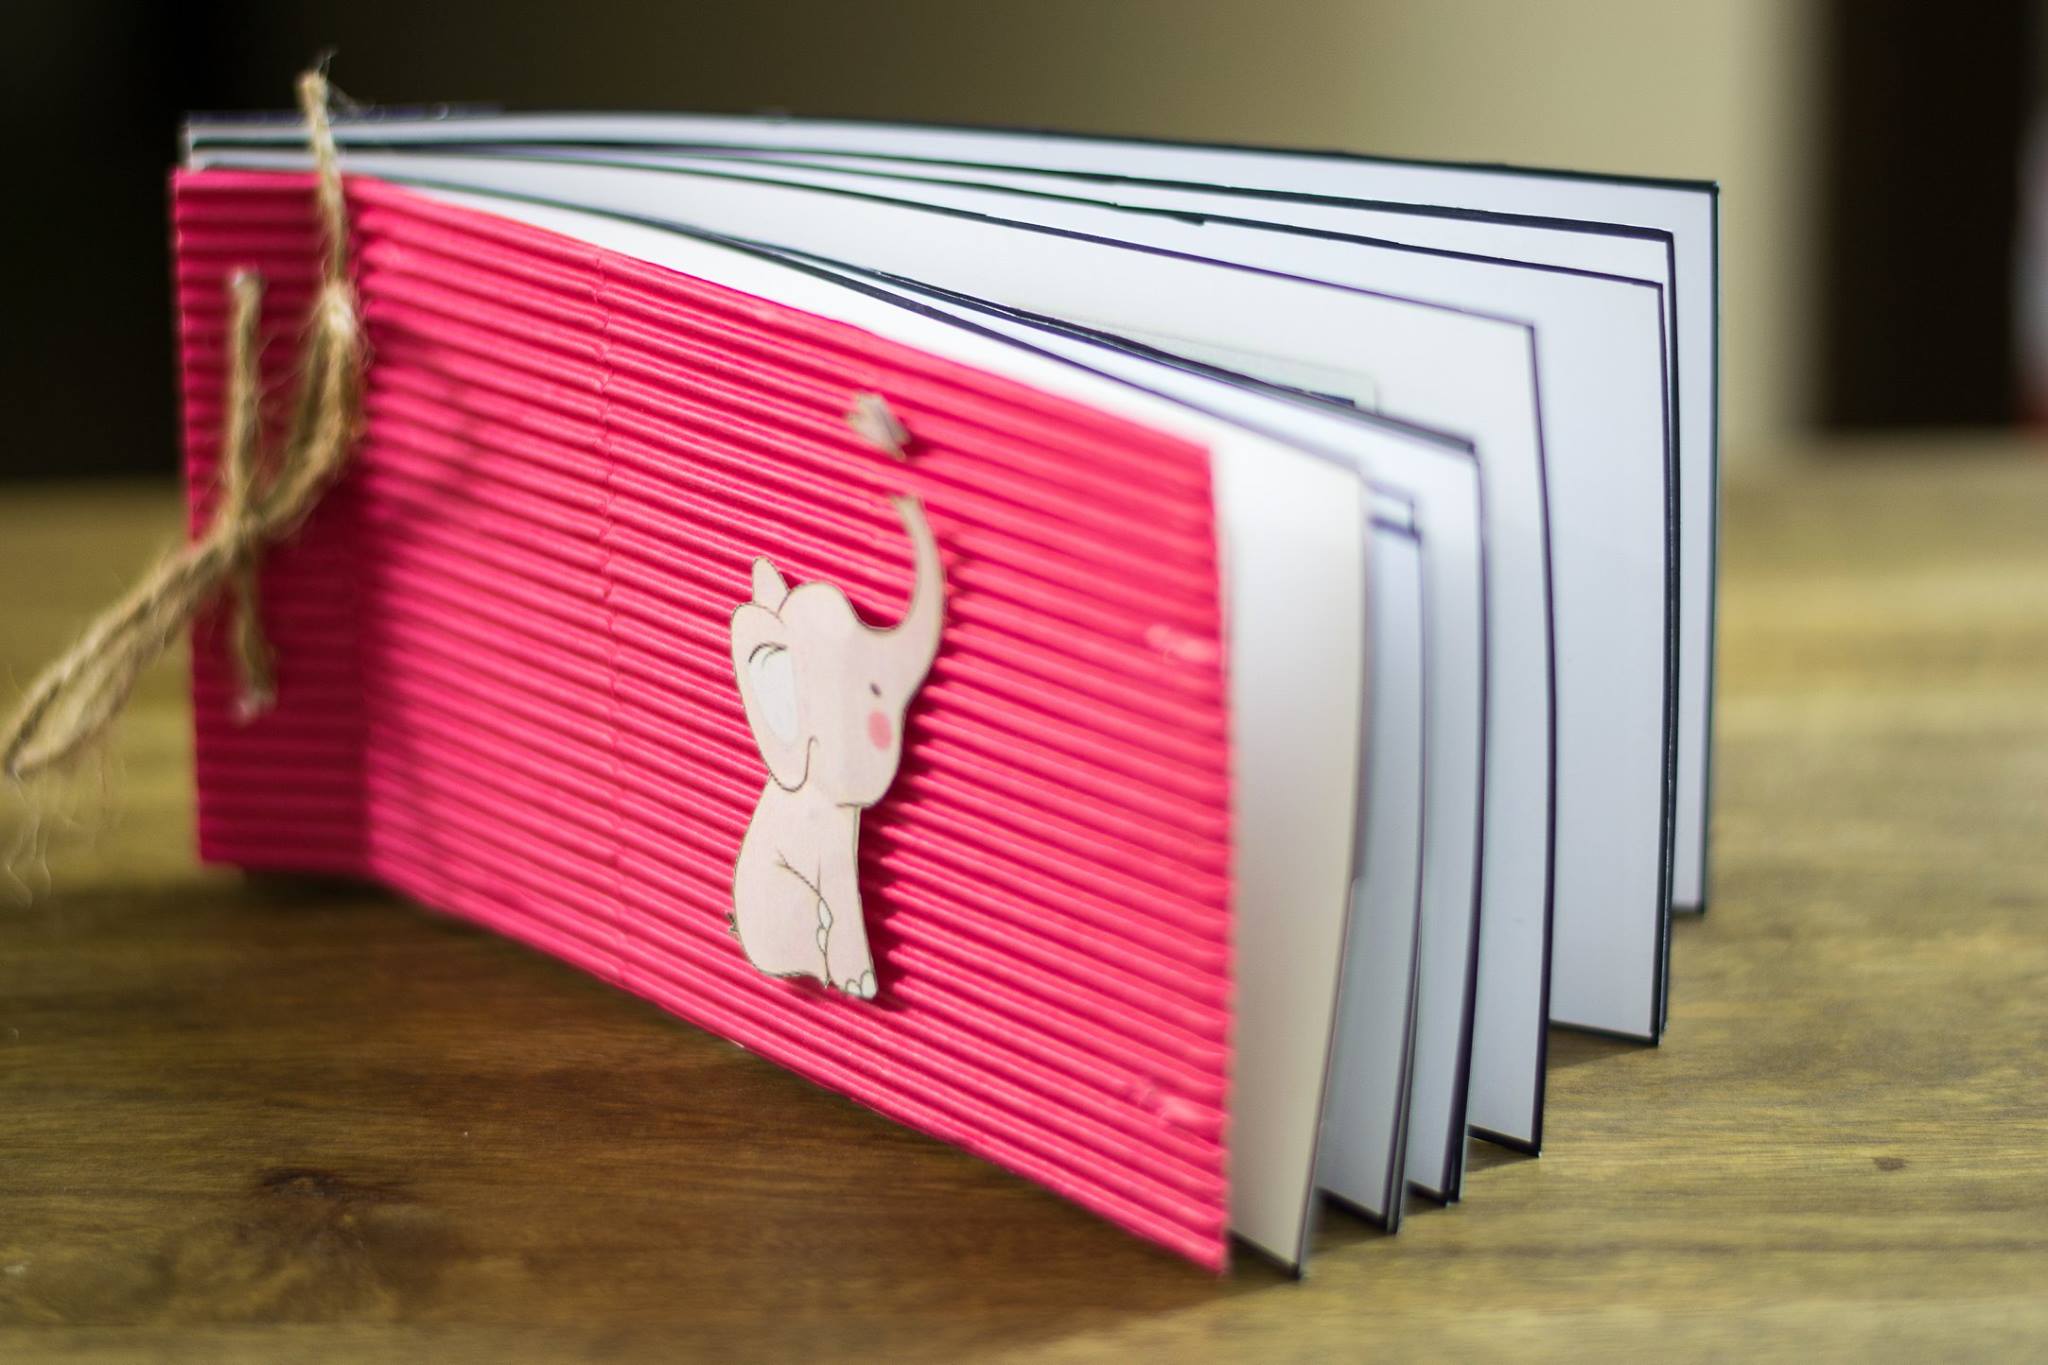
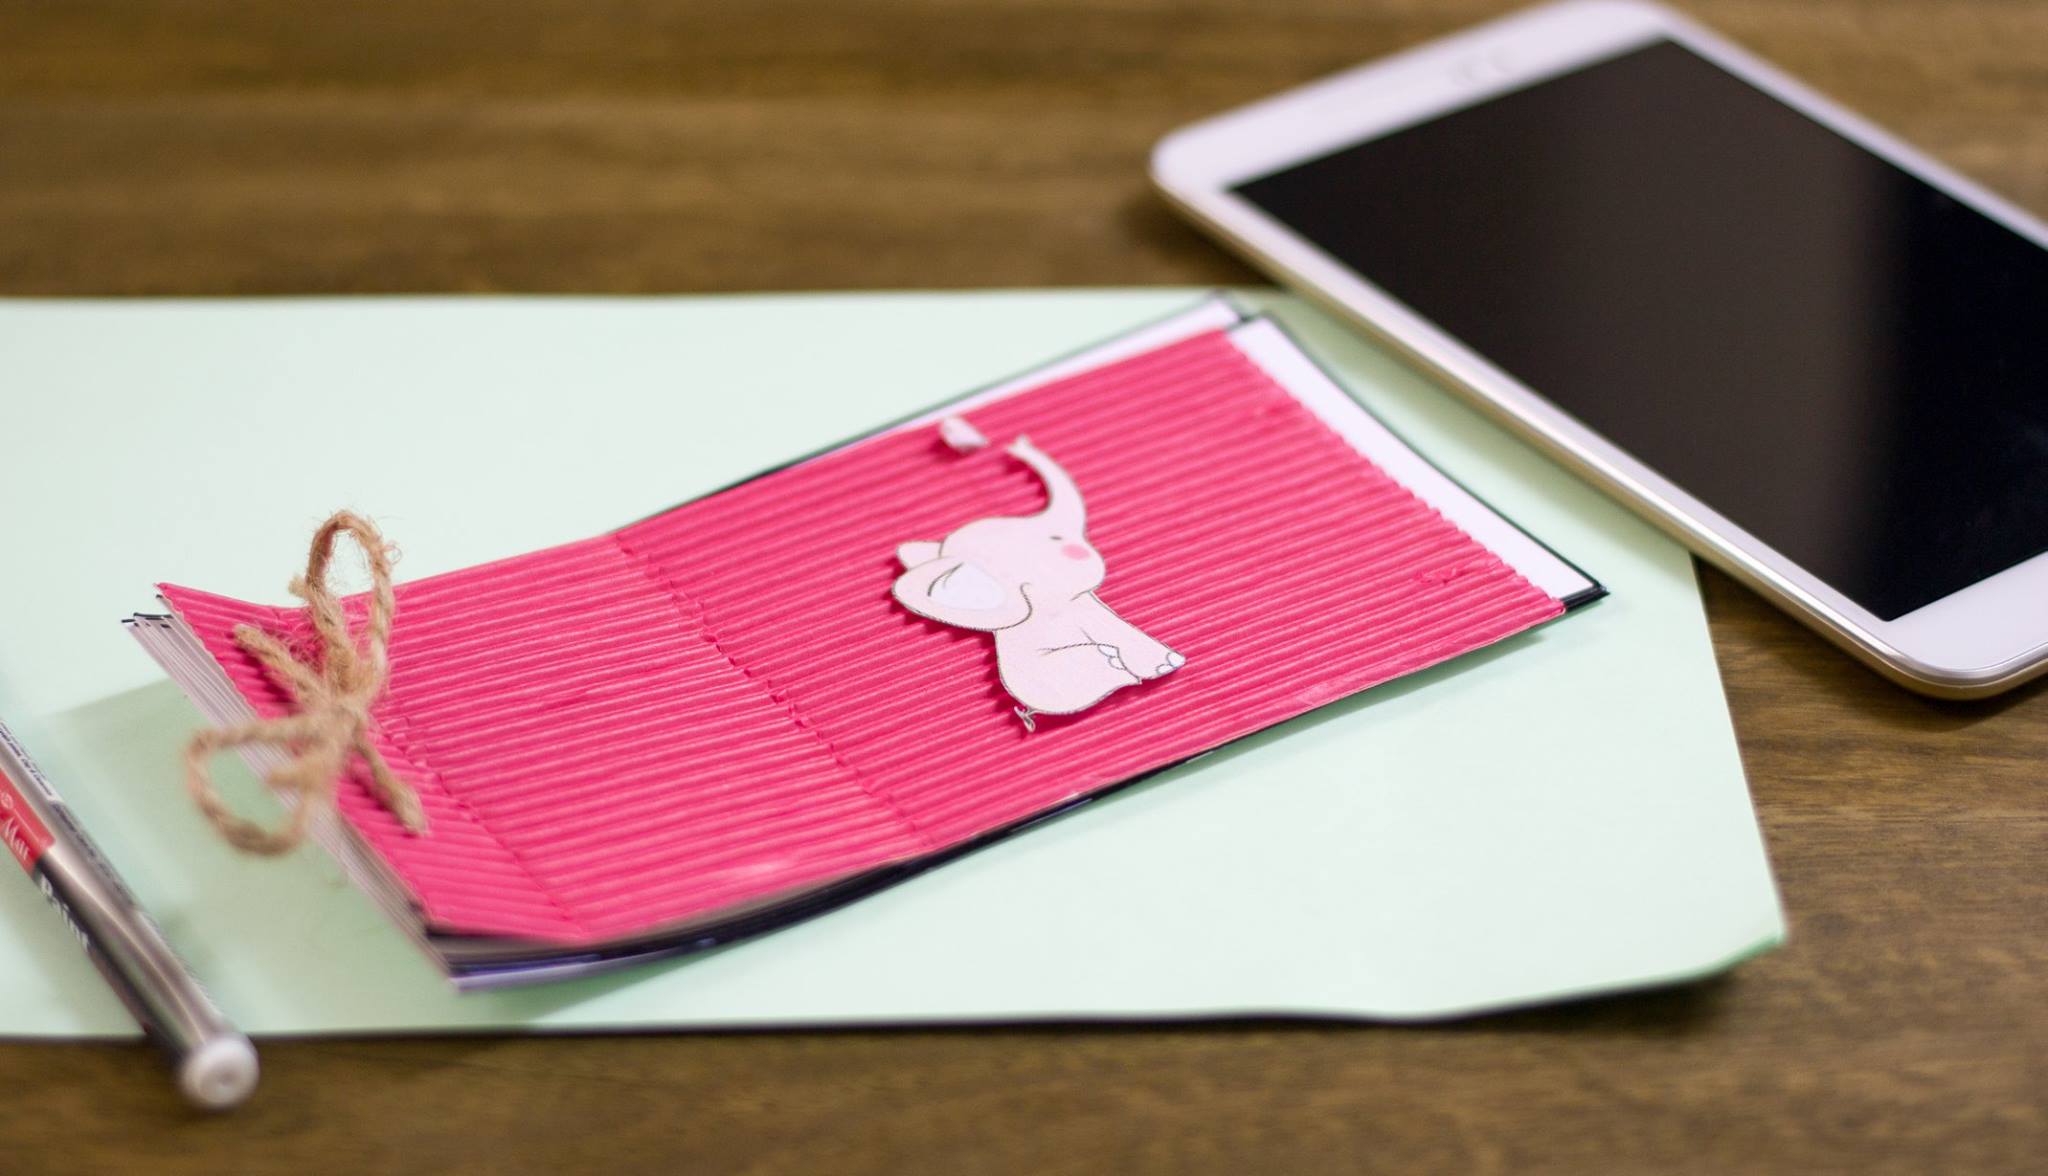
I just wanted to gift something different on this valentine, all I could think of a cute photo album, handcrafted with love.

feature

An idea which can be easily put to work, all you need to do is collect some beautiful pictures from past memories and bundle them up into lovable album.

TRY IT OUT:

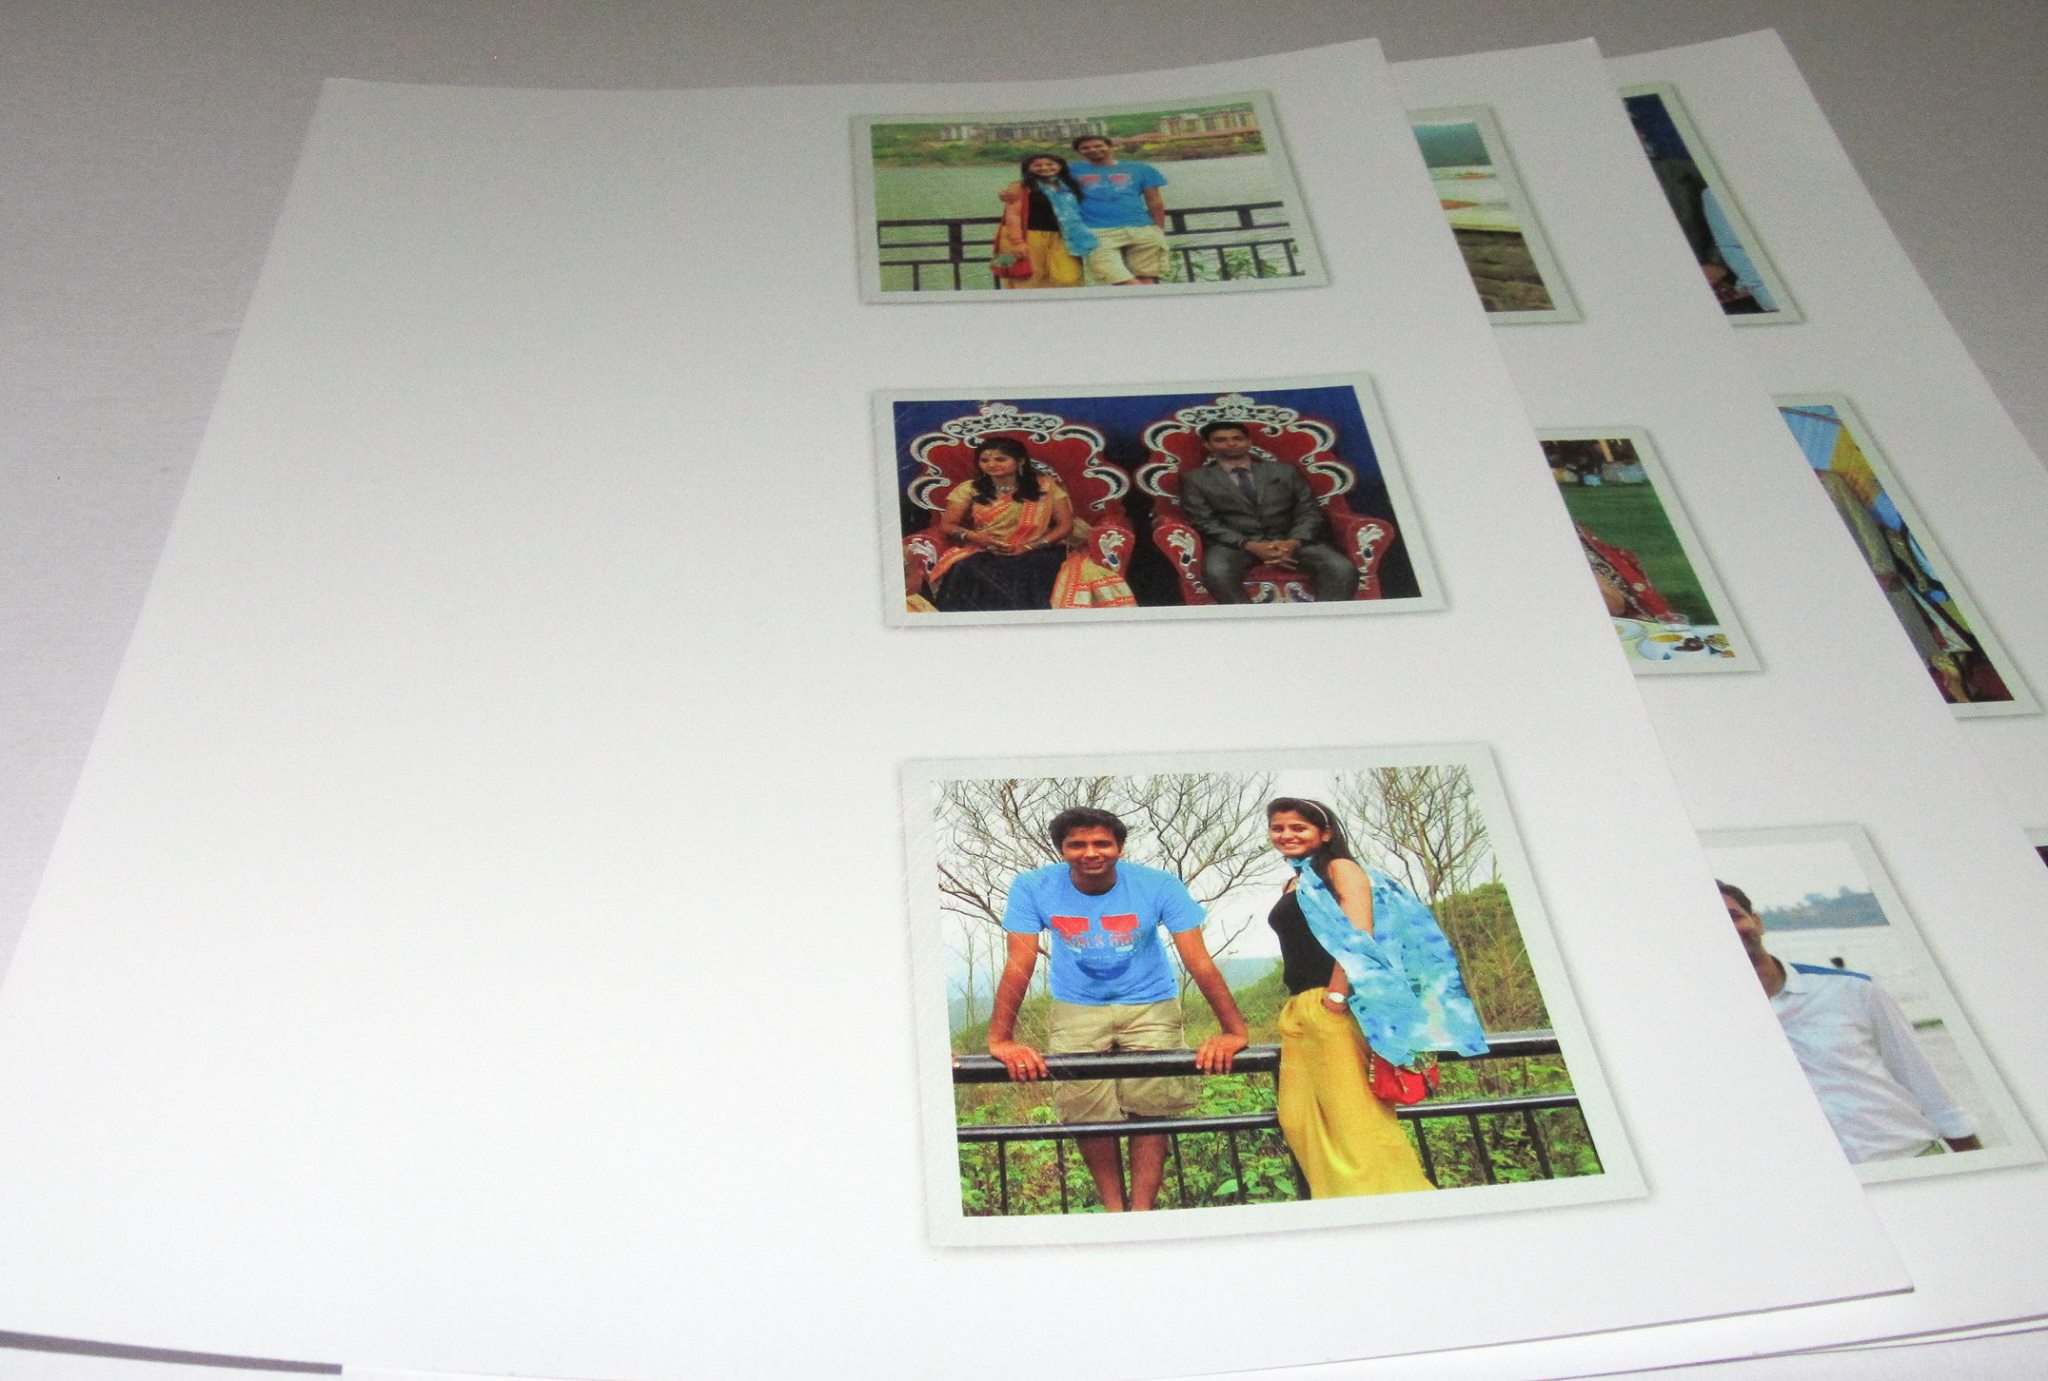
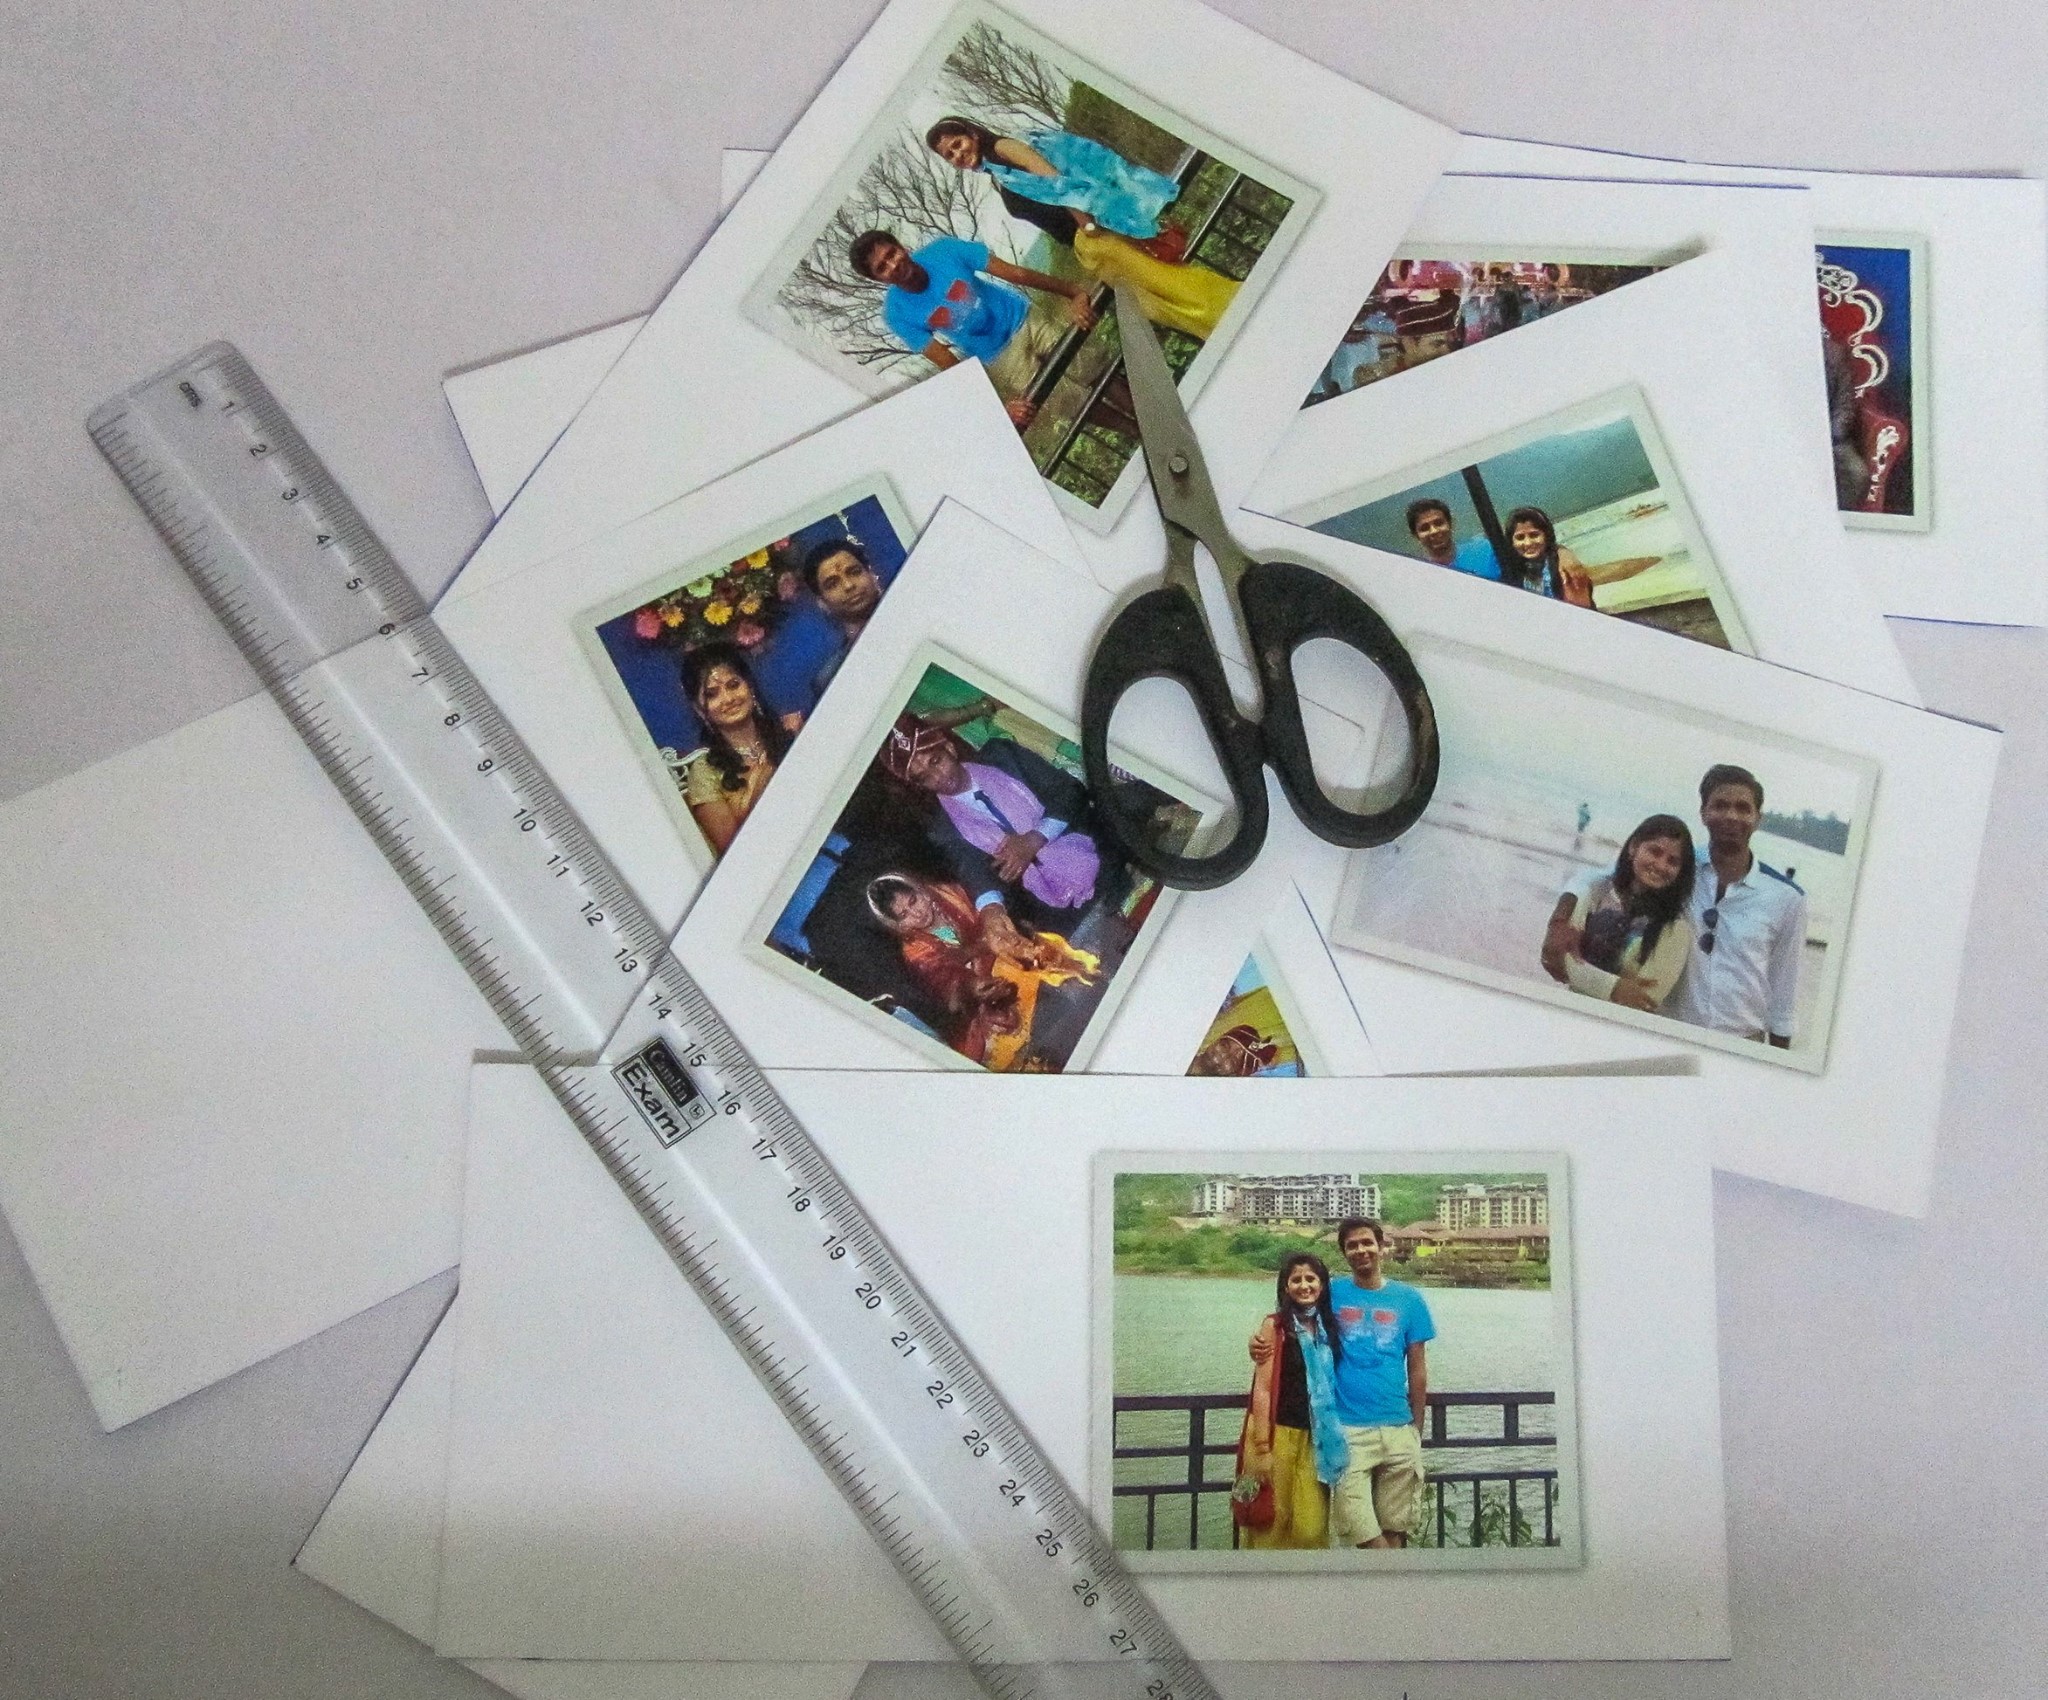
Collect few snaps, as you can see I took photos, created a collage using picasa and took printouts using the laserjet printer at my home.

12031571_516703595173252_5207953155667197129_o

As I wanted to create a small horizontal album with some messages, I chose this format, you can create collages in any format of your choice.

12031506_516703678506577_4245433067503680000_o

Cut the single photos in horizontal direction.

12052626_516703631839915_2982267548250345573_o

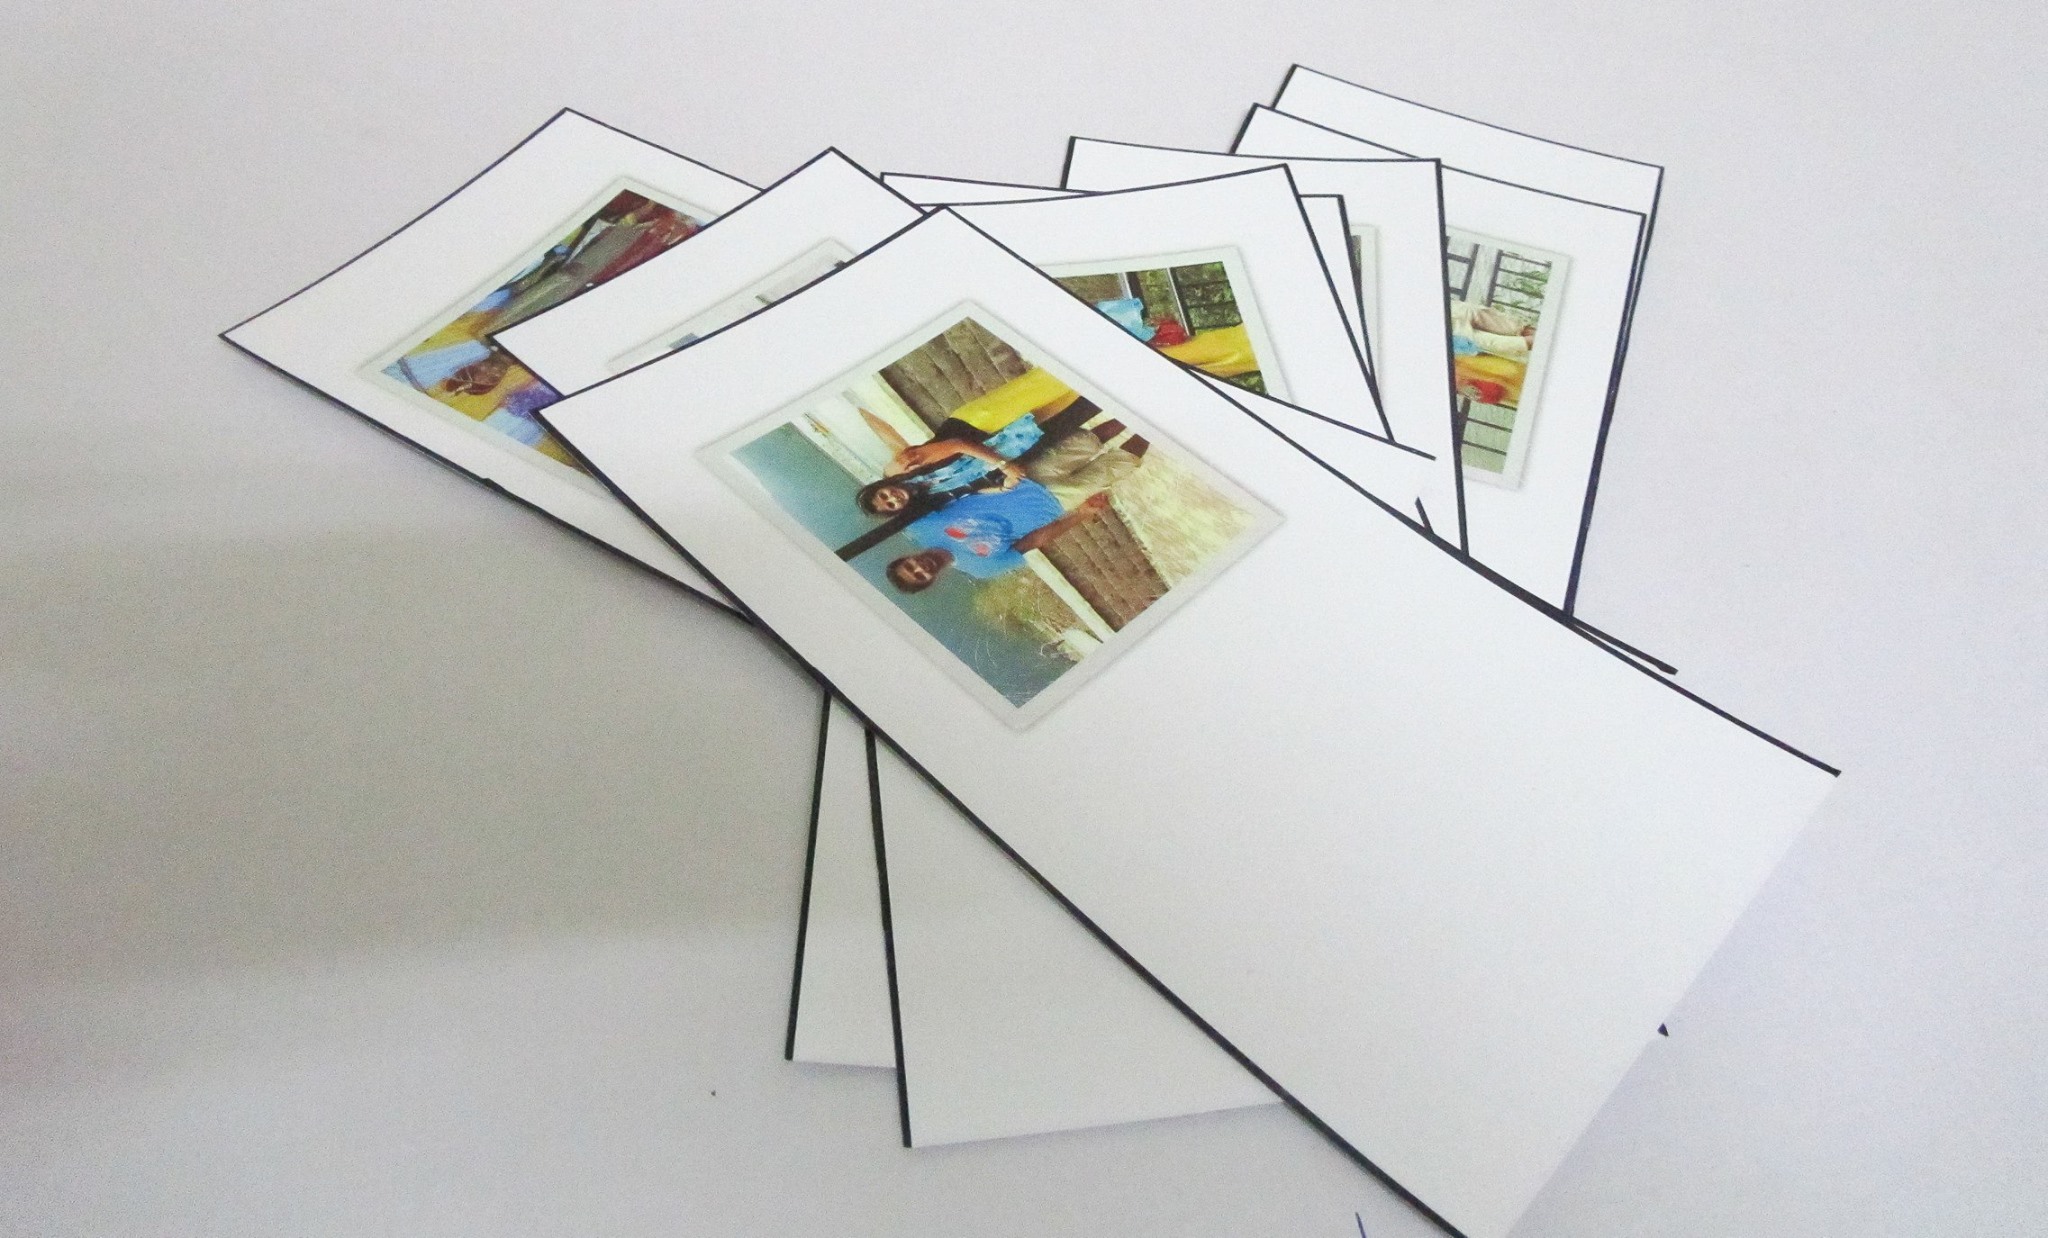
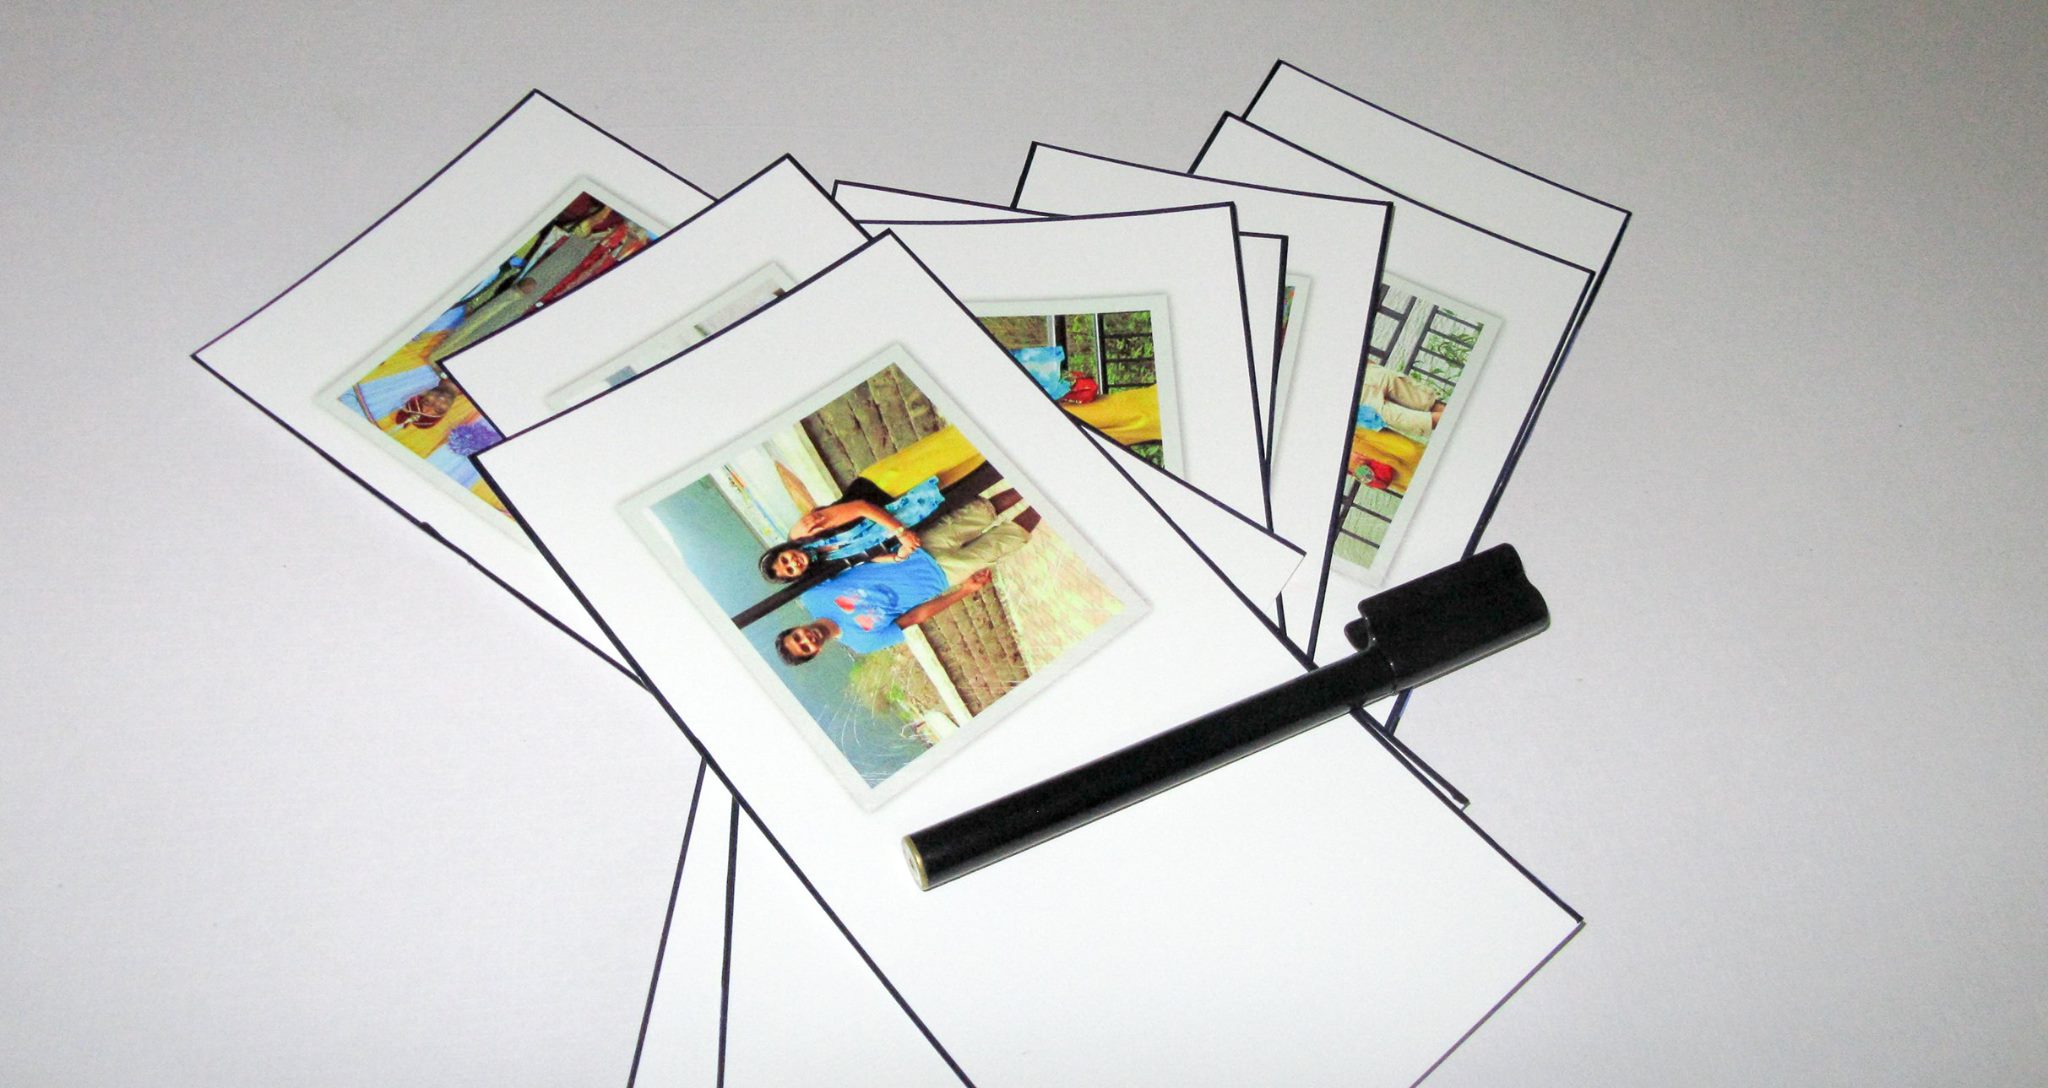
Once you are done with paper cut-out, all u need to do is arrange them together.

11838849_516703628506582_4688683688475514597_o

12052461_516703658506579_2250382222199306378_o

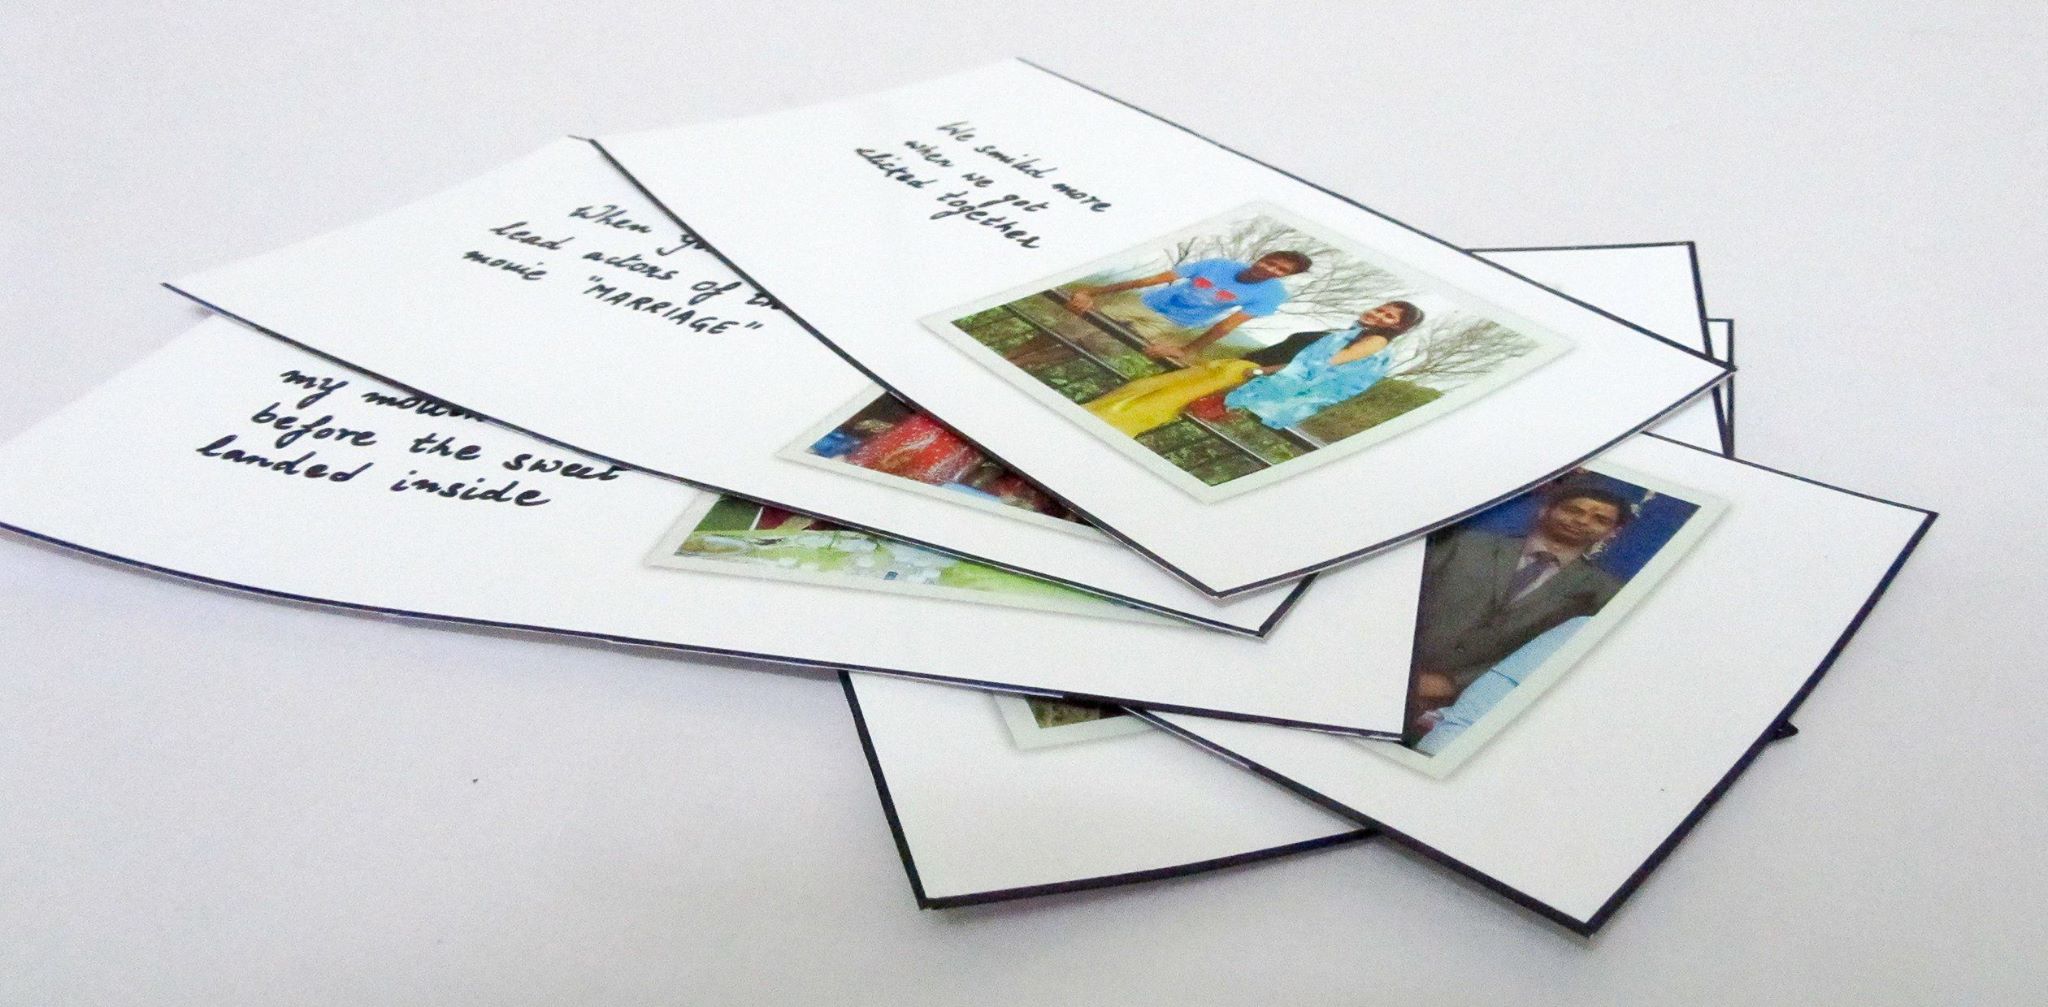
Jot down beautiful words and your past experiences.

11838742_516703738506571_7621844816389345352_o

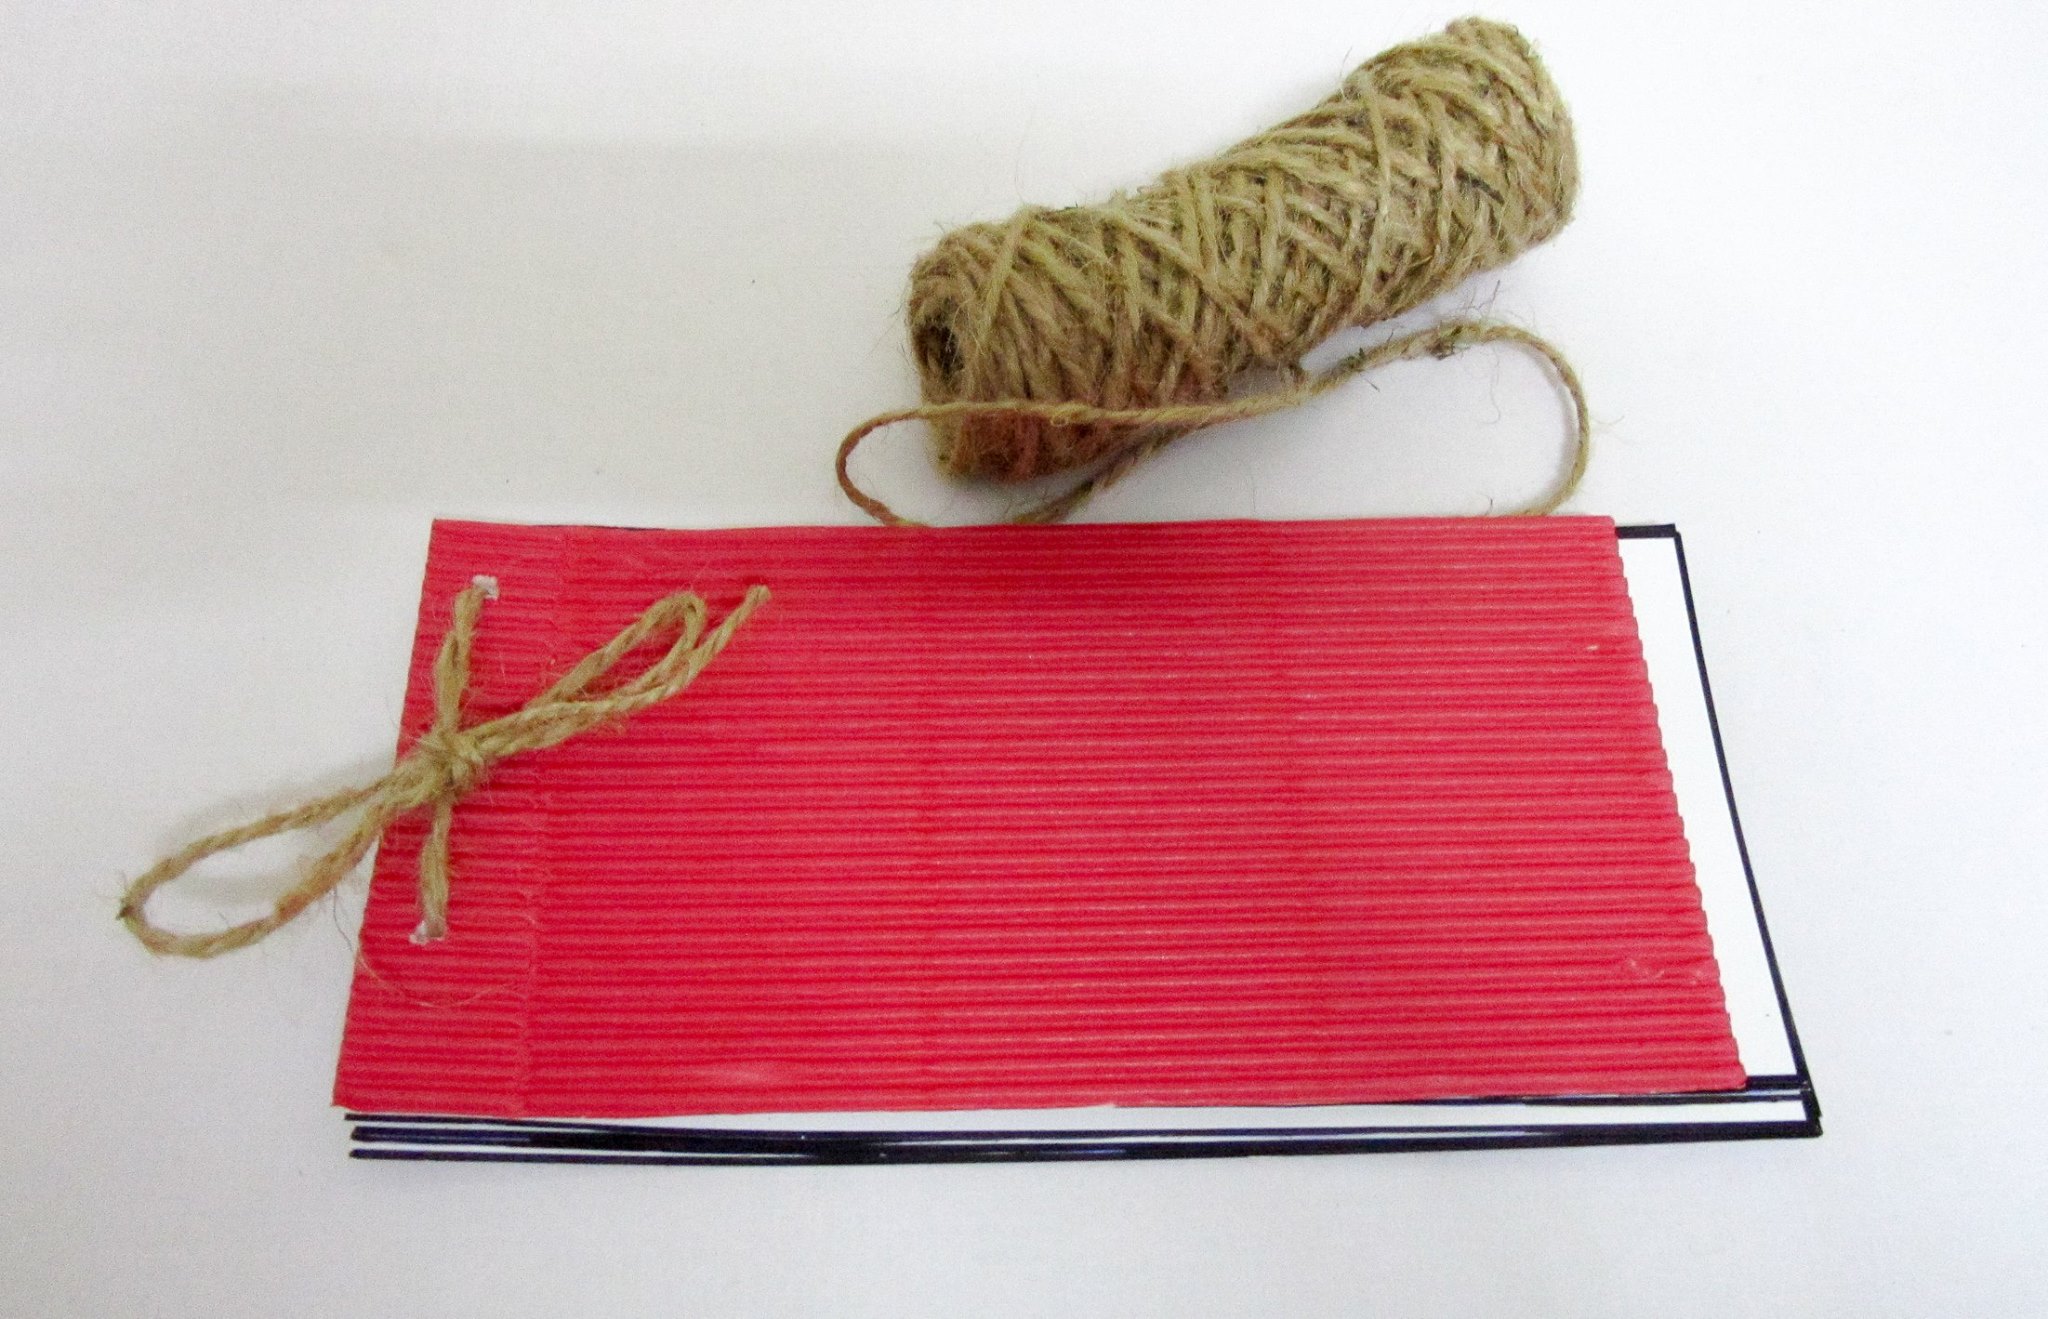
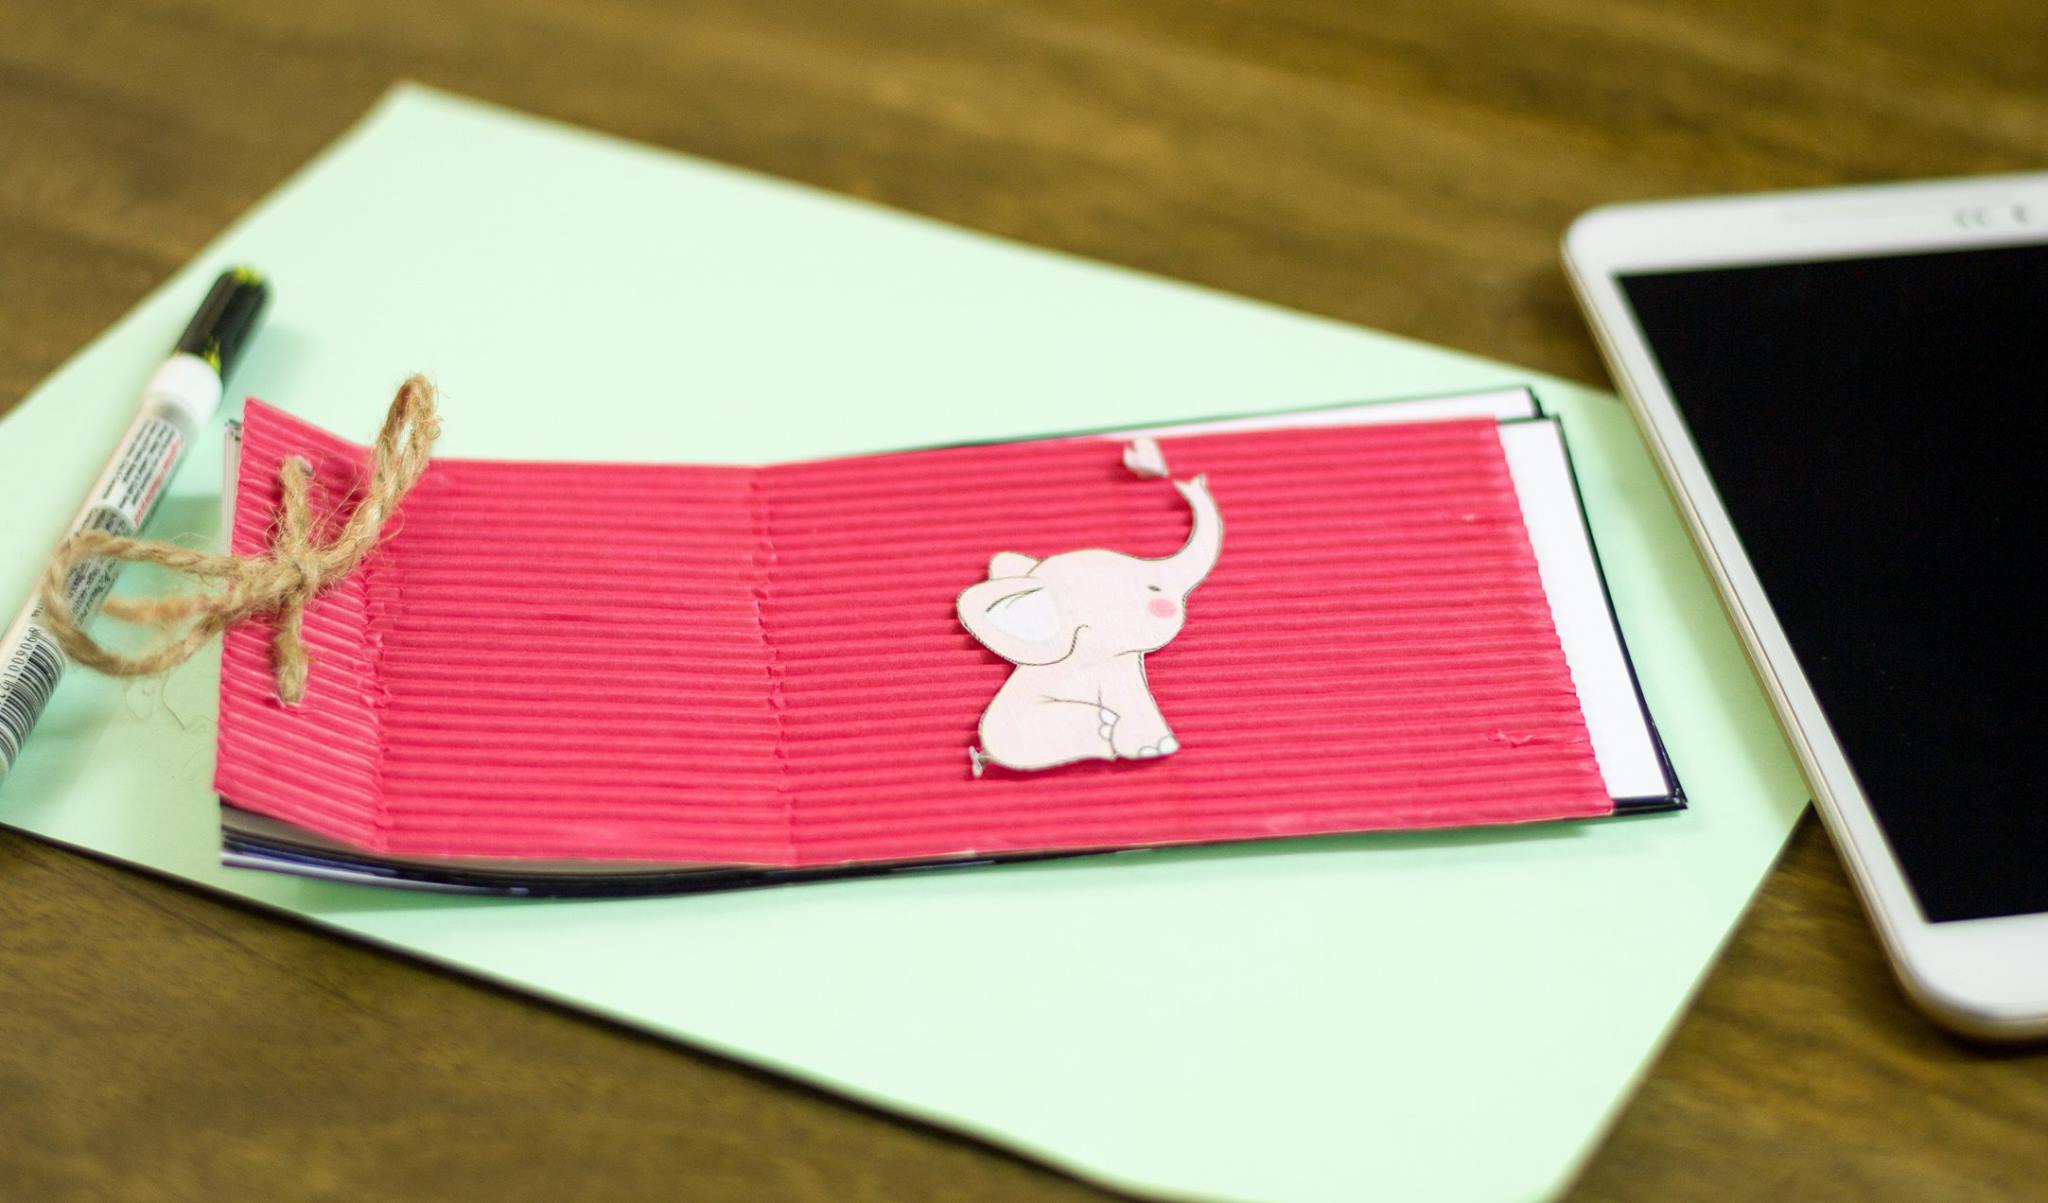
Now once all the pages have been arranged, its time to make the cover. I have used corrugated paper(red), punched hole and tied all the pages together with barn thread.

10838010_516703795173232_4394844565613588078_o

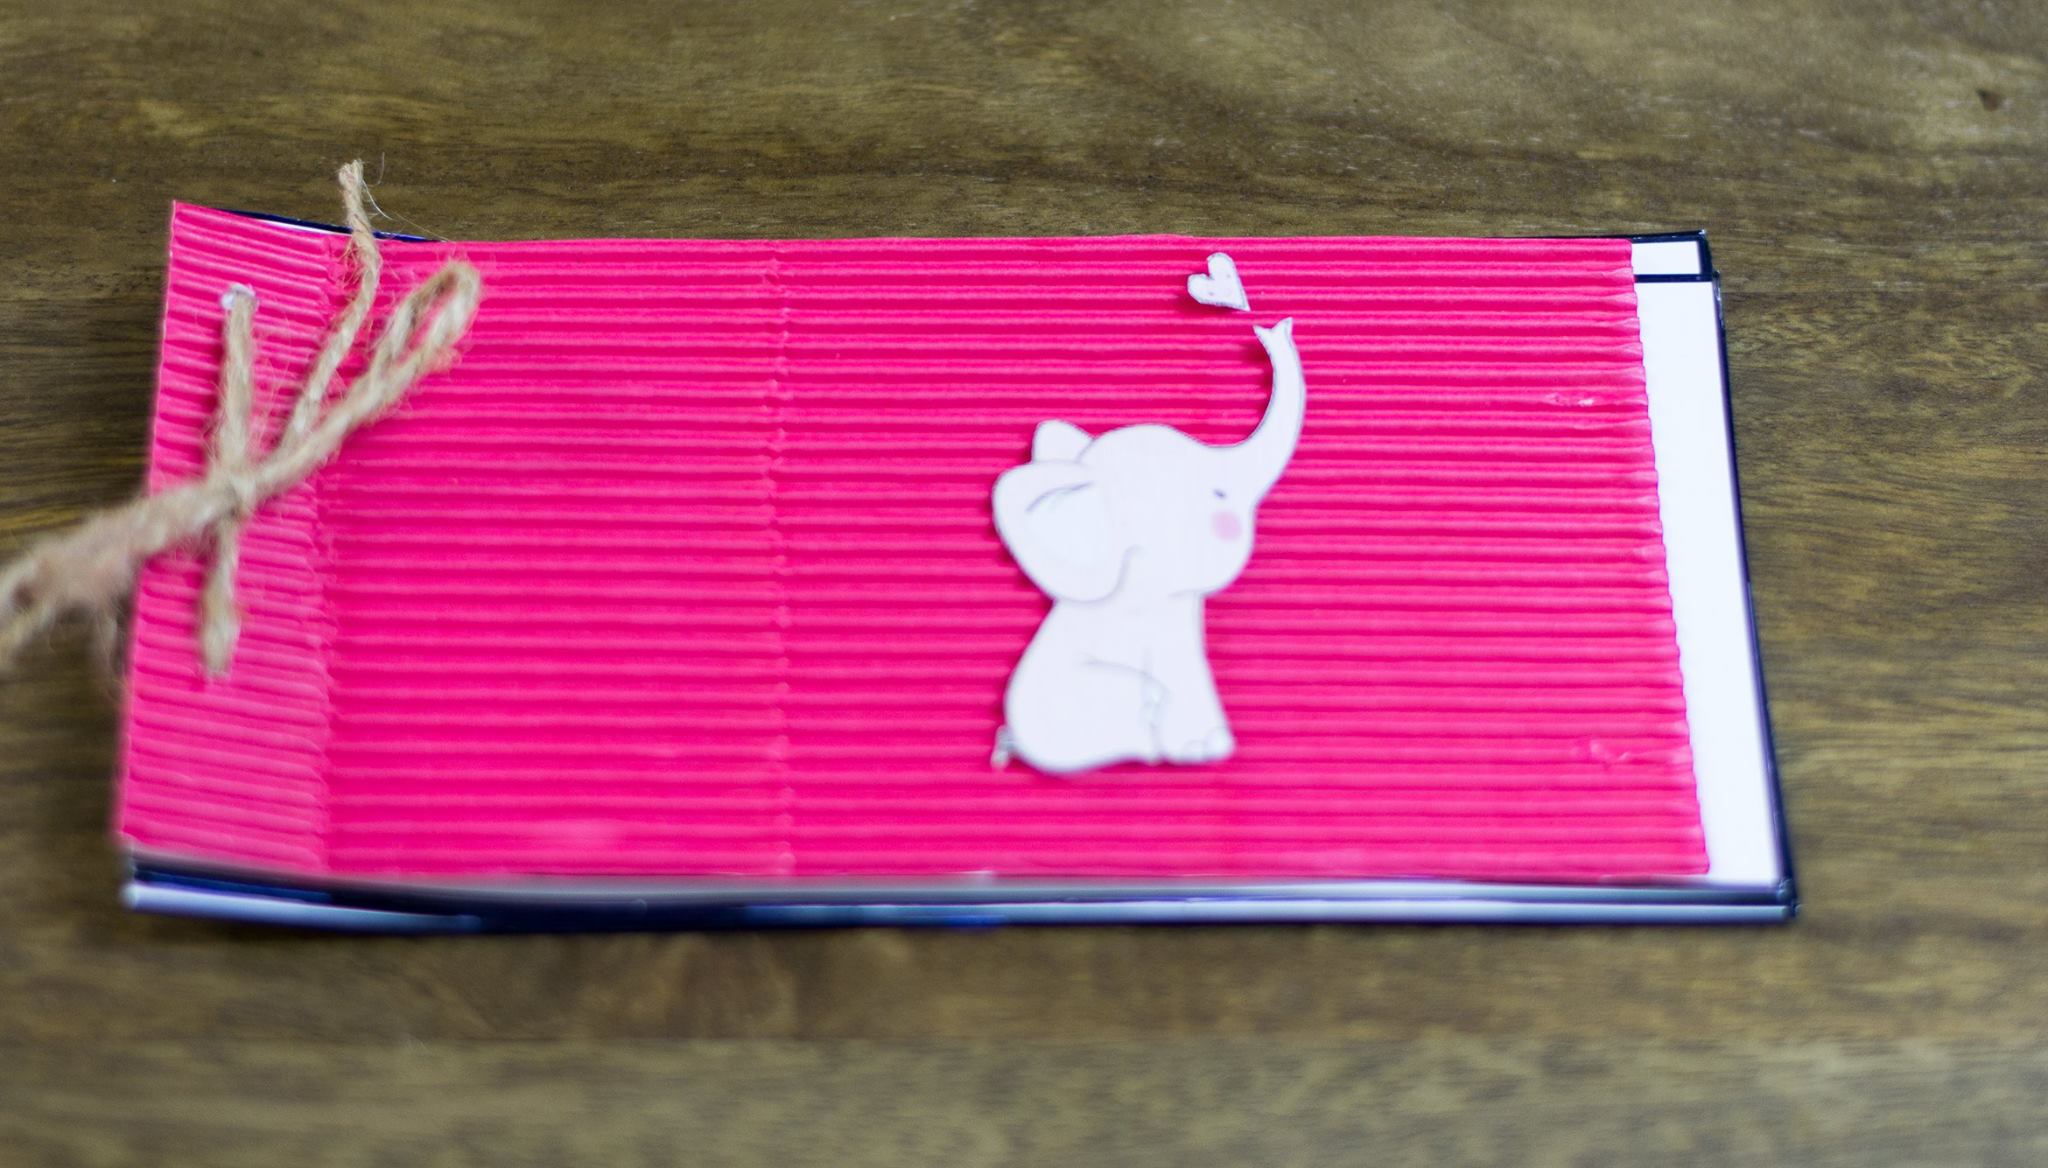
Glued this lil elephant…

12052500_516703838506561_7866269950462346225_o 12027324_516703791839899_2731593422544242699_o 11056085_516703905173221_8562382861281009584_o 11950361_516703881839890_2091896393901057686_o 12000798_516703925173219_6354771338211127829_o 12027180_516703918506553_3101559559179086339_o

You are ready to package it in a beautiful envelope, and wait for happiness to unravel…good luck!!!

Fold able storage box

Here is a fold-able storage box, can be varied in size and design.A box which can be used to store books and many more things.

DSC_0065

This box looks beautiful and can be easily carried when you want to shift it to new place as its fold-able 🙂
One day I saw a box at my friends place and I found it very beautiful..and one thing that intrigued it more was that it was fold able.I thought about it for someday, googled a lot but couldn’t find any tutorial explaining this. And finally after thinking I came up with this.

TRY IT OUT:

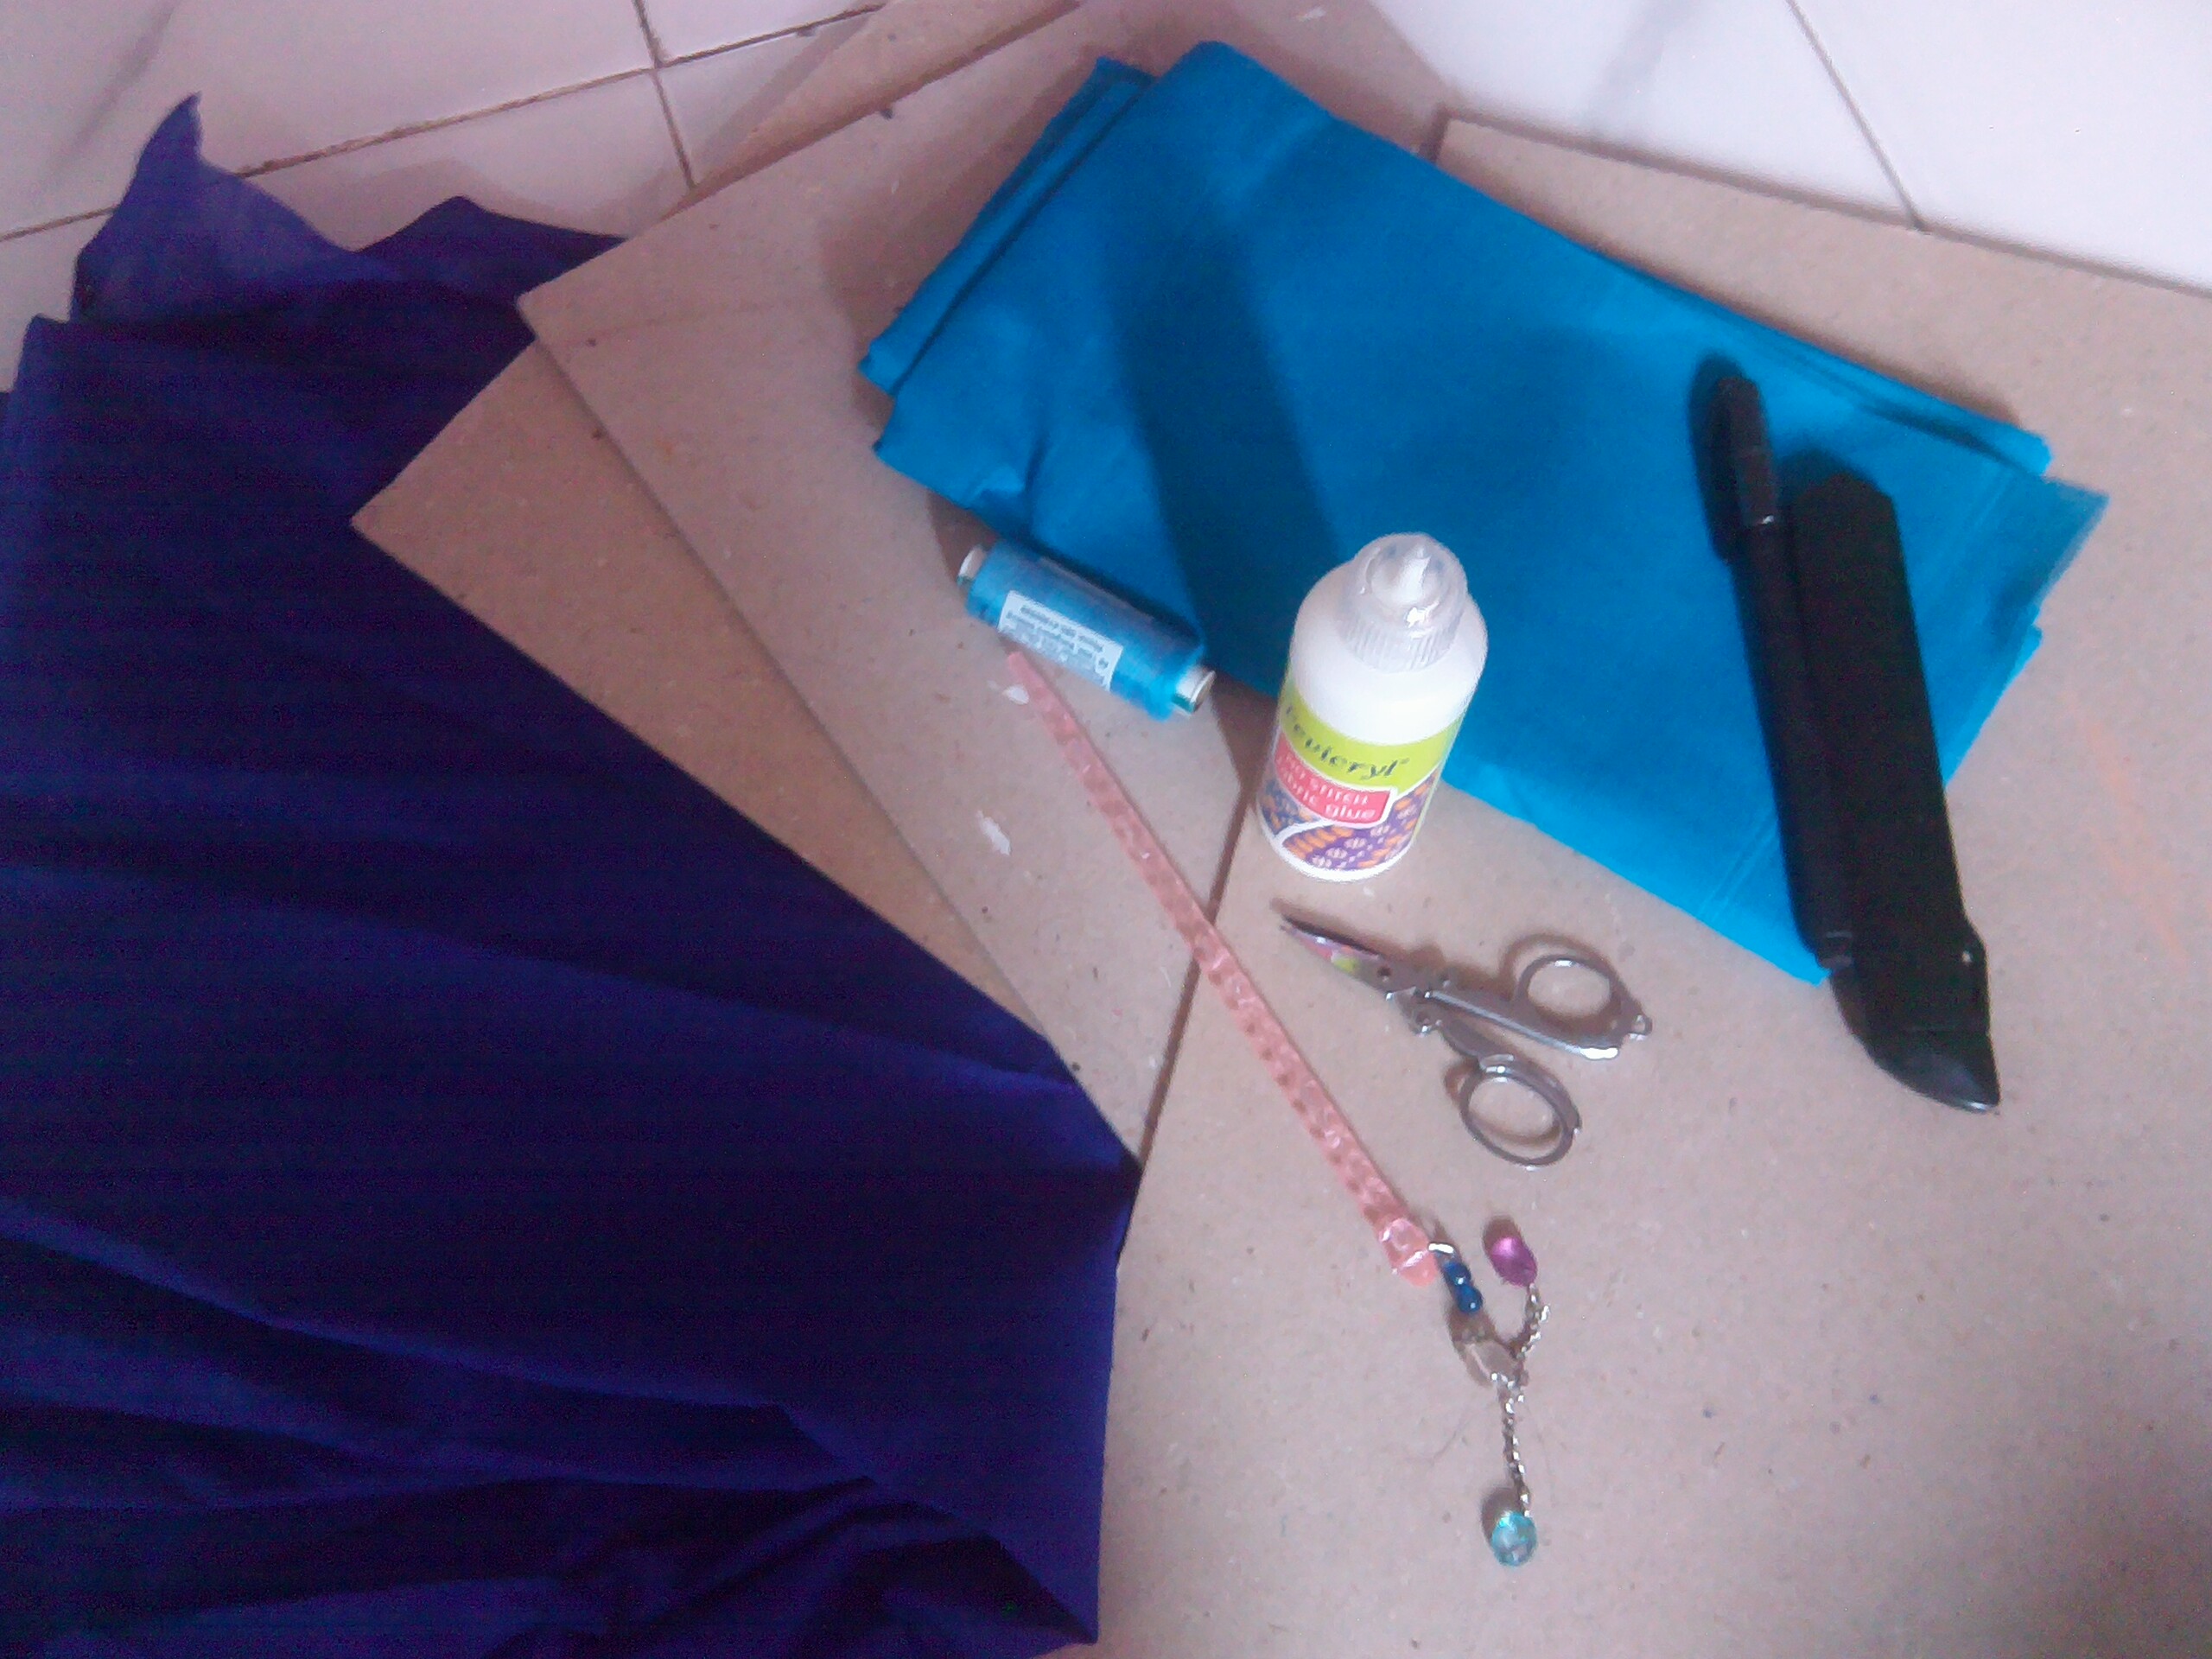
Take long sized cardboard sheets, colorful fabric, scissor, glue to stick fabric to cardboard
IMG_20150822_123833

Cut 4 equal size square from the cardboard sheet. I had cut squares of 20cm each.
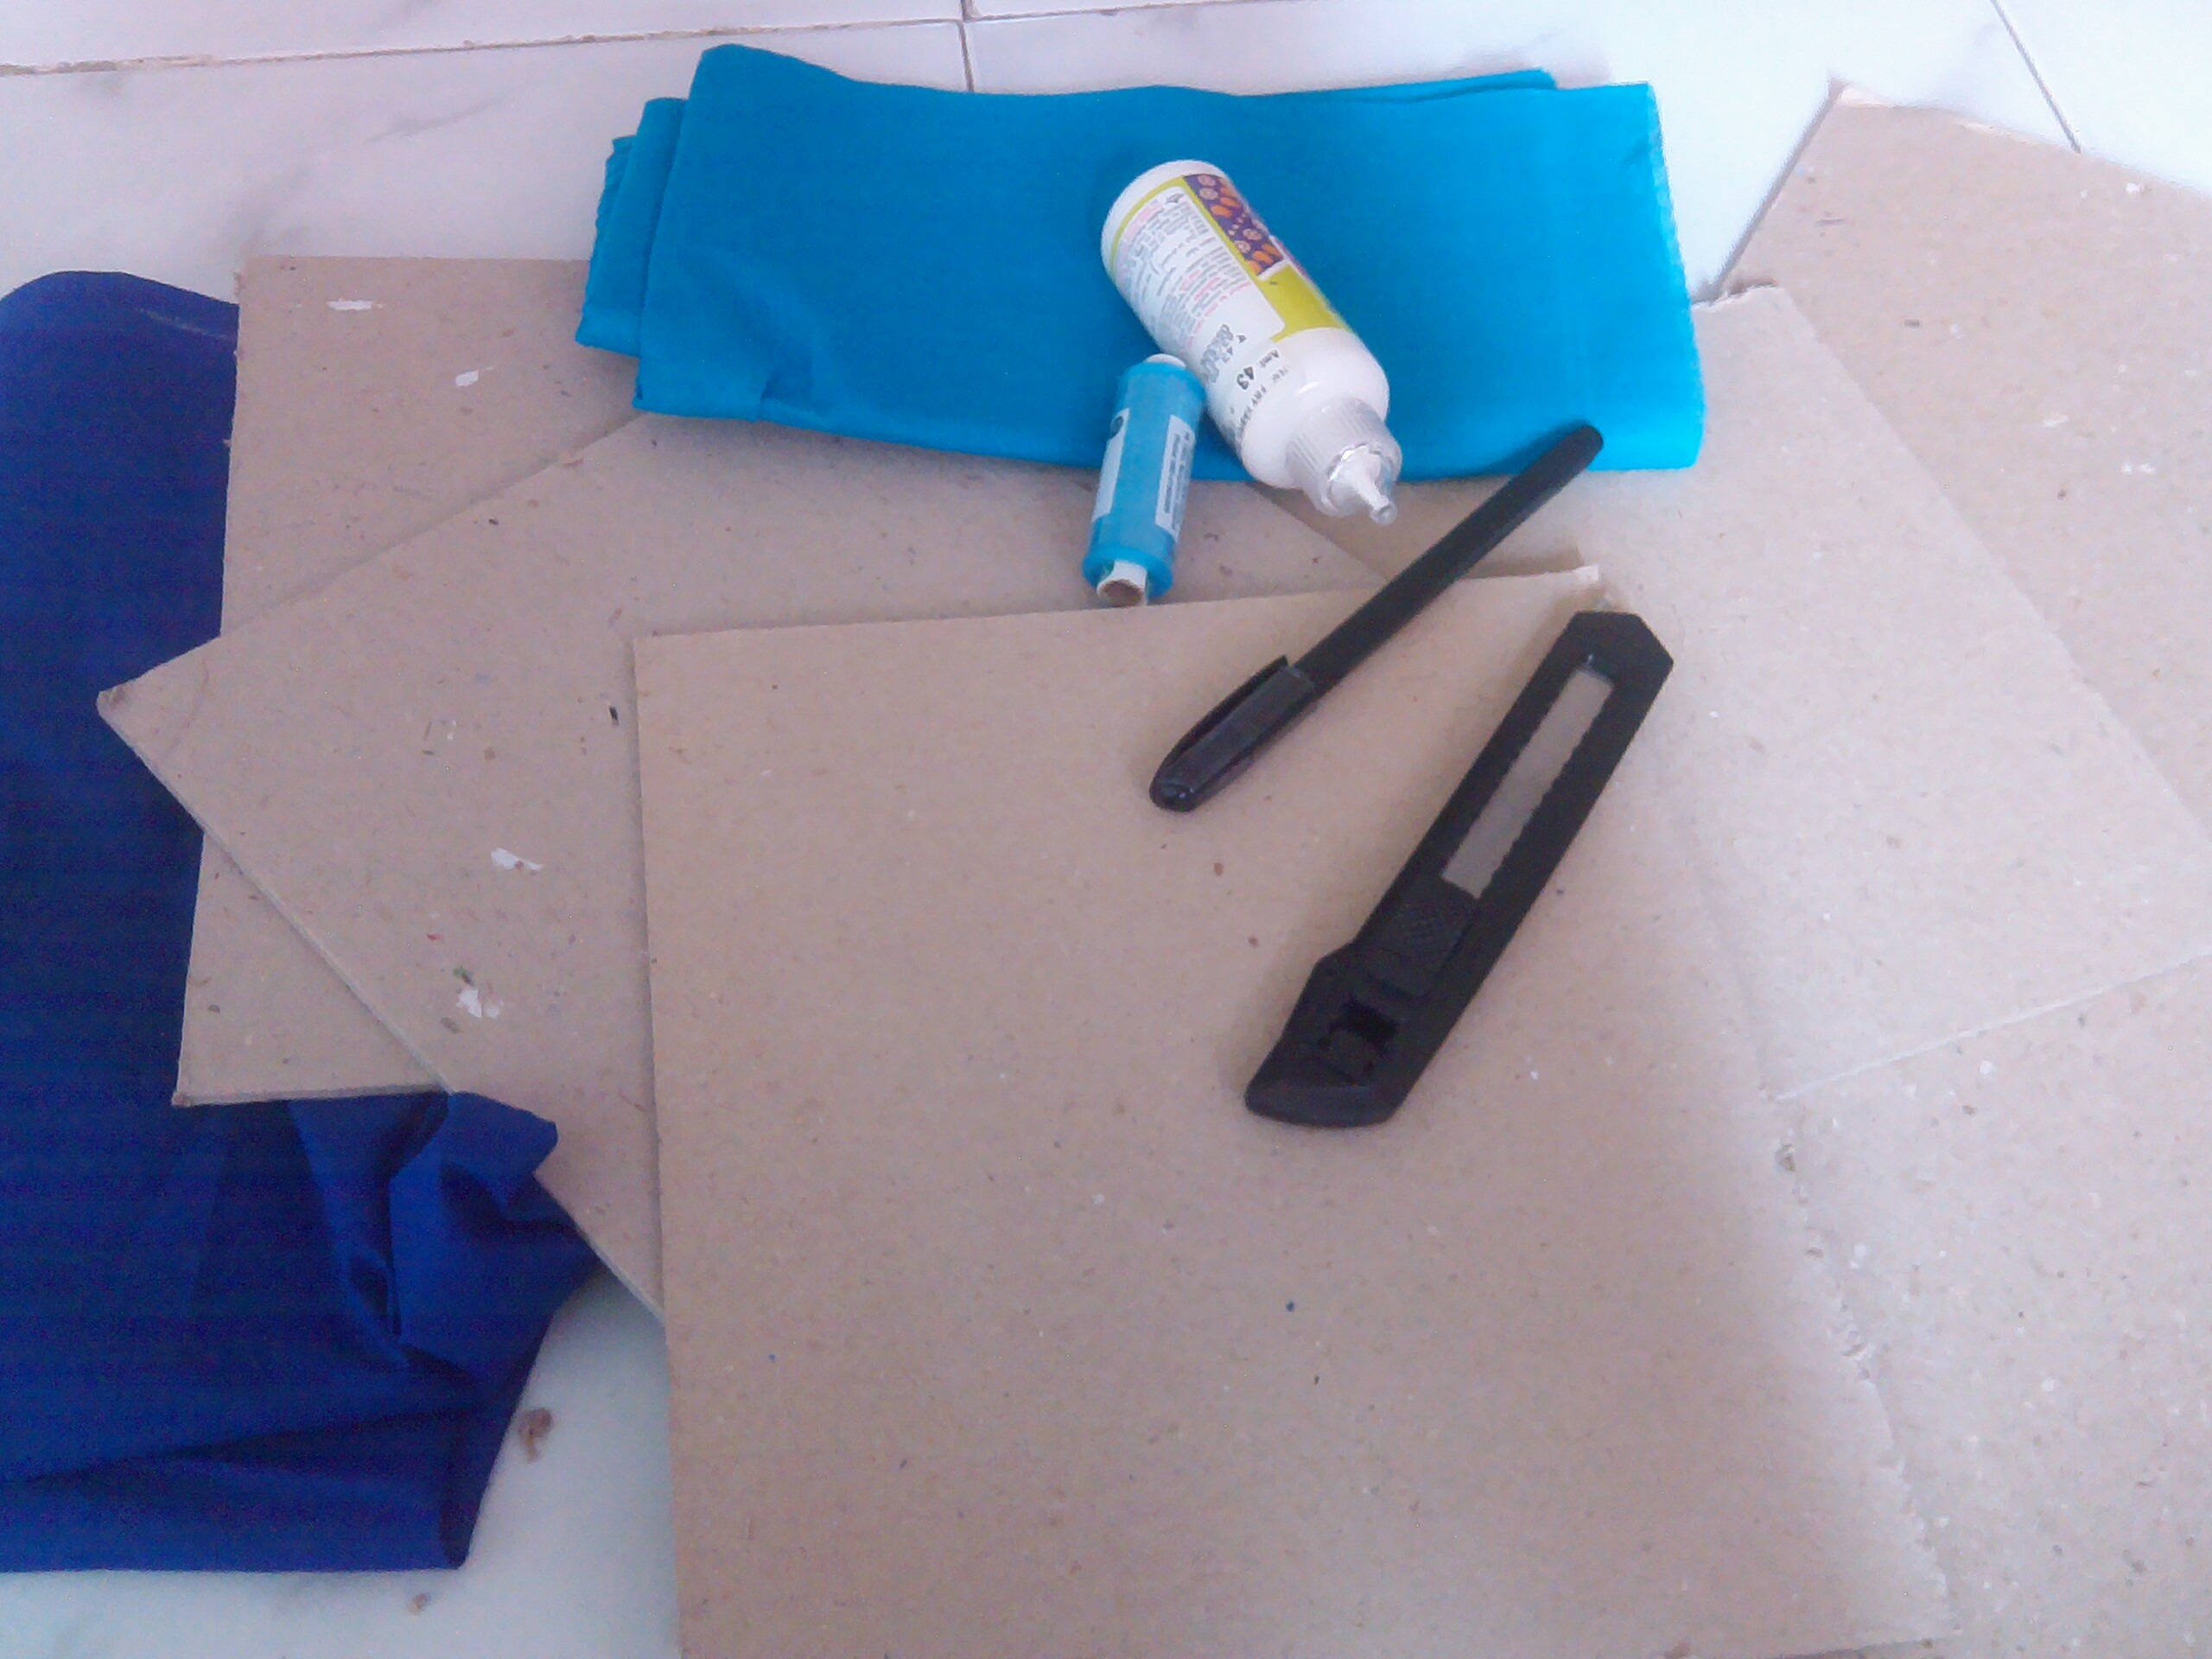
IMG_20150822_124544

Once the cardboard has been equally cut, its time to cut two sides of the square in equal halves again.as shown below.
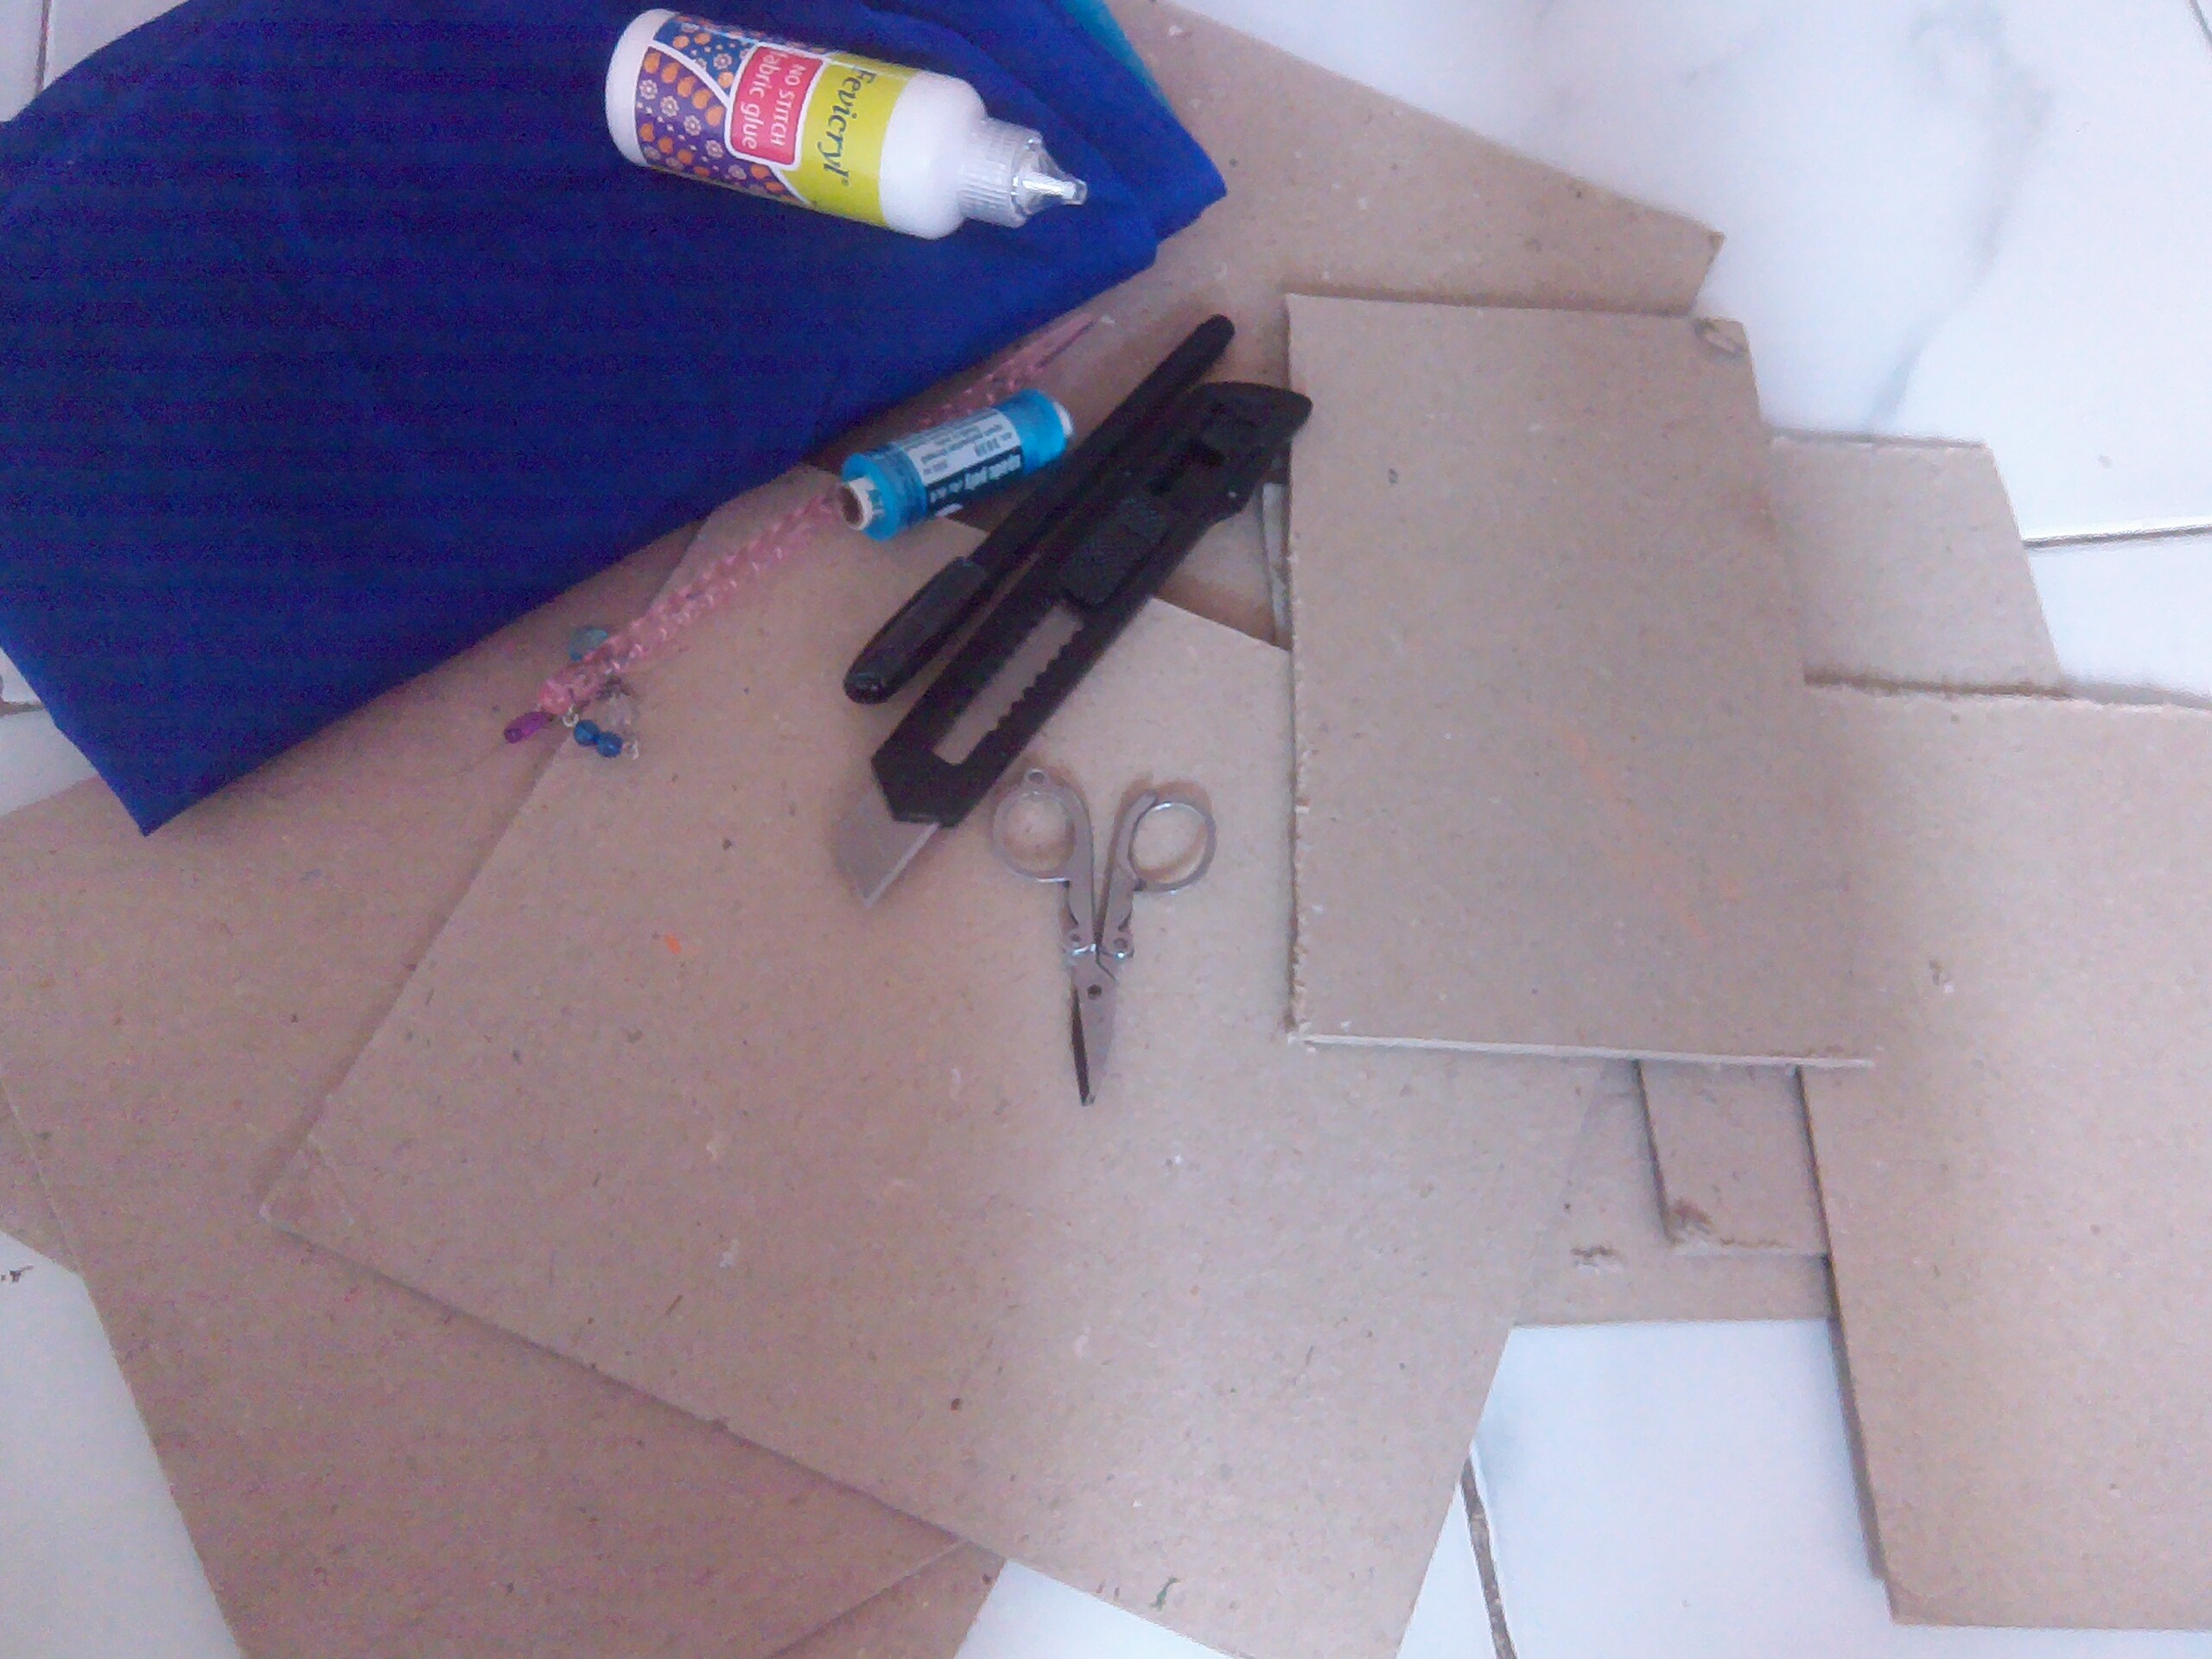
IMG_20150822_125409

Now altogether you will be having 6 cardboard sheets. Spread the fabric on the floor. Glue all the sheets to the fabric. Keep in mind to place 20cm board first, then two 10cm board, again 20 cm board then finally two 10cm board. Once its glued fold the fabric and complete the box. Leave a bit of gap between two 10cm sheet so that they can be folded inwards.

IMG_20150822_123833

Once the box is complete its time to make the cover. Again take the cardboard sheet. Cut a square board equal in size as the base of the box, along with it cut four rectangular small sheet in order to make the cover.

1

Use colorful paper to cover the rim of the lid. Once you have glued it, take another sheet to cover the cardboard.

2

Use bright and colorful sheet so that your box gets a vibrant look.

4

5

Its time to decorate the top portion of the lid and the sides of the box. Now this is were you can play with your creativity. you can glue anything of your choice. As I was about to gift this box to my friend who just like a cute lil doll I chose this.

DSC_0076

DSC_0075

DSC_0074

DSC_0072

DSC_0071

DSC_0065

DSC_0064

DSC_0063

DSC_0067

DSC_0057

I know its bit confusing, but still give it a try… I am there to help and make it easy for you 🙂 🙂
Pen stand

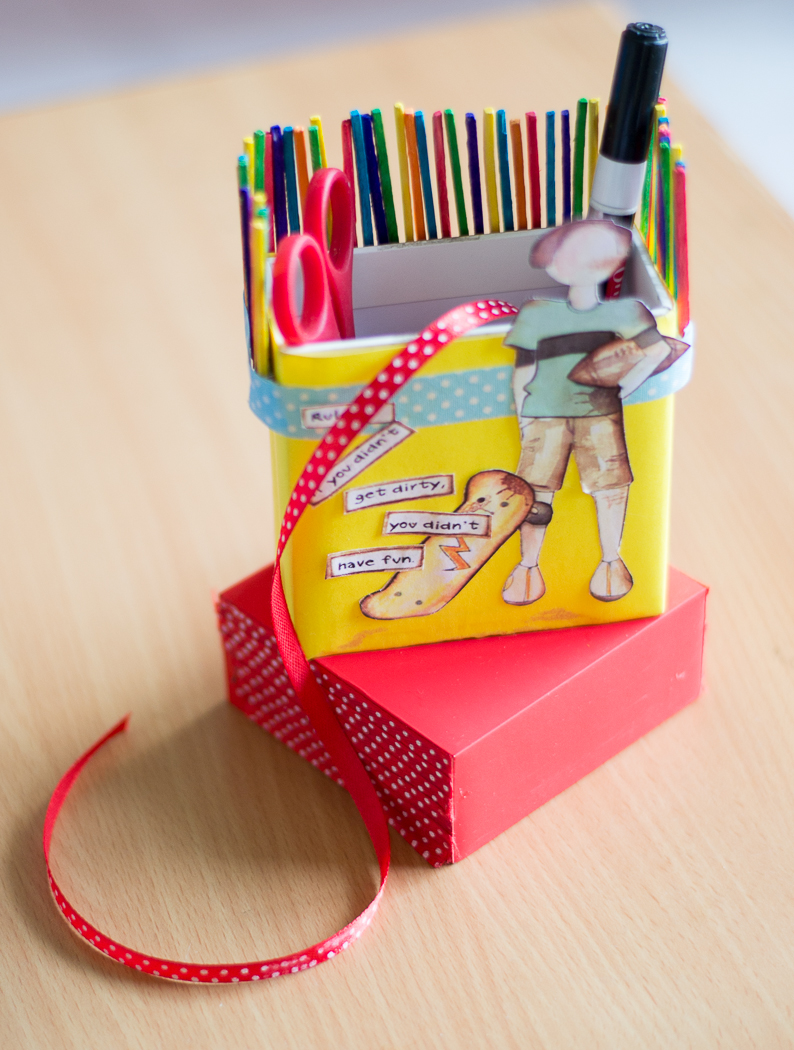
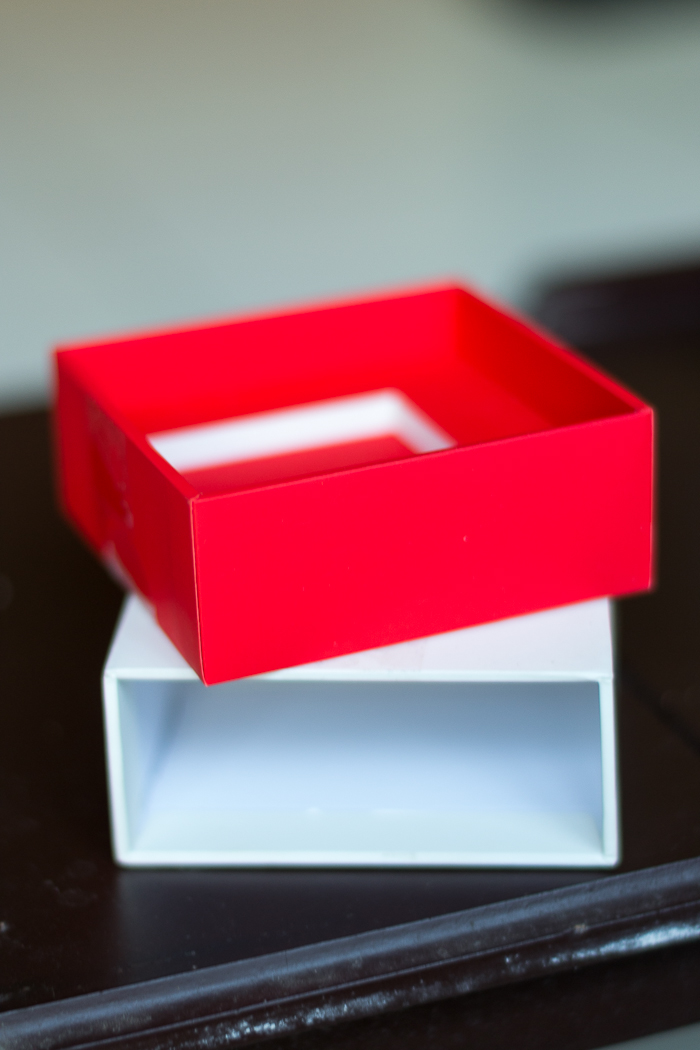
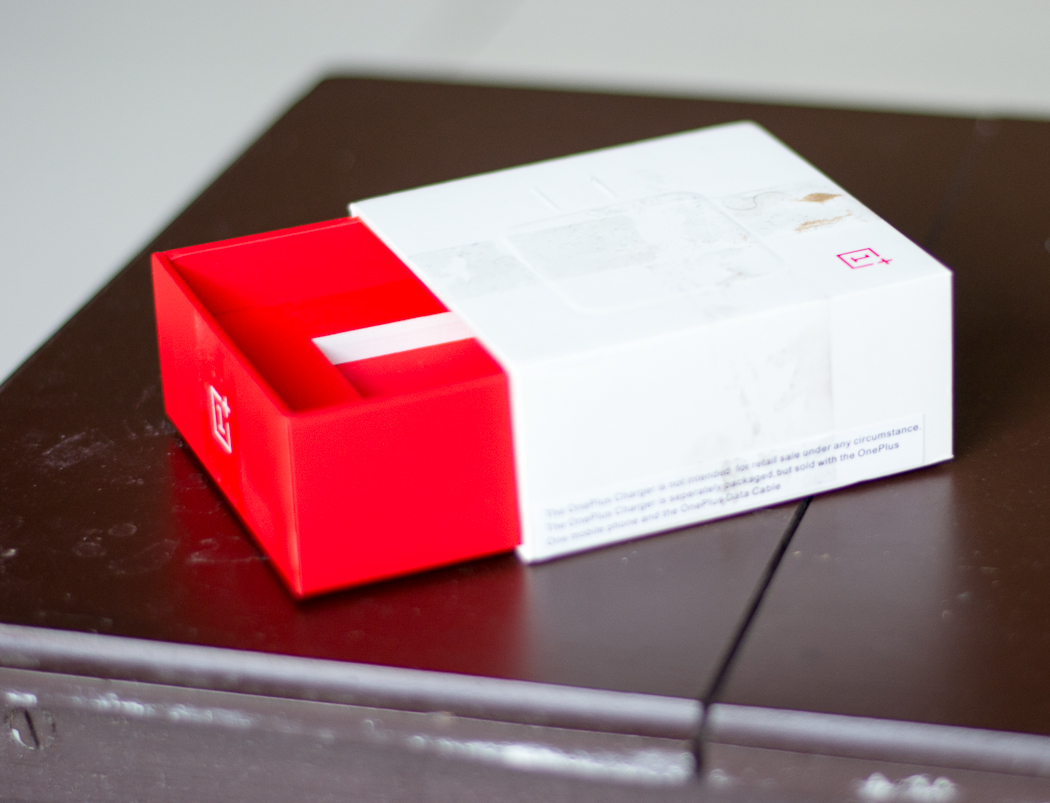
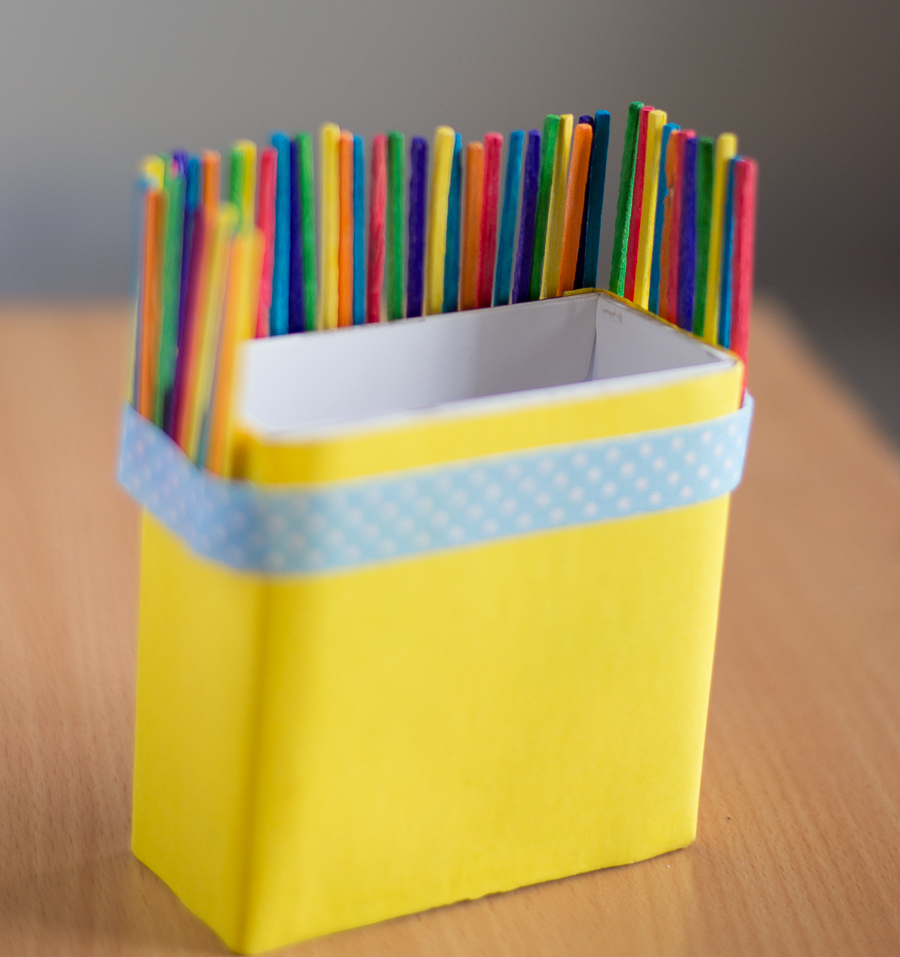
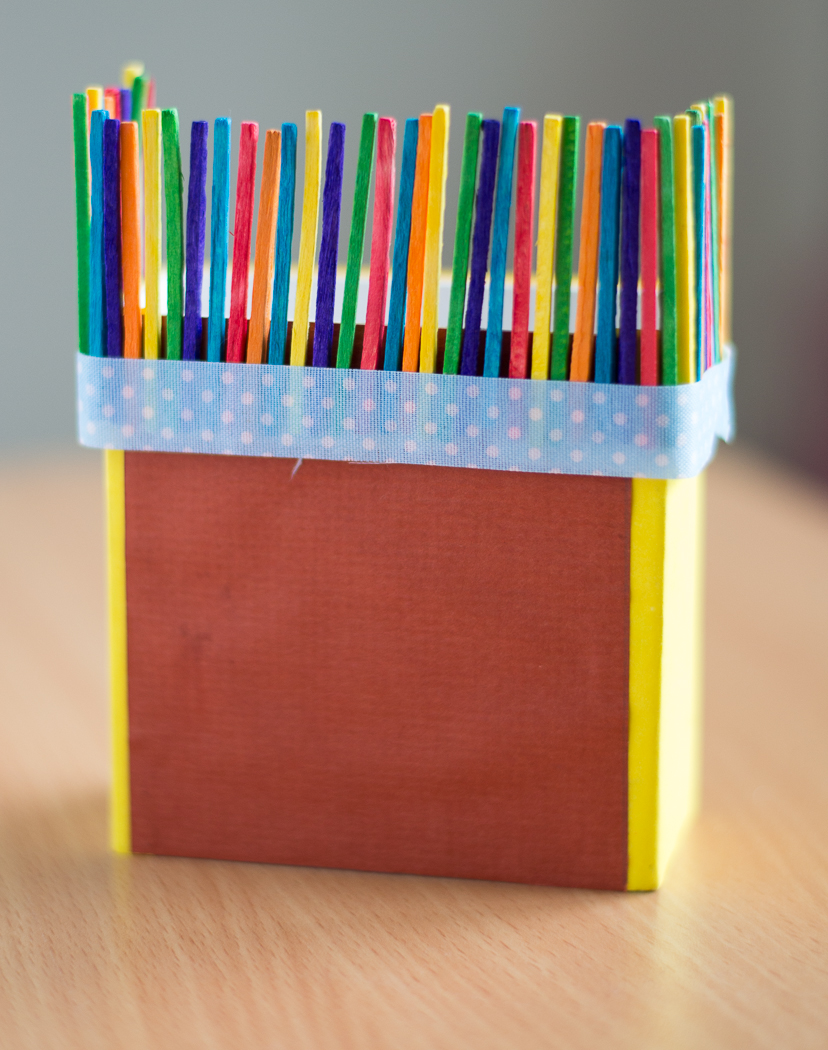
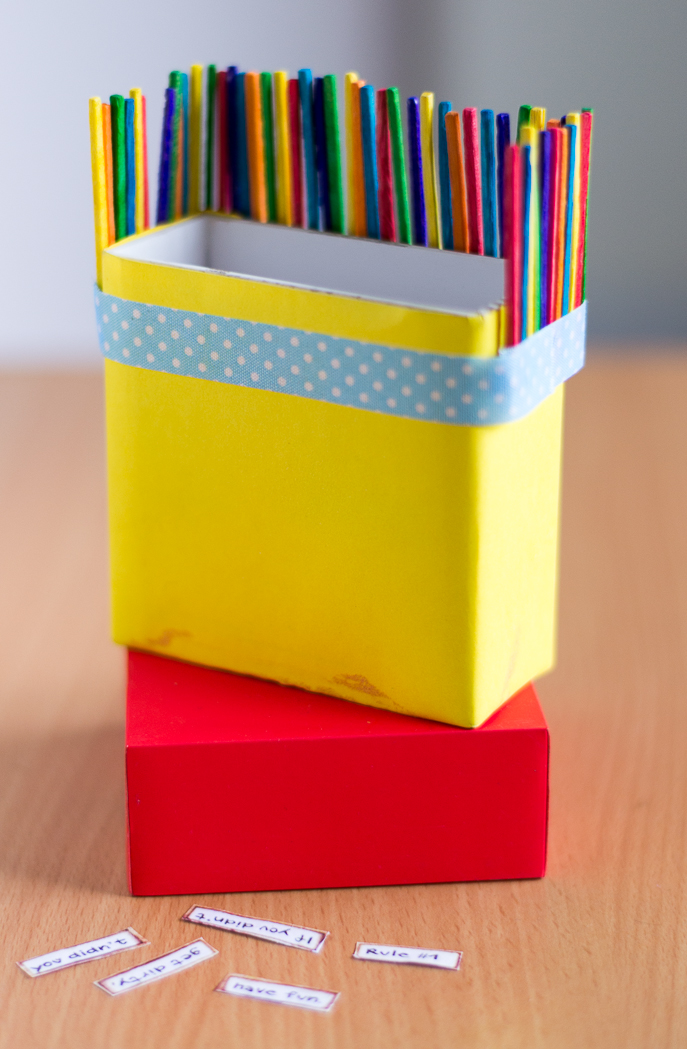
This pen stand has been up-cycled using a charger box which came along with one plus one phone, Here is small and compact organizer.

DSC_0074

Once the phone is in use, we have to make space for all the cover boxes that came along with it. With time we tend to throw them away. I have used the charger box and up-cycled it.

TRY IT OUT:

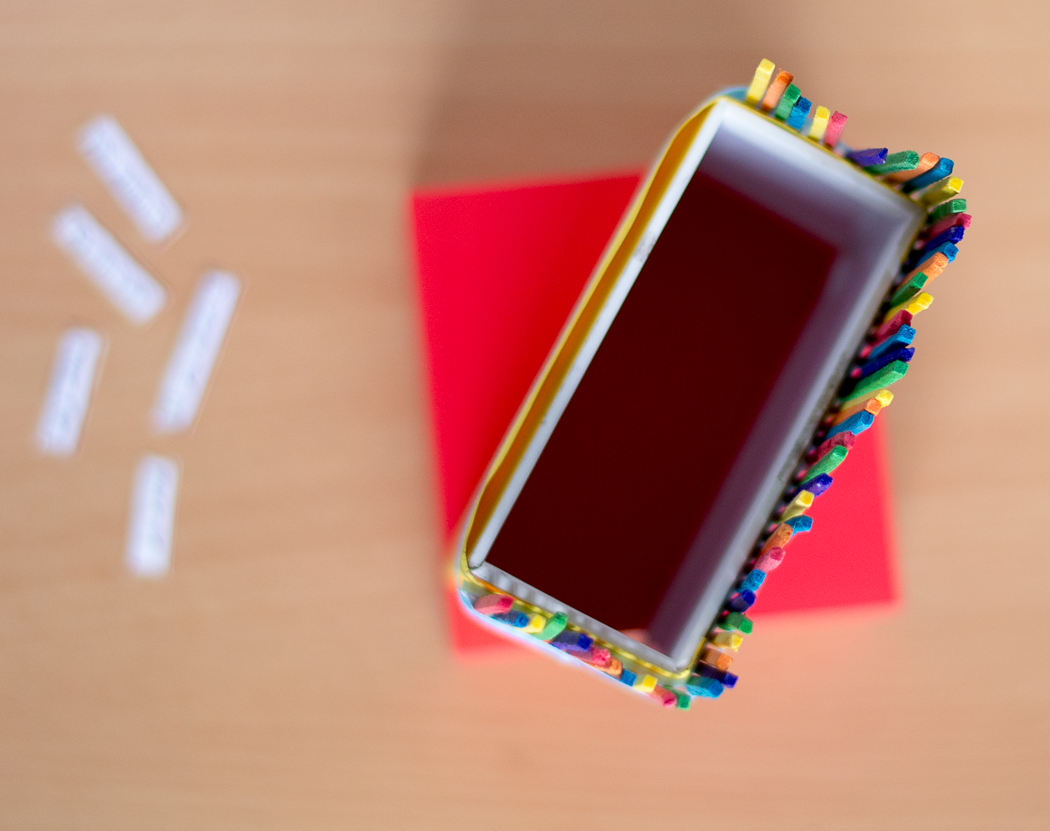
Take the charger box and remove all the stickers attached to it(like price tags etc)

DSC_0413

DSC_0418-2

Take colorful papers, stick the craft paper of your choice to the box.I have used yellow and brown paper and have kept the base uncovered (original red base gives a vibrant look the box).
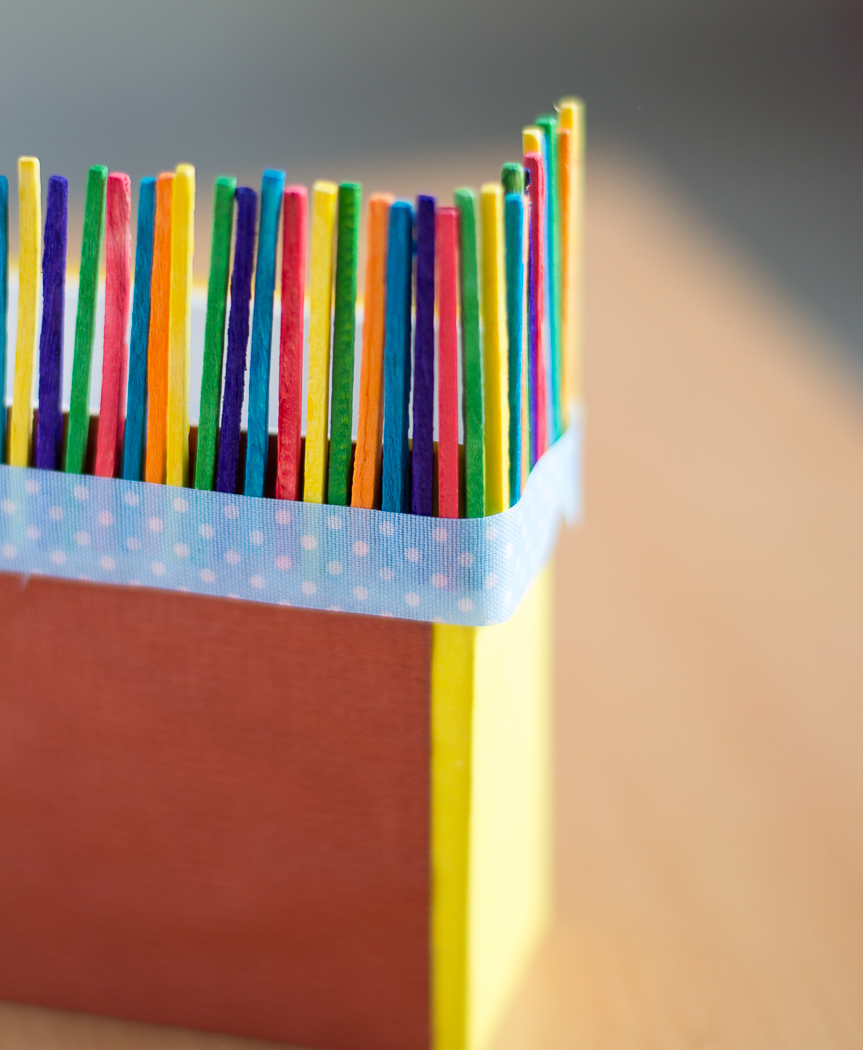
Use small soft wood sticks to cover one end.These help to increase the overall height of the holder.

DSC_0064

DSC_0063

DSC_0061

Upper portion is over.Now its time to attach the base.Use glue to stick both portion together.

DSC_0065

DSC_0066

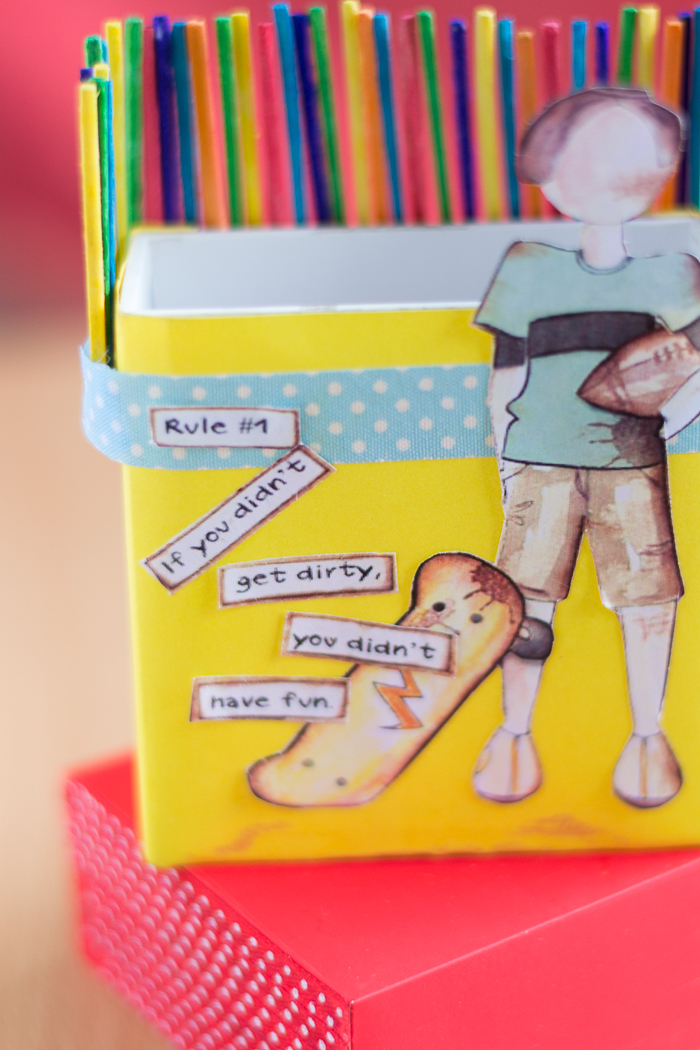
Once both the parts are glued together all you need to do is cut out few cartoon characters or images of your choice and stick to the front portion of the holder. I made this pen holder for my friends son so I used a cool kid image cut out.

DSC_0071

DSC_0073

So try this idea yourself and don’t forget to share your experience with me 🙂 🙂

Egg shell surprise gift

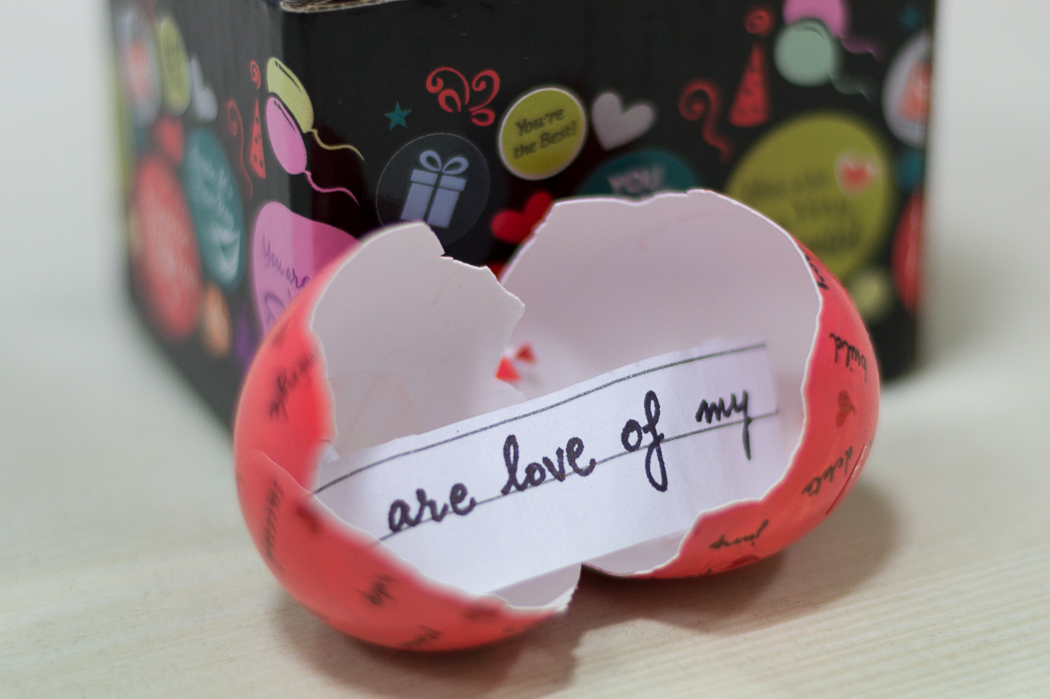
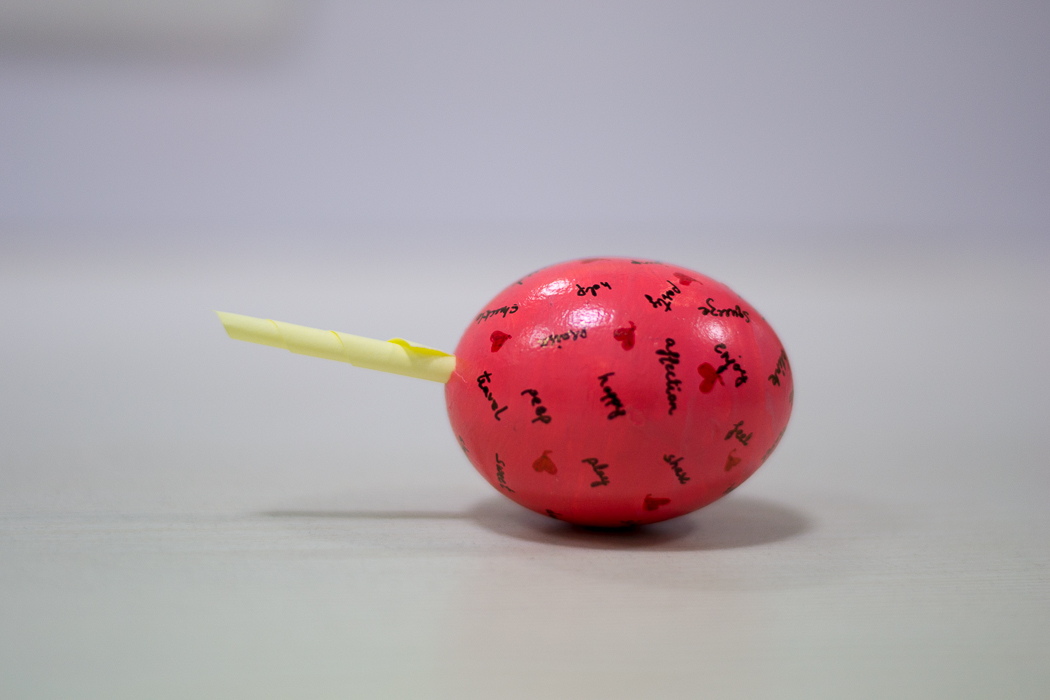
A beautifull way of conveying message to your loved ones.Its also a perfect idea to show new baby is born.

DSC_0183

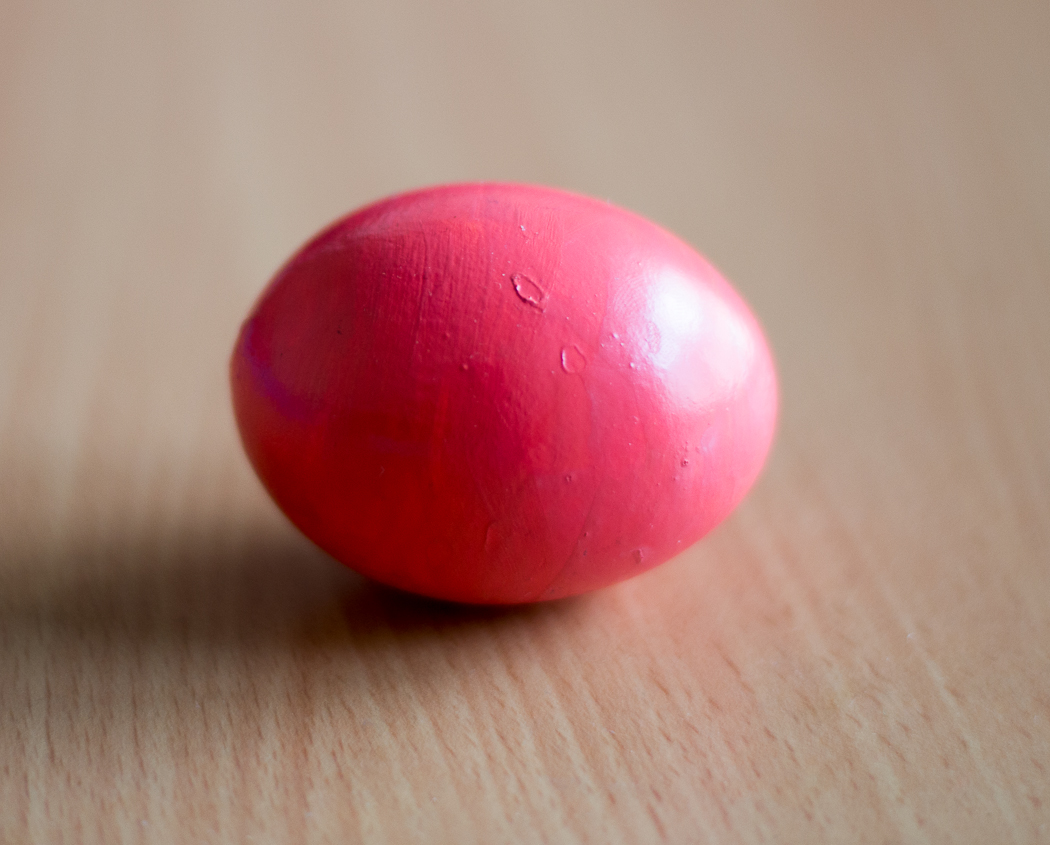
Egg shell art is well known.I tried making a surprise gift using an egg shell.This gift idea is best one for all those who want to express their love in a beautiful way. Beautifully adorned egg shell can be priceless gift this valentine. All u need is some acrylic color and a fully cleaned egg.


Try it out:

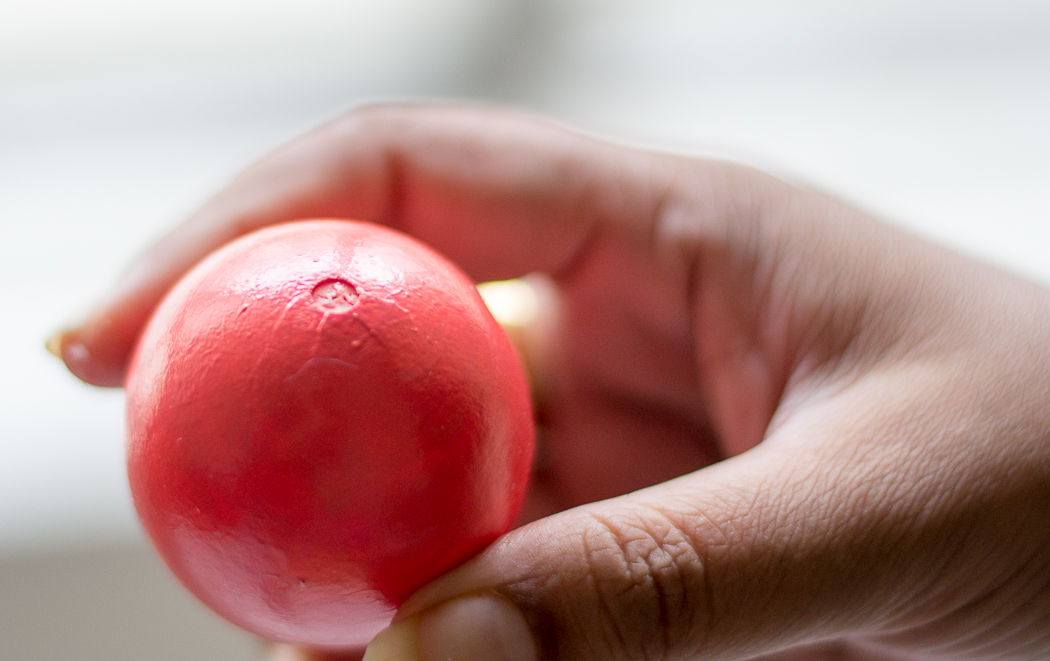
Take an egg.Drill a small hole one side with help of any sharp instrument.To clean the egg completely drill a small hole on the other edge too..This helps to remove egg yolk completely as its viscous.Once everything is removed, clean the egg with running water.Keep it aside to dry.

DSC_0077

Use beautiful acrylic colors to paint it.The hole which has been drilled should be smaller.

DSC_0079

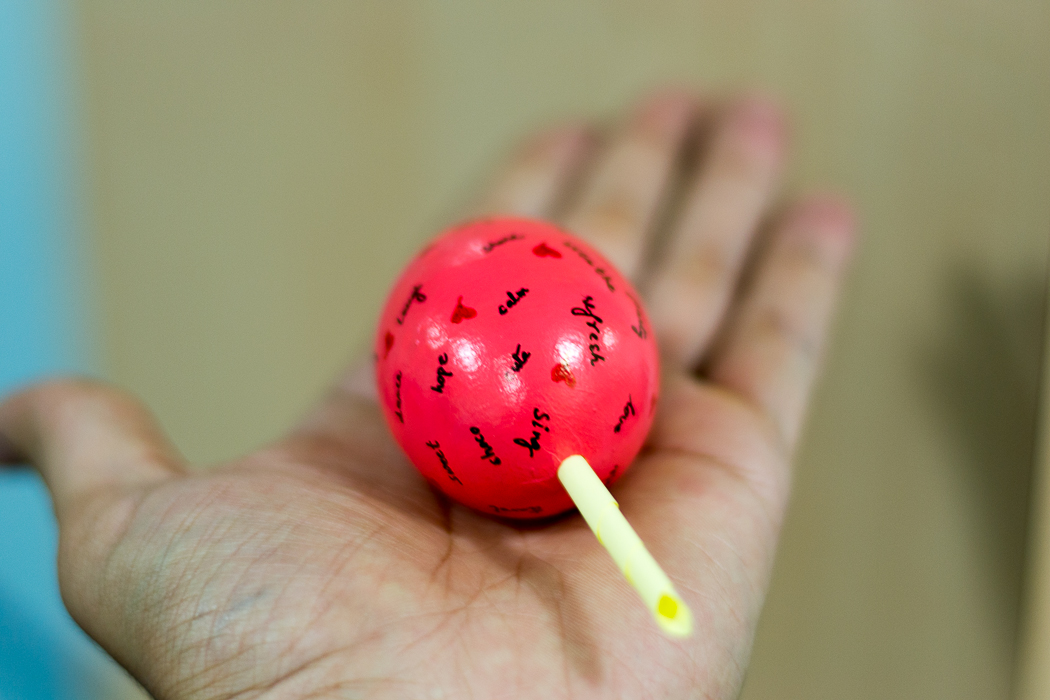
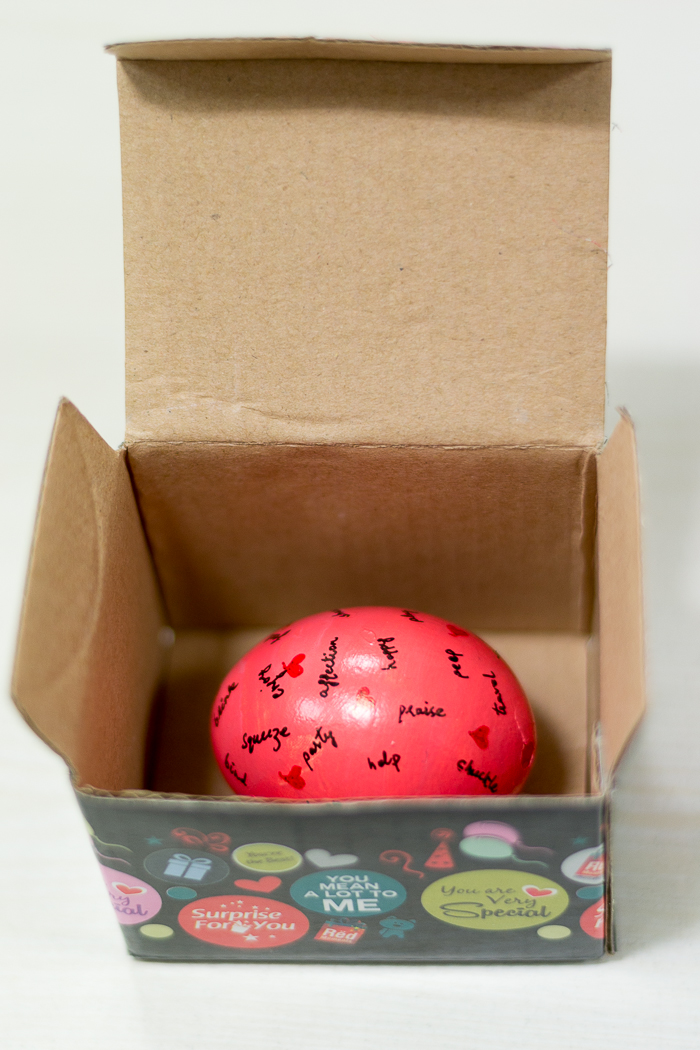
color the egg shell with design of your choice.I here wrote short words which gives it a beautiful look.Insert a message note through the hole.

DSC_0170

Keep the message note small, as it should fit inside.

DSC_0162

The beautiful gift is complete.Take a small gift box of your choice.Place the egg shell inside the box and wrap it up.And you are done.

DSC_0174

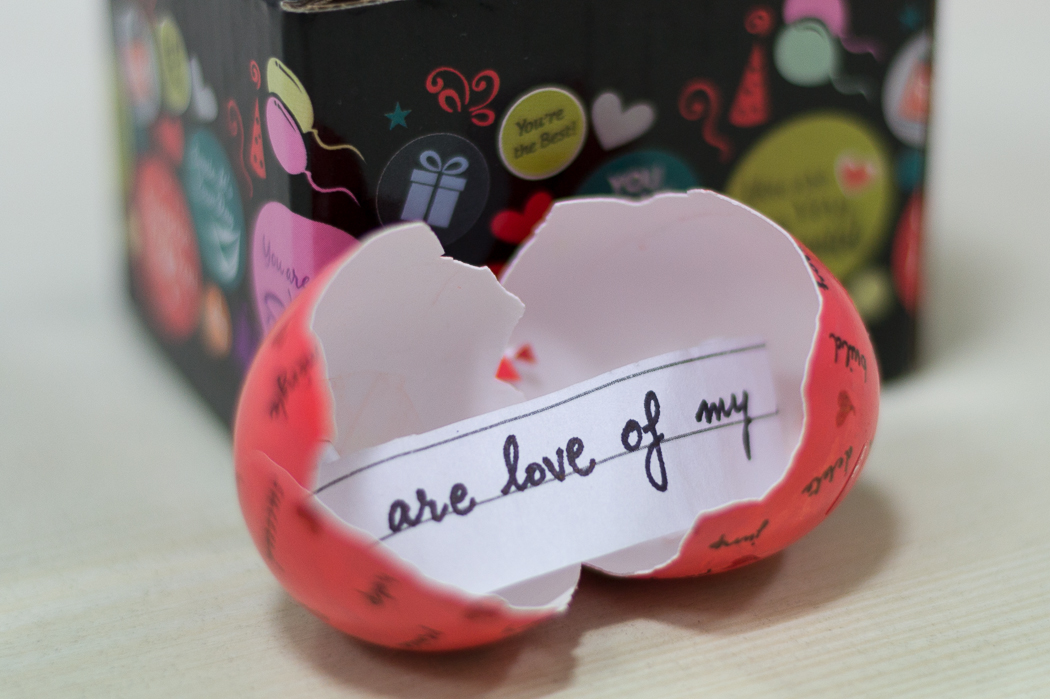
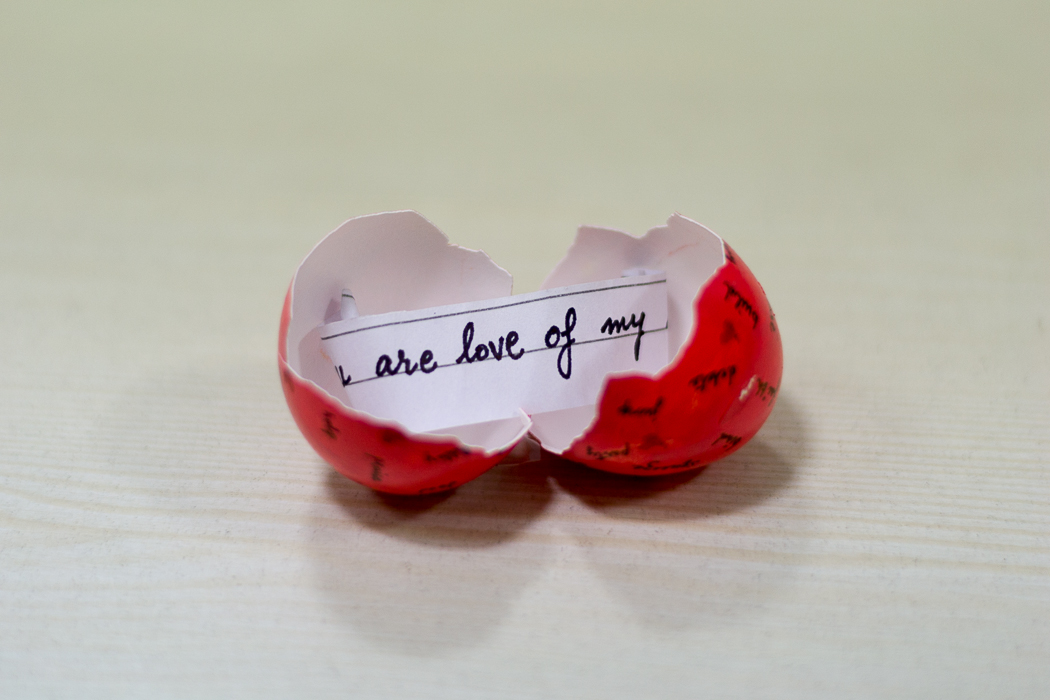
When the gift gets opened,all your love protrudes out flawlessly.

DSC_0183

DSC_0192

Waiting to listen the perfect reaction you got when the gift was opened. 🙂 🙂

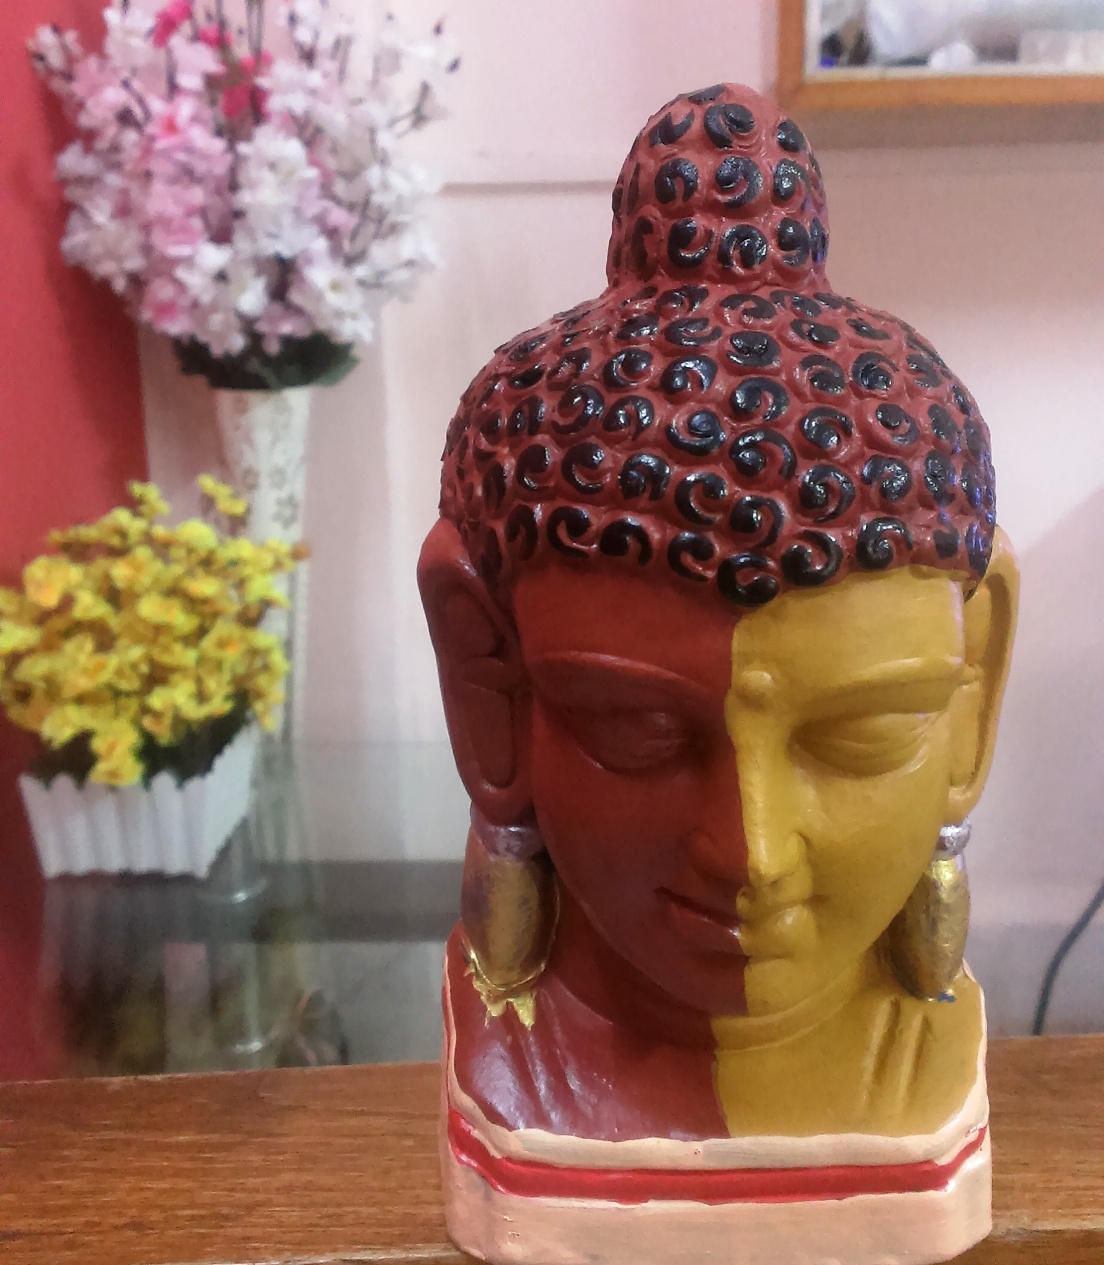
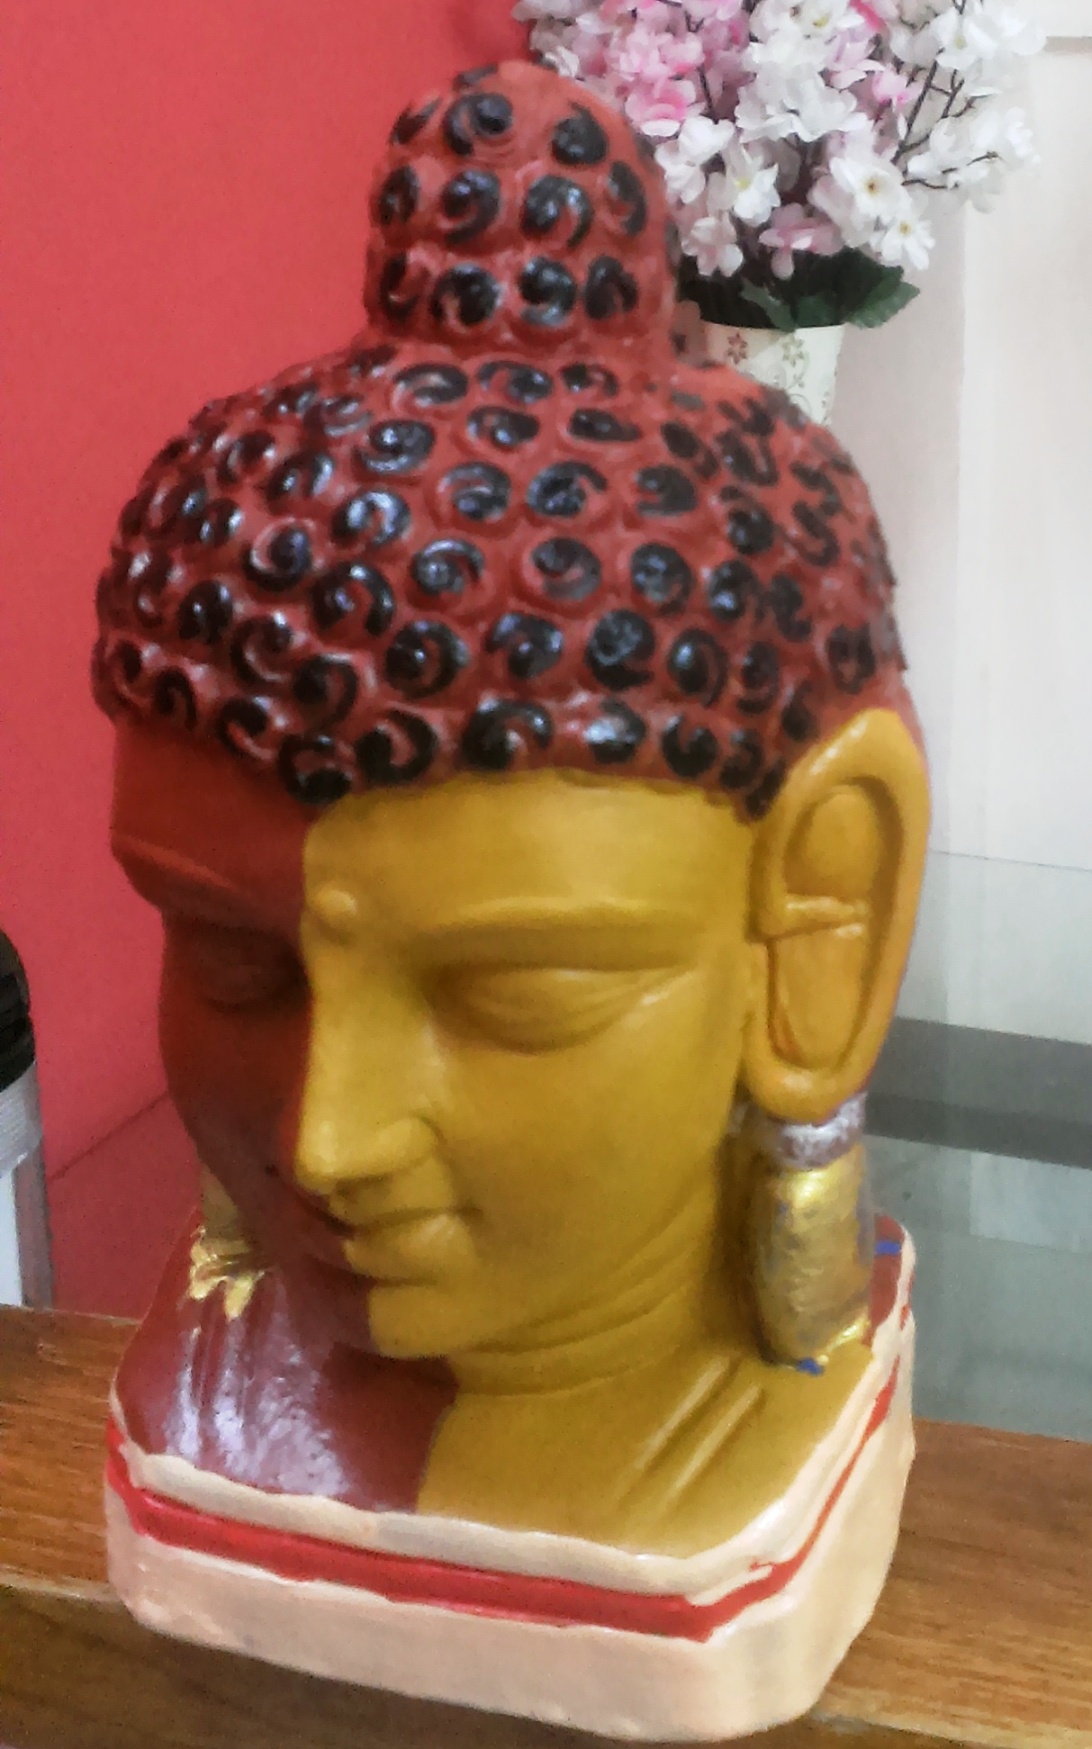
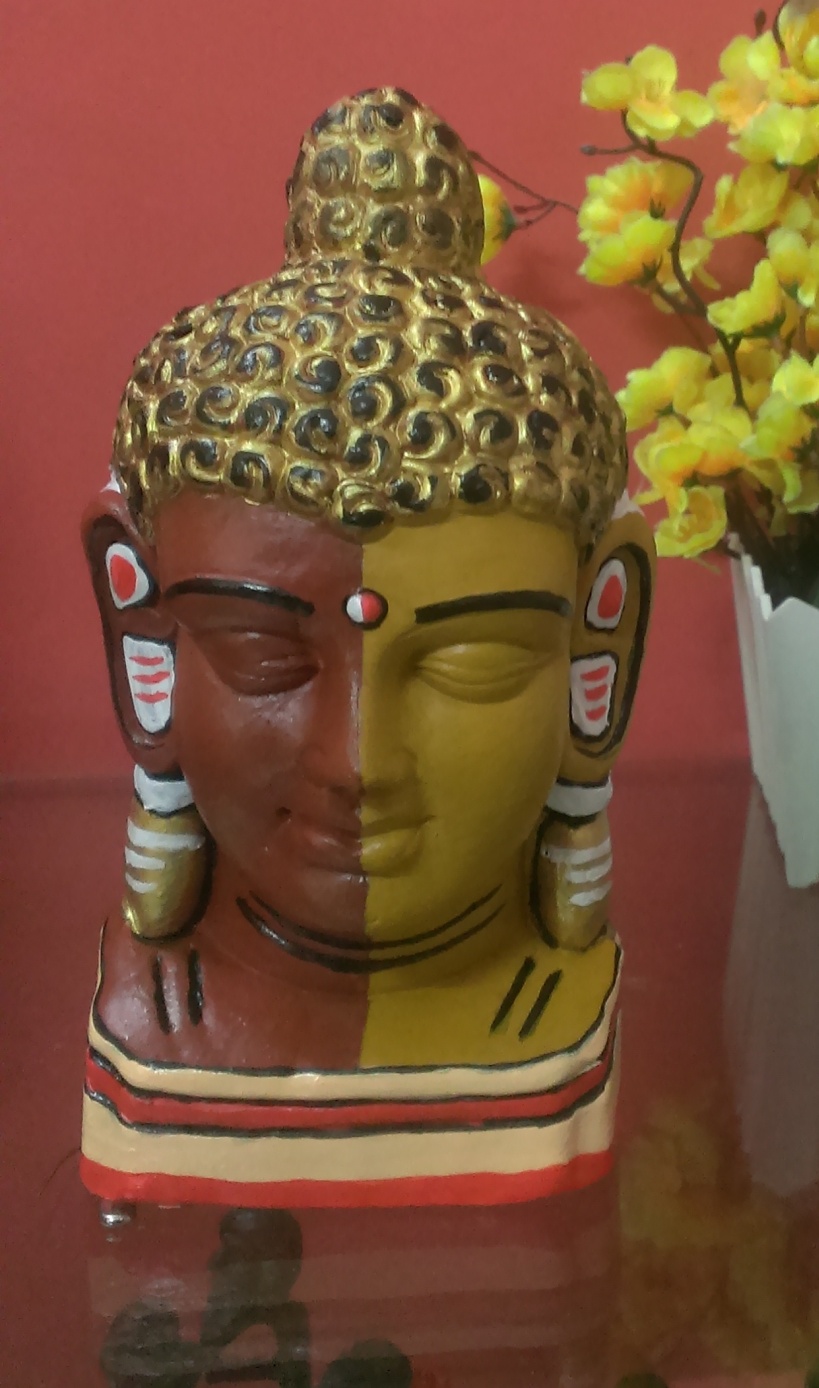
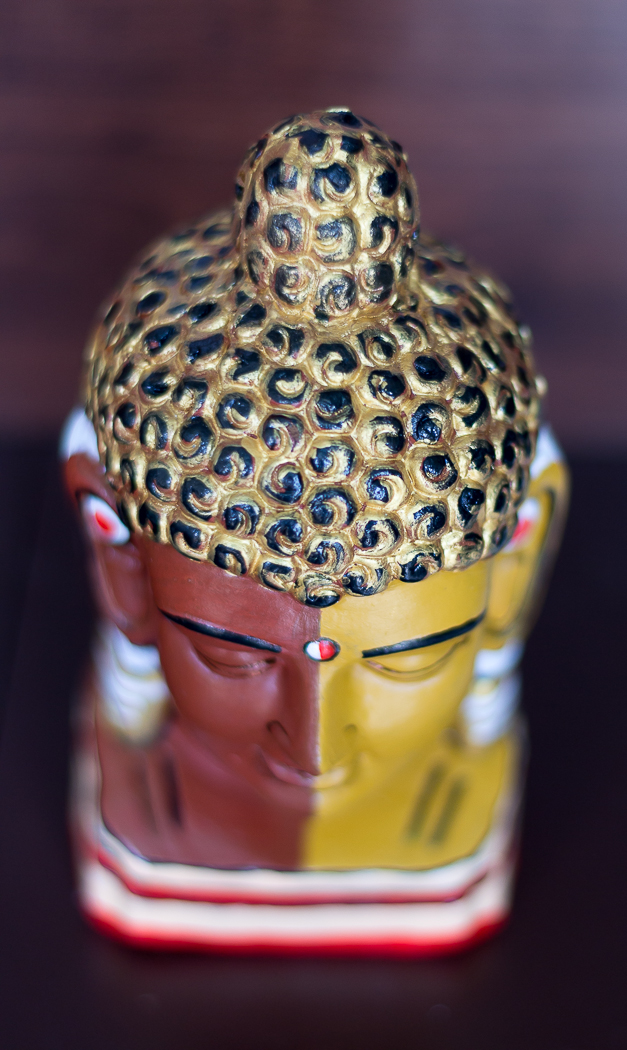
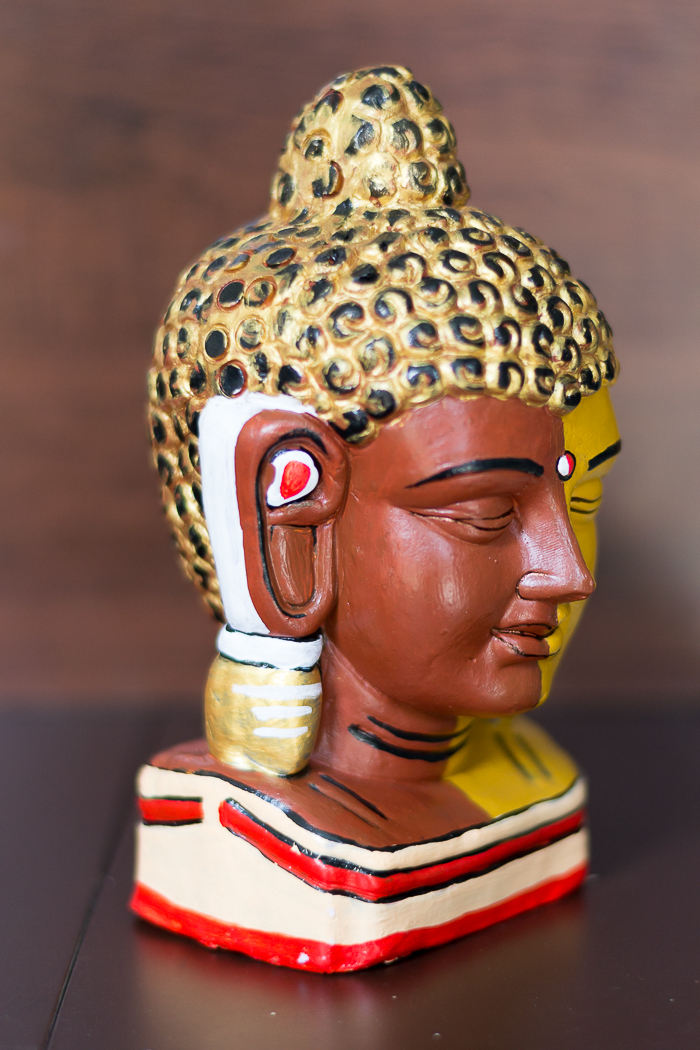
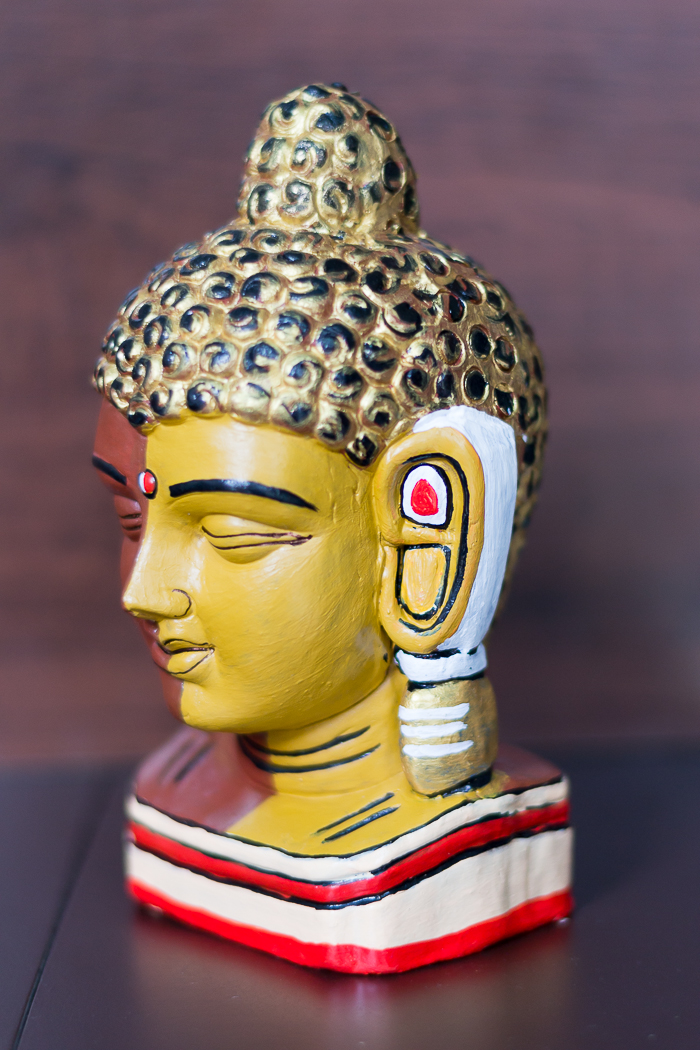
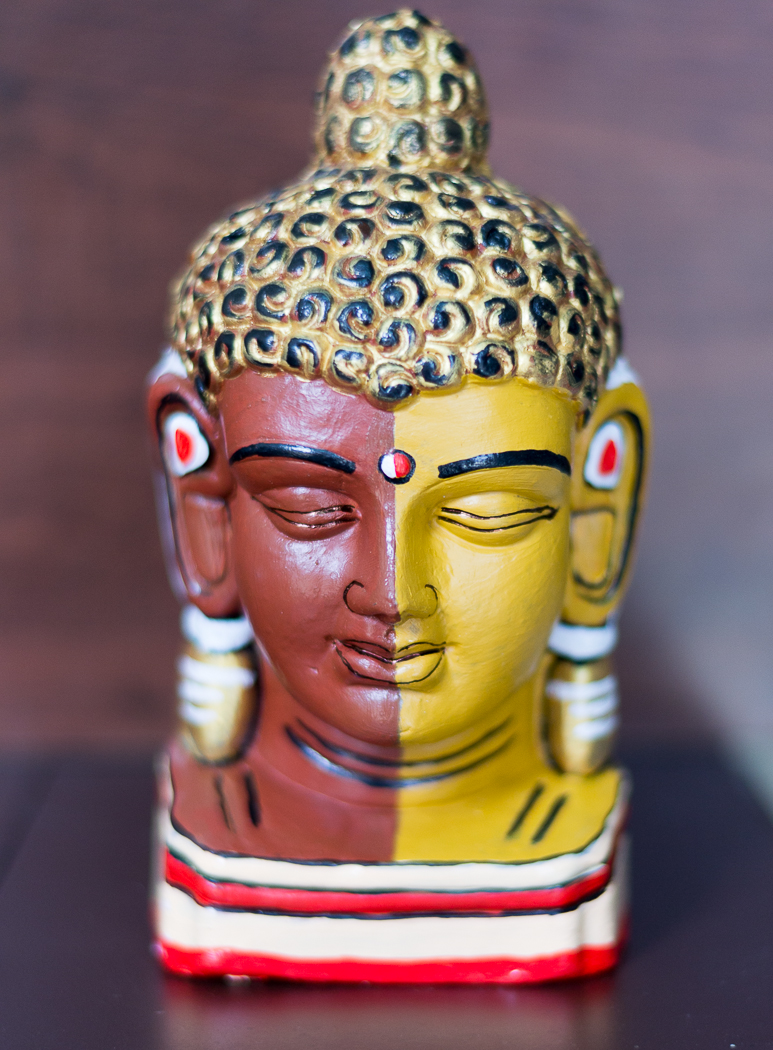
Buddha statue

Hand painted Buddha statue and used for home decor.Bright colors adds a new charisma to the statue.

DSC_0001


You would have always hovered over from shop to shop to get something which you can keep on your living room shelf.Only thing that refrains you is the overly prized decor items. So here is idea to color an earthen Buddha statue and make it as beautiful as is your imagination.


2015-06-13 09.53.58


2015-06-13 09.54.28

2015-06-13 13.23.23


DSC_0014


DSC_0011


DSC_0008

DSC_0007

Holder box

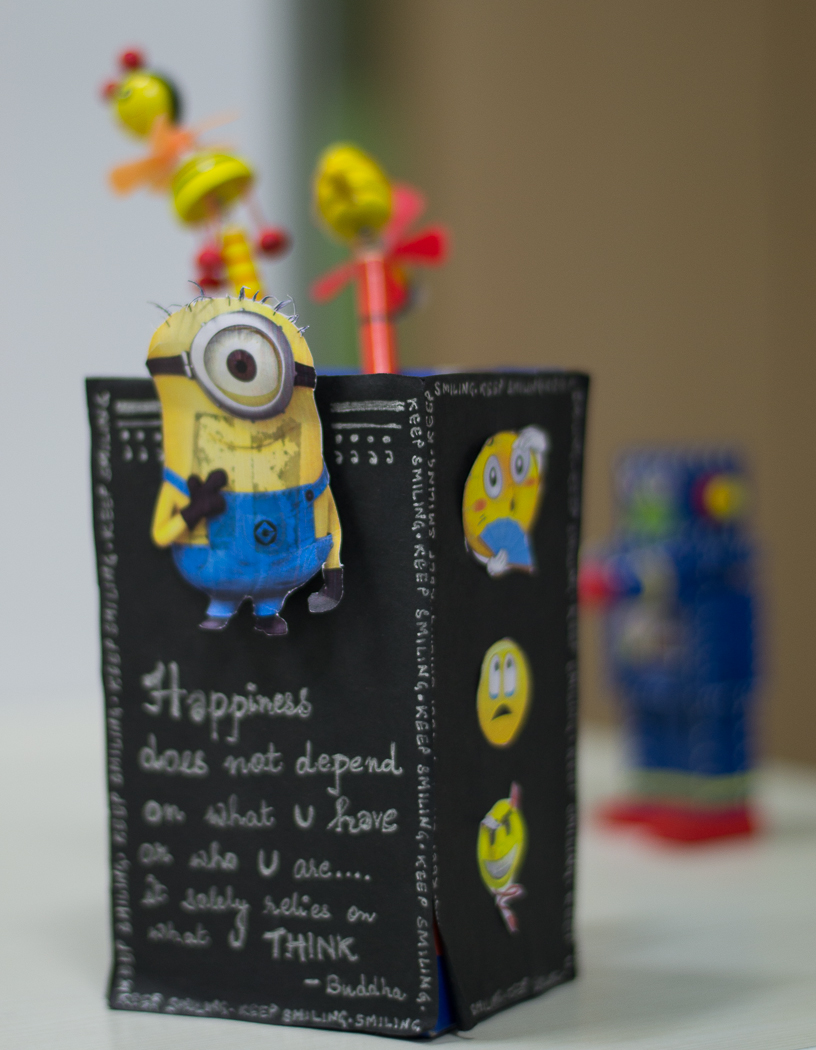
Easily crafted using a mobile phone box,cut and glued minion which looks perfect on a black background.

DSC_0363

One of my favorite among other craft ideas is up cycling cardboard boxes. Here is yet another idea where I have used a mobile phone box and created a holder box with it.

TRY IT OUT:

Take any rectangular box.As its a cardboard box all you need to do is take craft papers of your choice and glue it all over the box.Here I have used simple black color paper,it gives it a clean and authentic look.

While making the holder I wanted to keep it simple. I took few printouts of smileys and cut it into perfect shape.

Glued the cut outs on opposite of the box.Yellow color emoticons look beautiful when glued to the black outer cover.

Now its time to take printout of minion and stick it to the front portion of the box.

In order to decorate the box all you need to do is write a beautiful message which would energize you whenever you happen to take a glance at the holder box 🙂 🙂

Organizer box

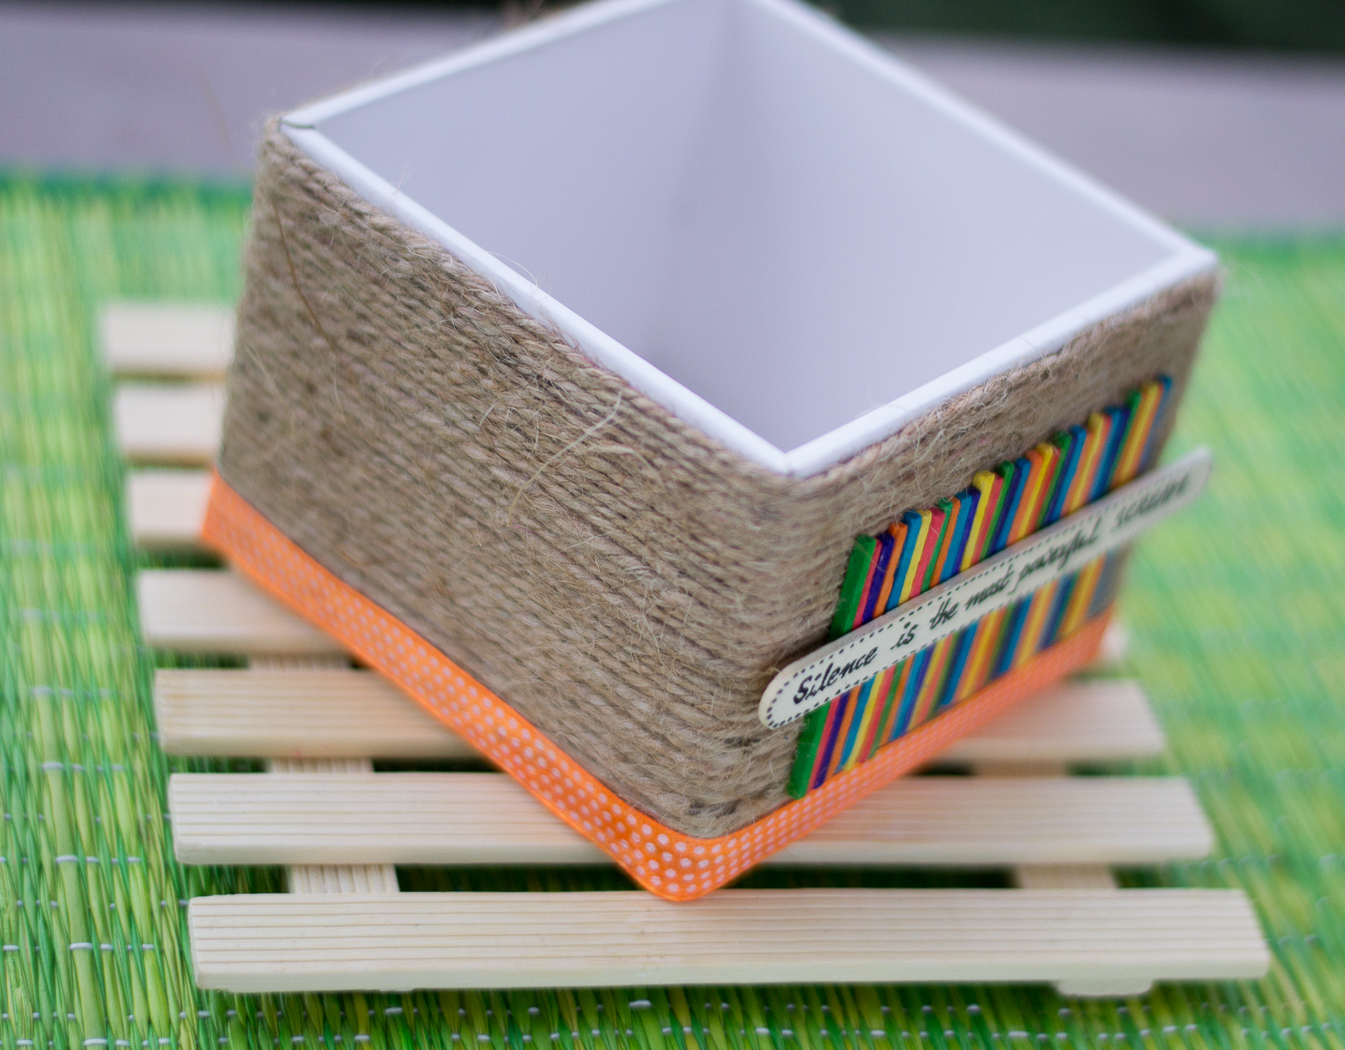
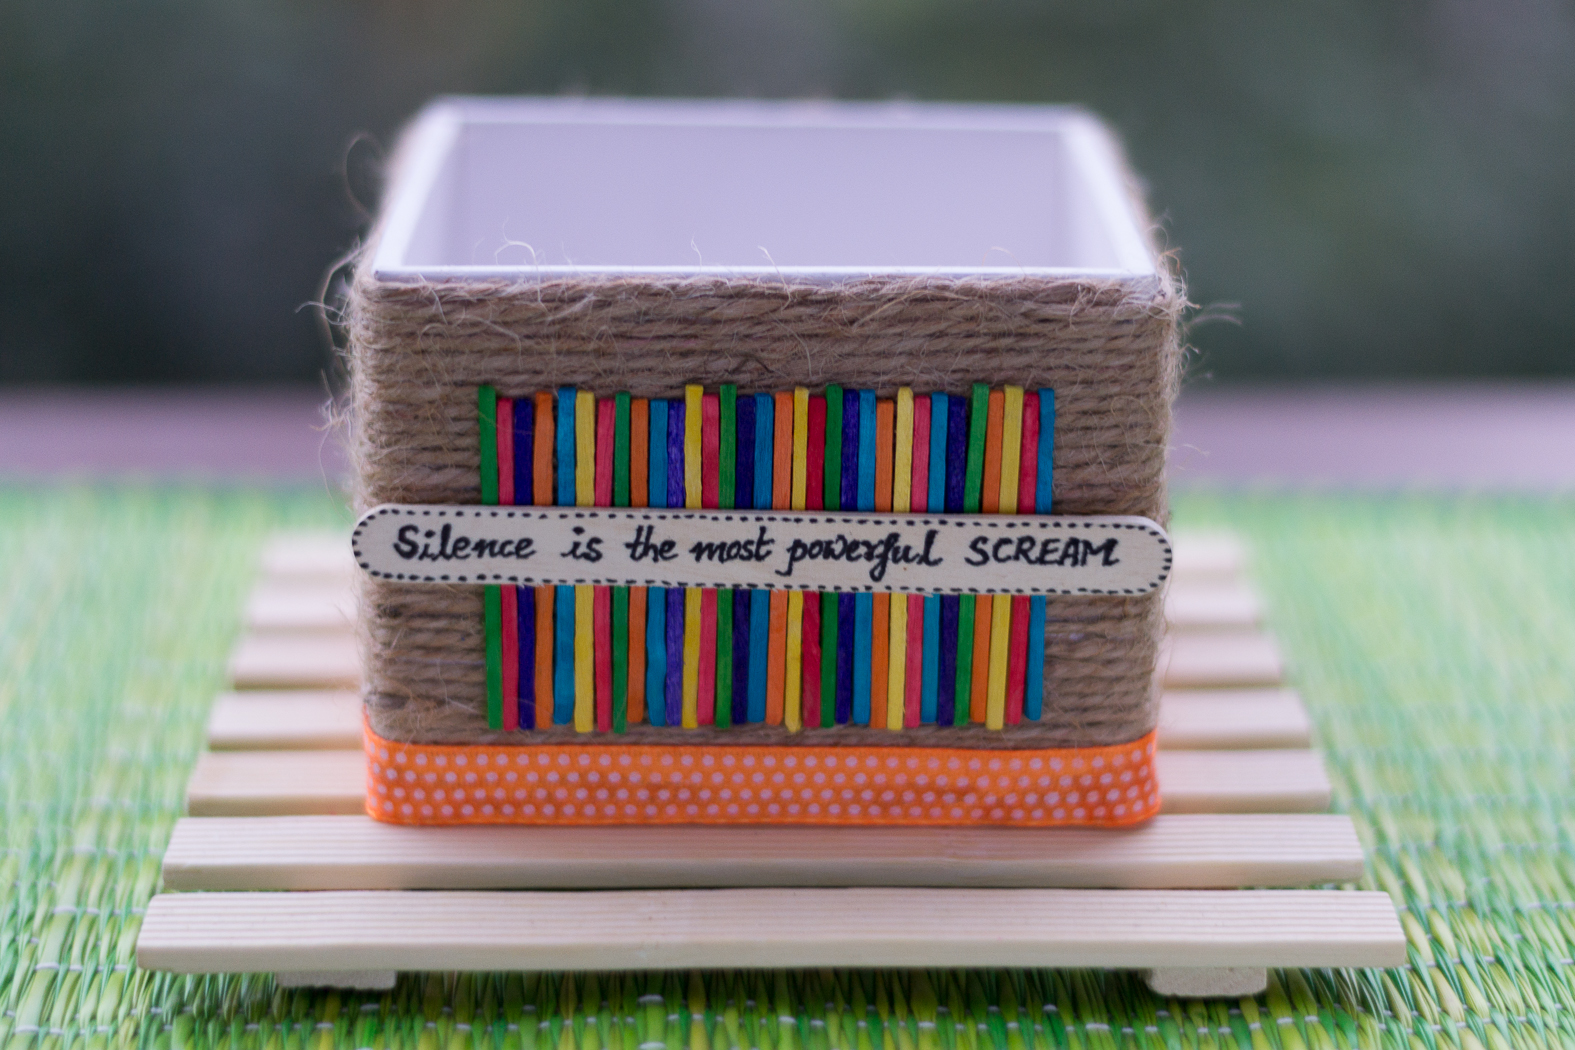
I got a chocolate box,thought to up-cycle into an organizer box,useful for stationary and cutlery items.

DSC_0050

There are so many cardboard boxes which gets accumulated with time.I love use boxes of different sizes and shapes to up-cycle it and use it various other purposes.

TRY IT OUT:

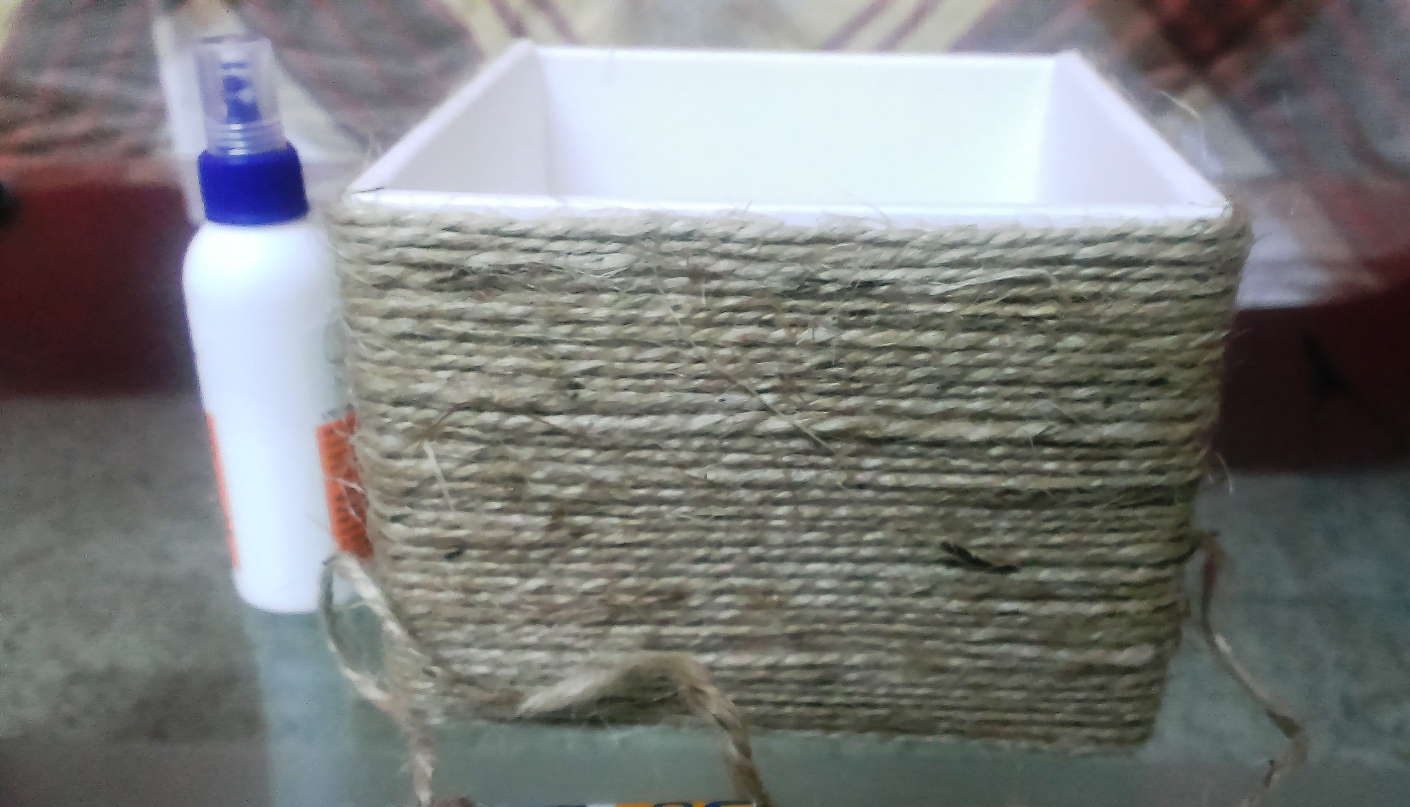
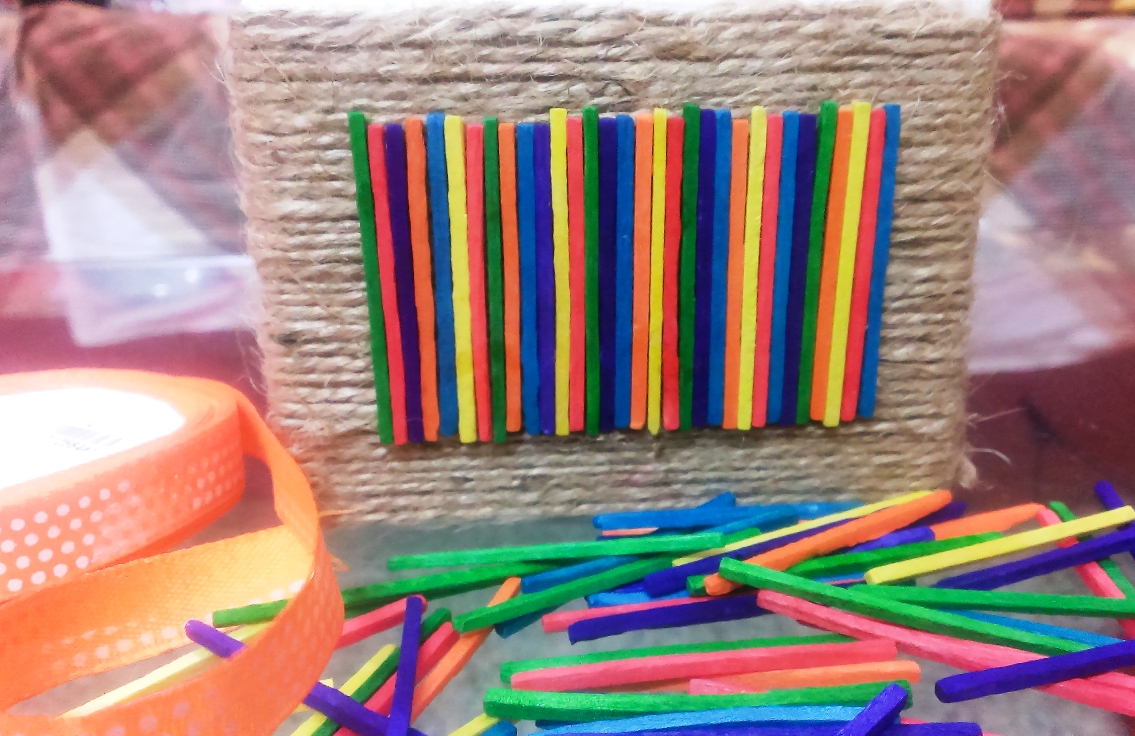
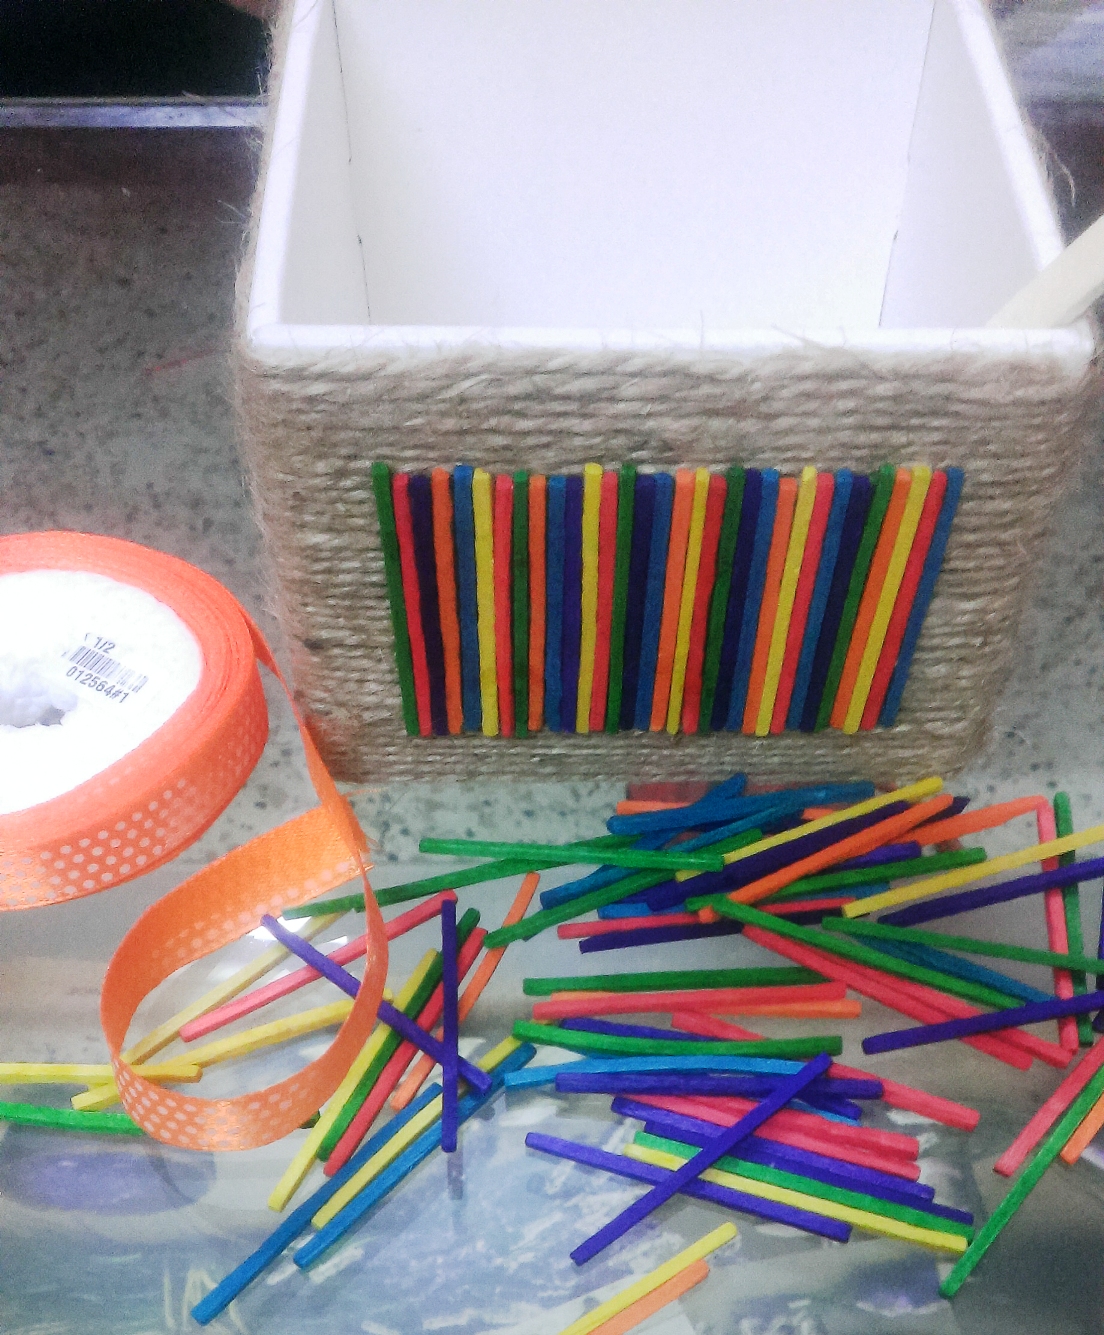
Take a square box.For making this organizer all you need is colored soft wood sticks(available in market),yarn,glue, a Popsicle stick and ribbon.

DSC_0060

Use glue to stick the yarn to the box. Cover the whole box with yarn. Set it aside for sometime to dry.

IMAG4585-2

Now its time to glue the soft wood sticks to box. Make sure you use bright colored ribbon to stick to the base.

IMAG4588-2

IMAG4586-2

Once the glue is dried.Its time to write some message onto the Popsicle stick and glue it to the front part. Once done the box is complete.

DSC_00552

DSC_0057

DSC_0050

When you create this do share your experience and the outcome 🙂 🙂
Valentine gift box

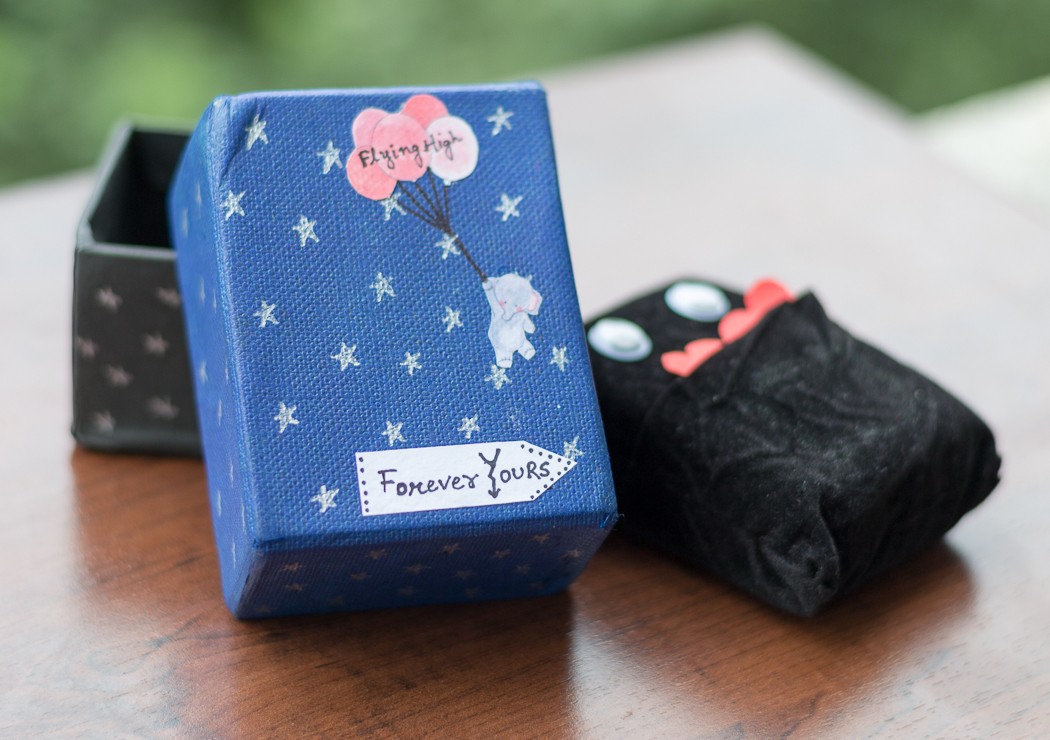
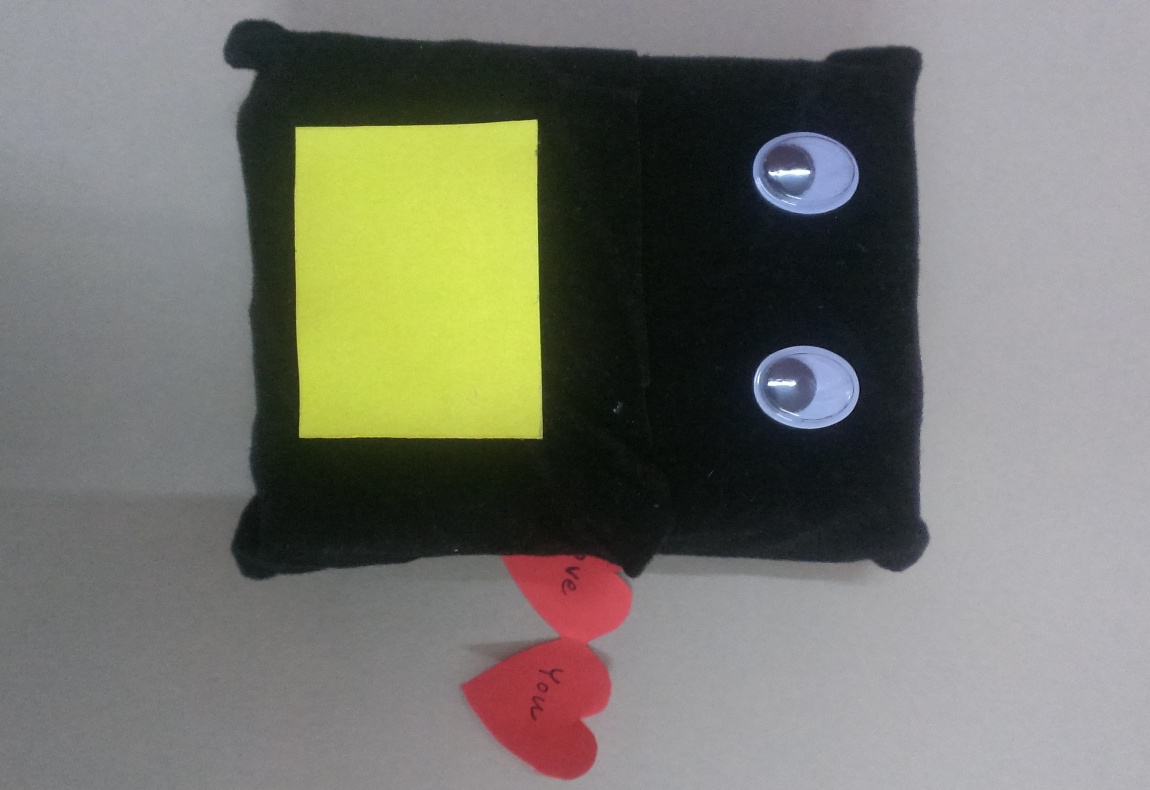
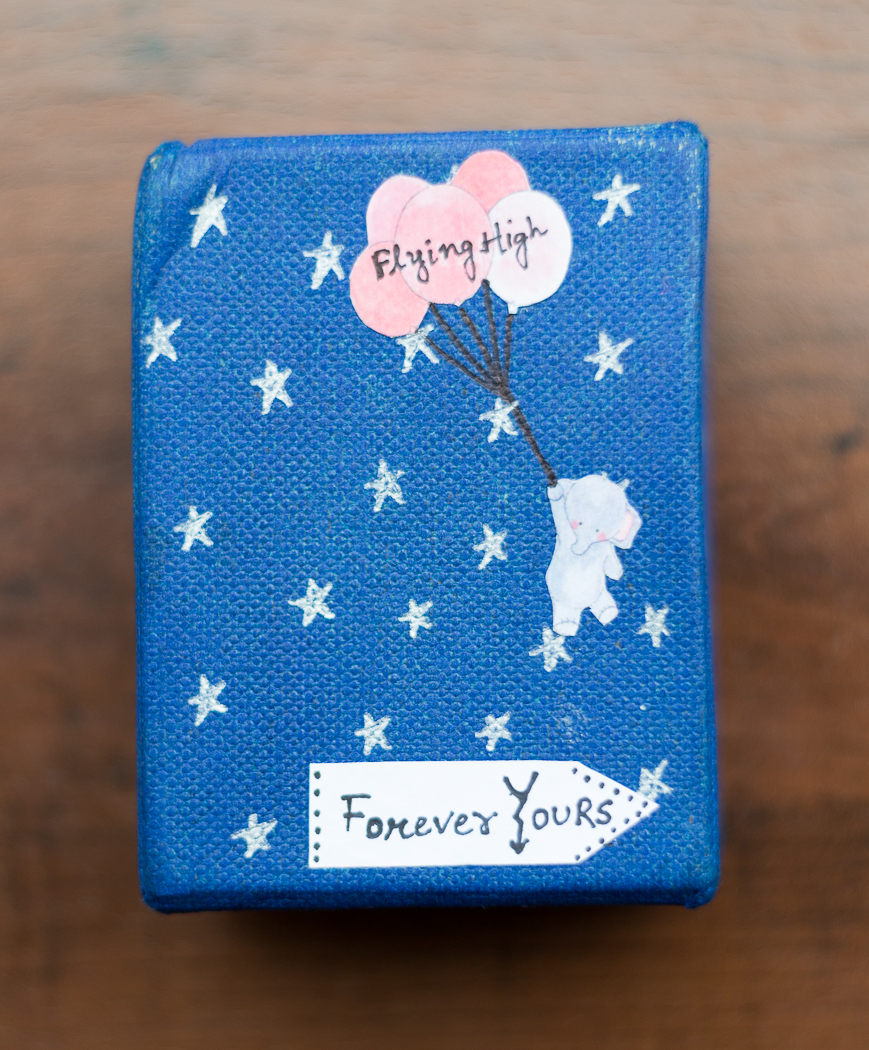
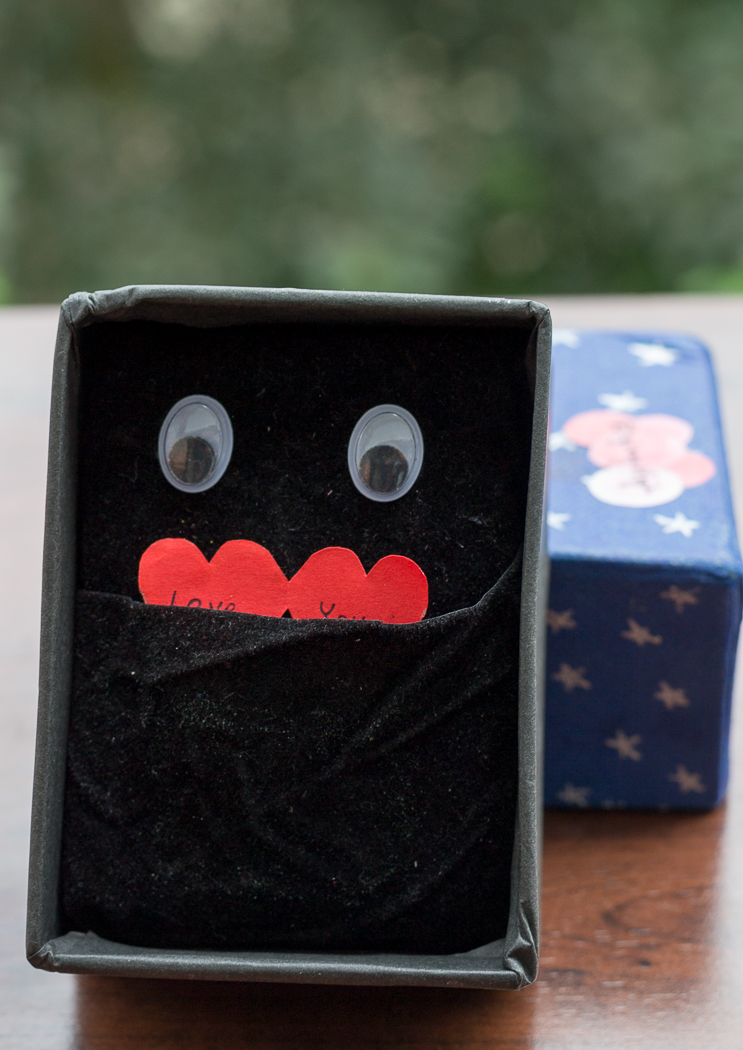
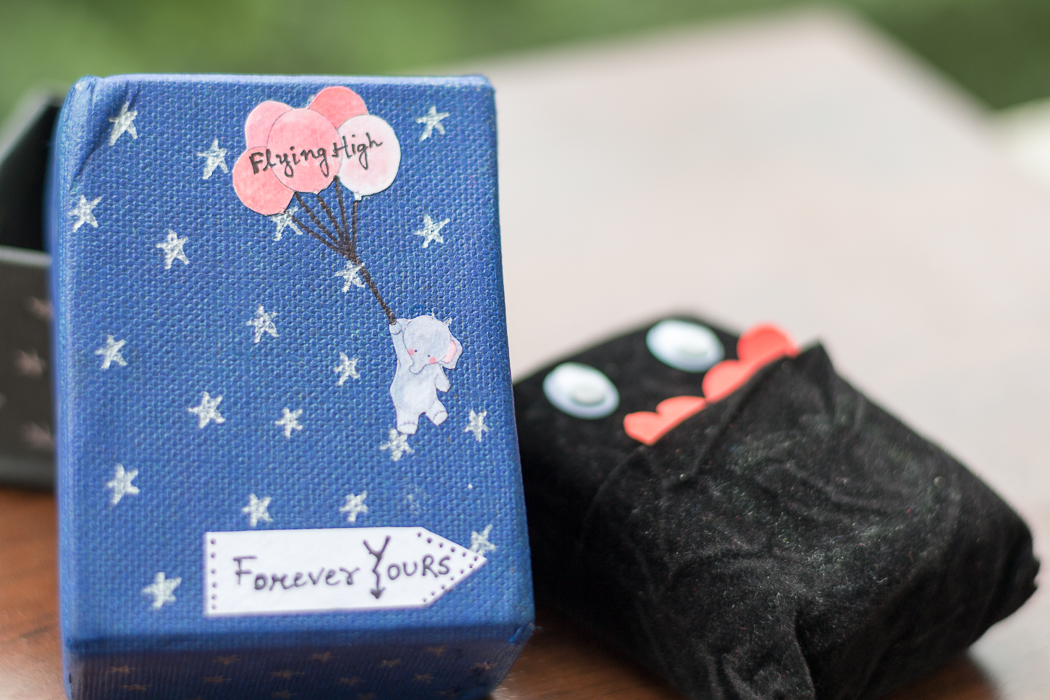
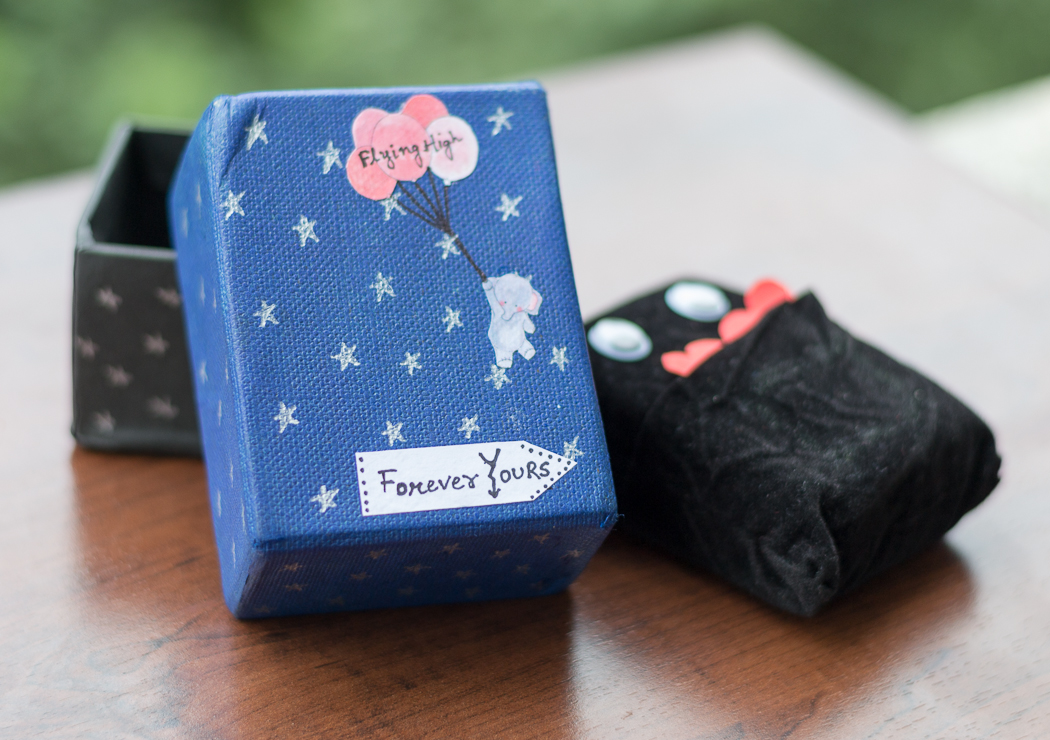
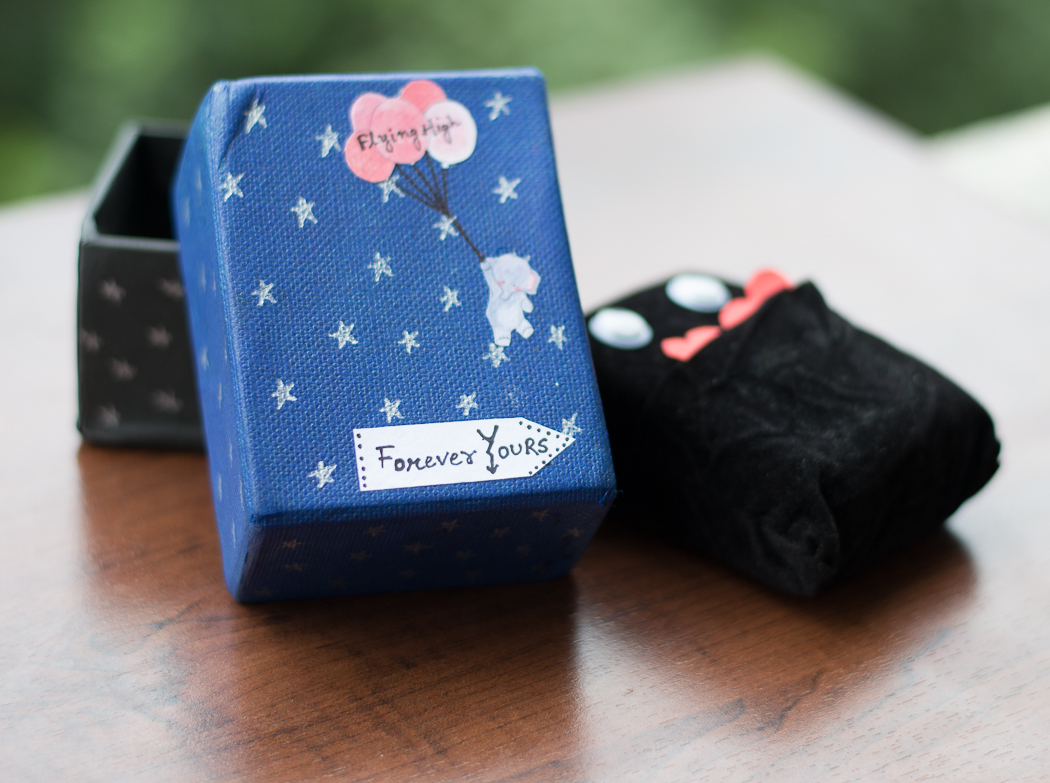
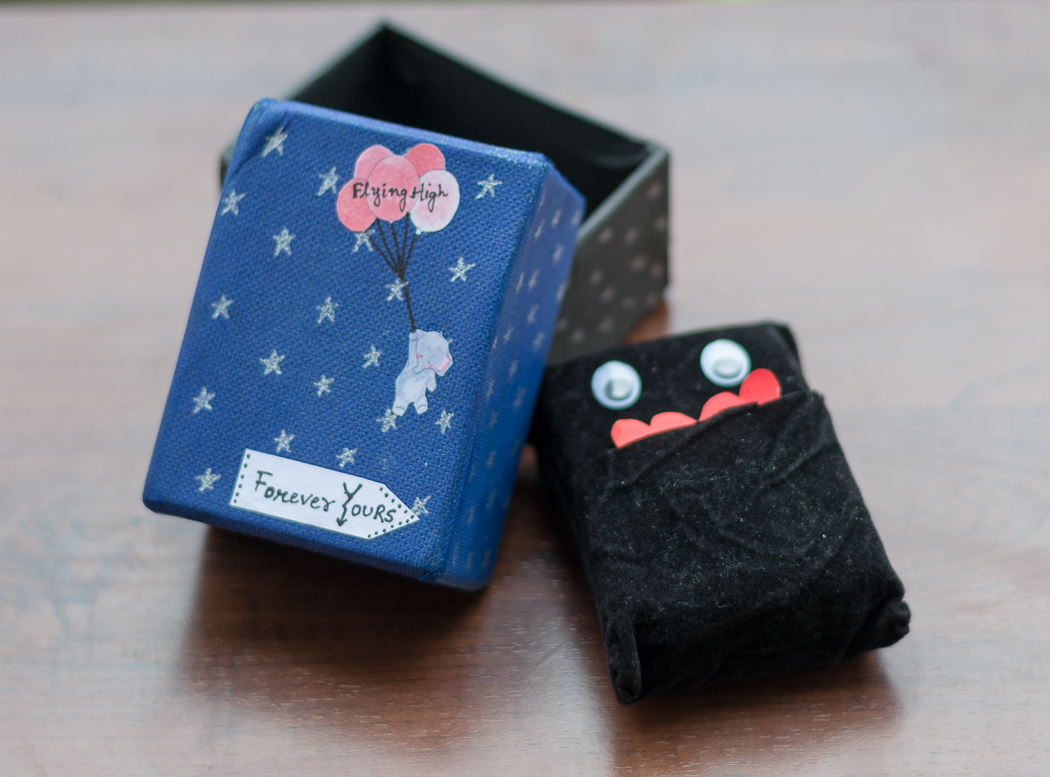
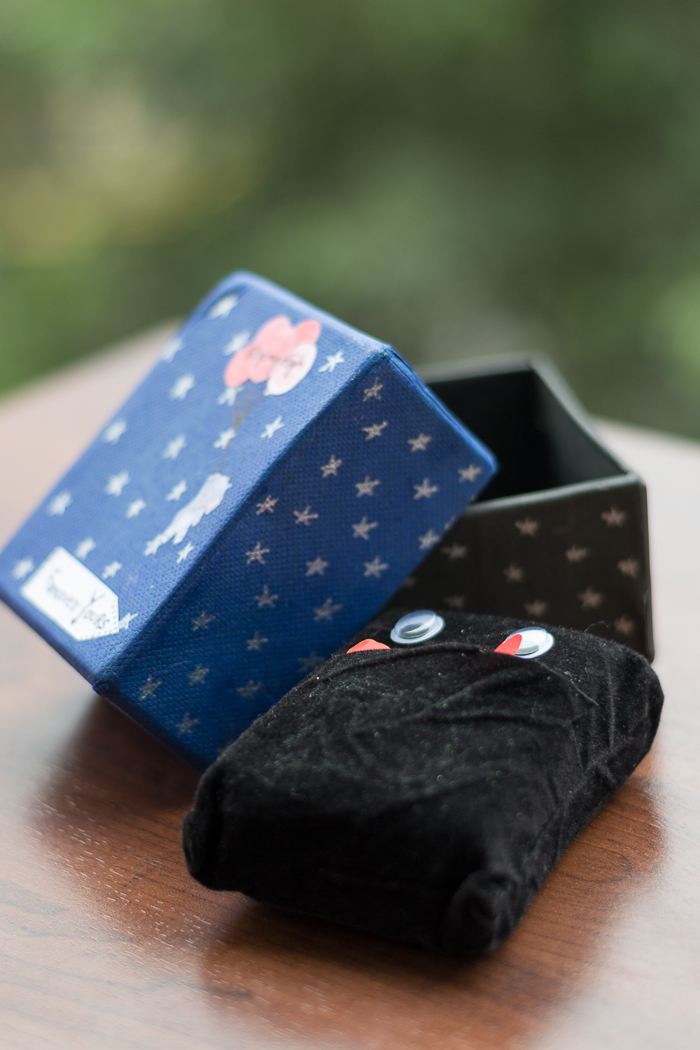
This box is made using a wrist watch box, easy to make and one of the best way to express your love.

DSC_0297

Handmade gifts are always sort after. These are not only beautiful but are priceless for those whose poses it. So here is idea to create this priceless gift at home and too by up-cycling a wrist watch box which I am sure would be lying in one of your cabinets unused.

TRY IT OUT:

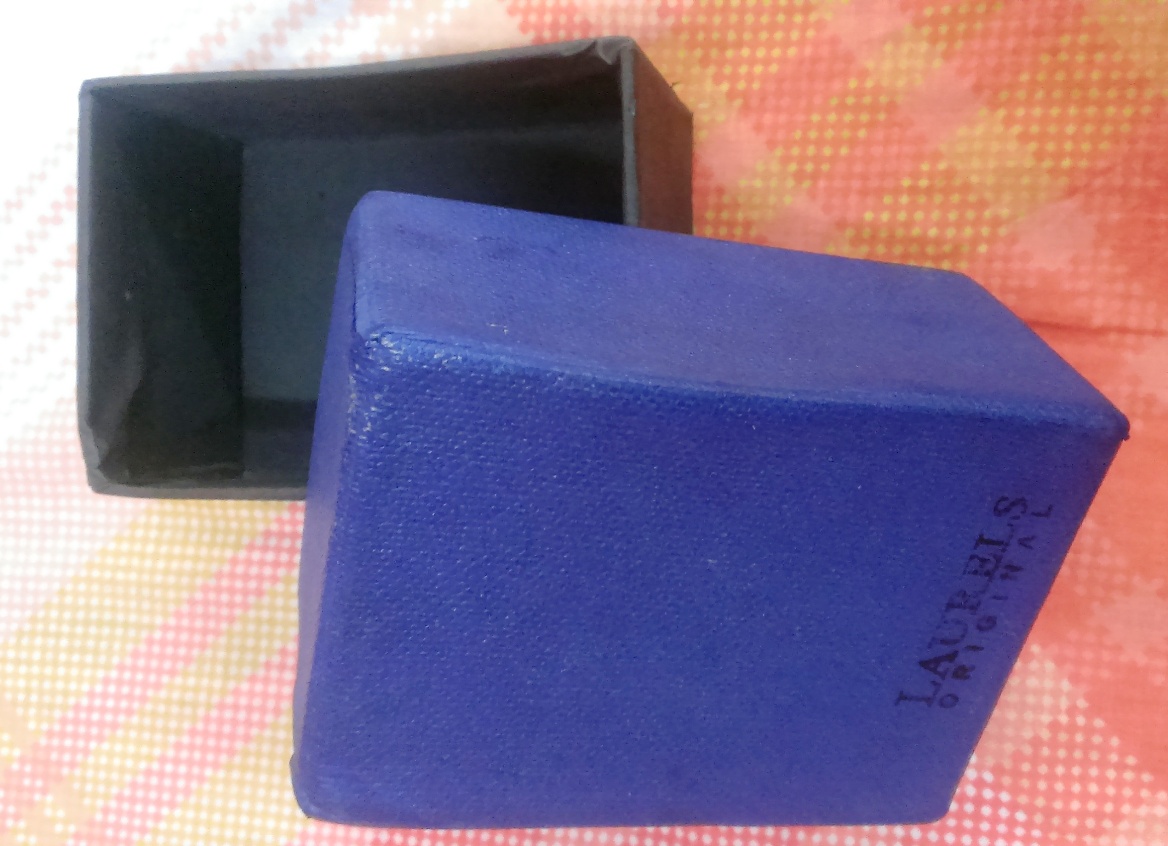
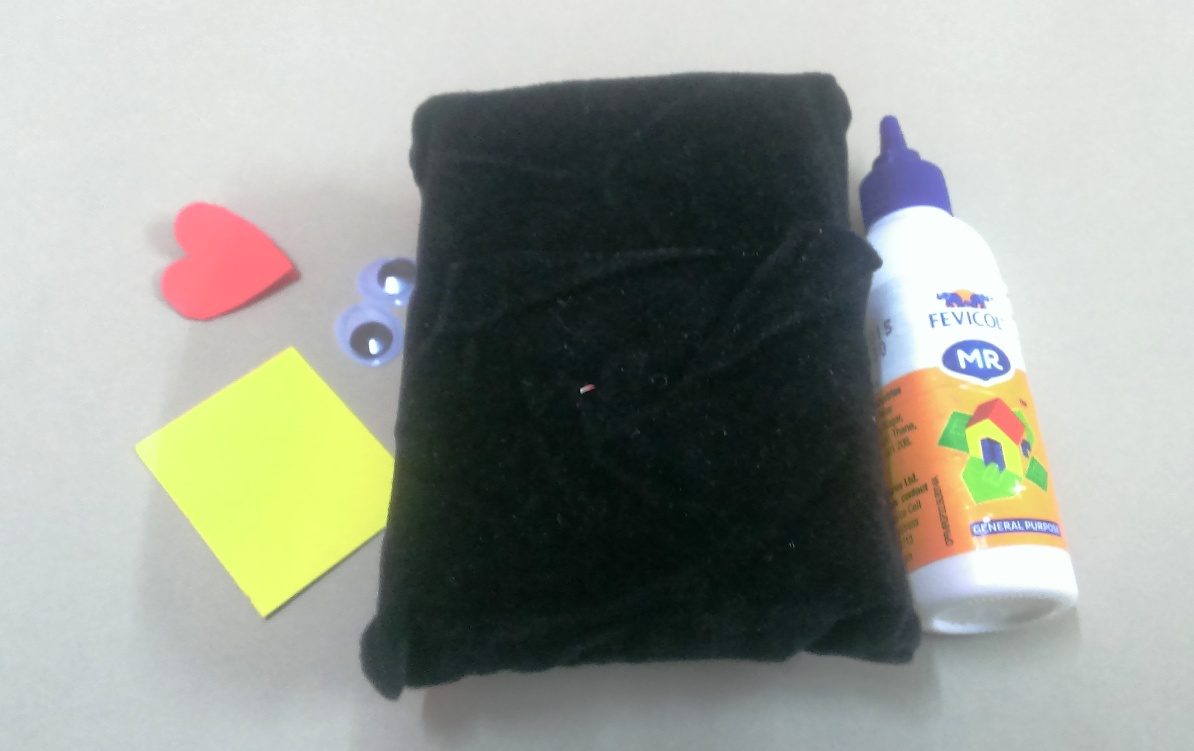
To make this all you need is an empty wrist watch box,craft paper,craft eyes,blue ink and silver pen.

DSC_0040

DSC_0038

Once you have gathered all the things, very first thing that you need to do is color the cover of the box with blue ink using a paint brush. To make the color dark and even all you have to do is put two or three coats of color.

2015-07-25 12.20.12

Now its turn to decorate the inner black foam.To give it a different look just glue the craft eyes to it. As it has a cut opening towards the top it becomes easier to place any message under it.So the whole idea here is to write a beautiful message and put it in such a way so that it pops up a bit.

2015-07-25 11.57.02

2015-07-25 12.03.07

Now its time to decorate the box on outside.Once the color is dried, just use a silver color pen to make stars all over the cover. Cut or draw a cartoon image on the cover which would help you to express your feelings seamlessly.

DSC_0280

DSC_0289

DSC_0299

DSC_0297

DSC_0296

DSC_0295-2

DSC_0293

This valentine this should be the perfect gift which you would like to make 🙂 🙂