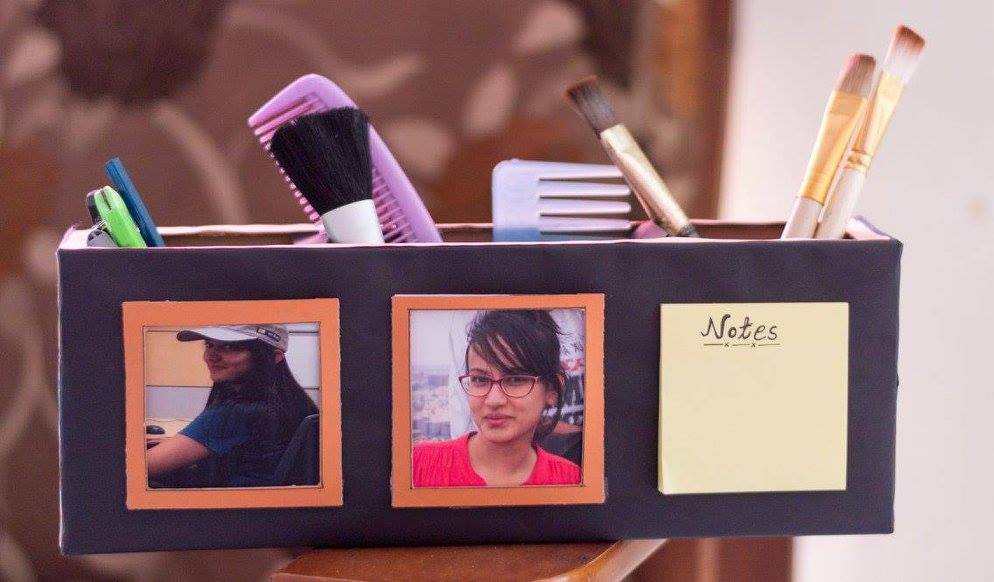
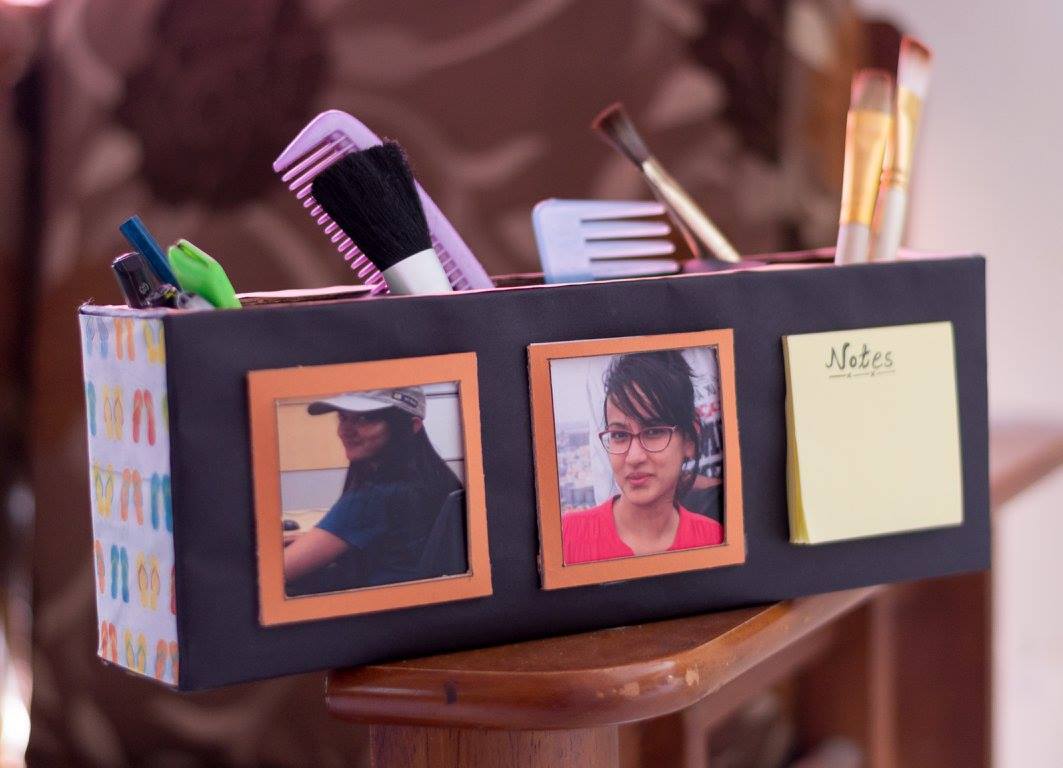
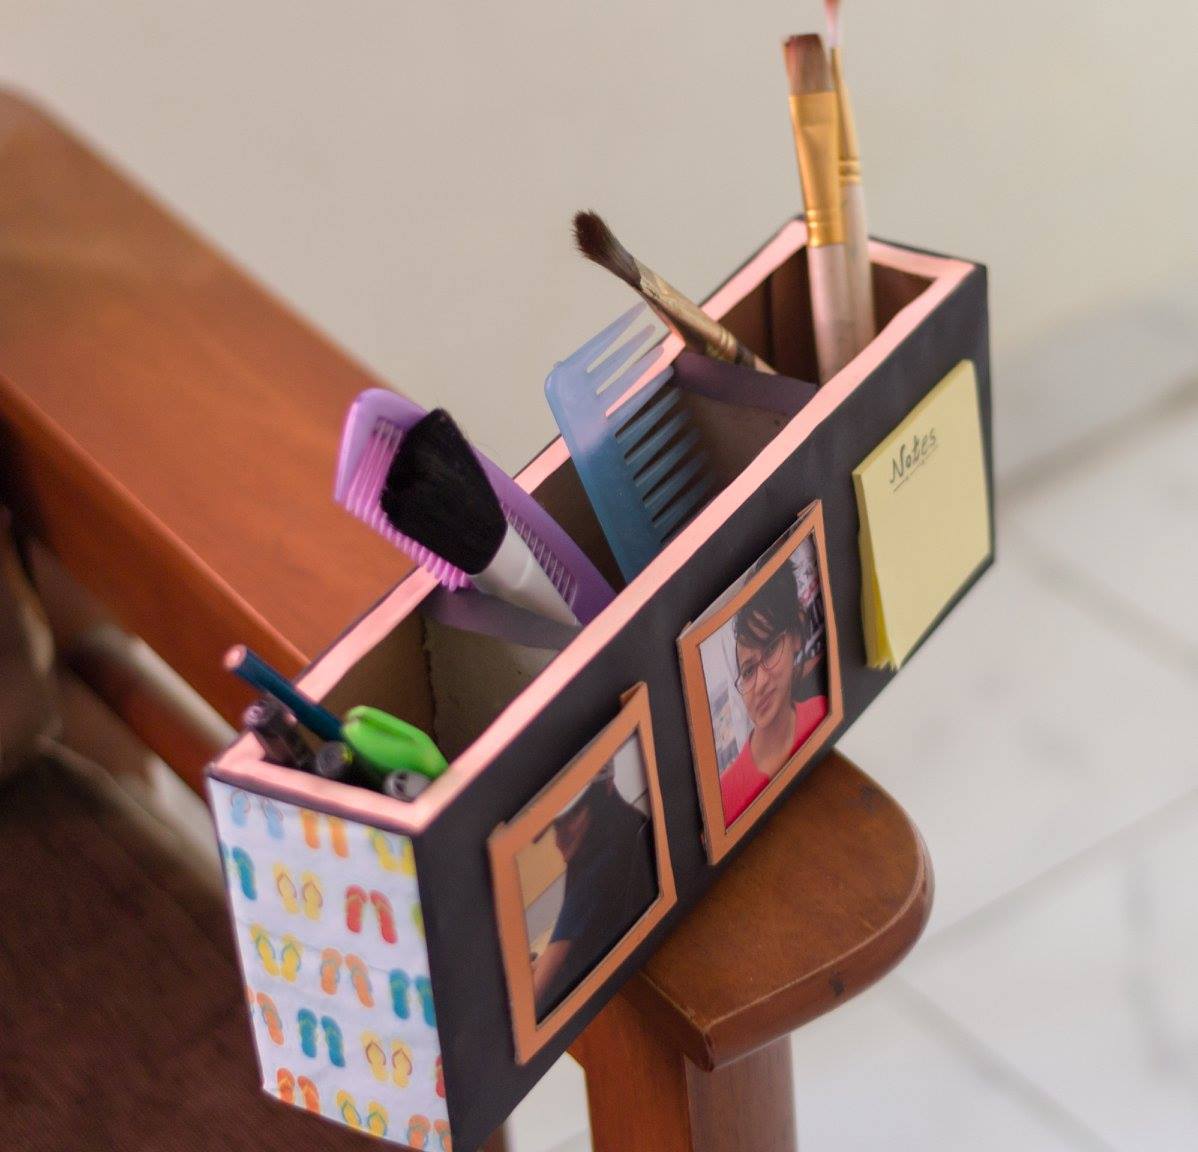
A beautiful holder box to adorn your table or wall. This box has been upcyled upright from a cardboard box. Three sections inside it, gives ample storage space.
Customized to showcase removable photos and along with it a small sticky notepad to write errands at hand.
An idea to make something useful out of waste at your home.
TRY IT OUT :
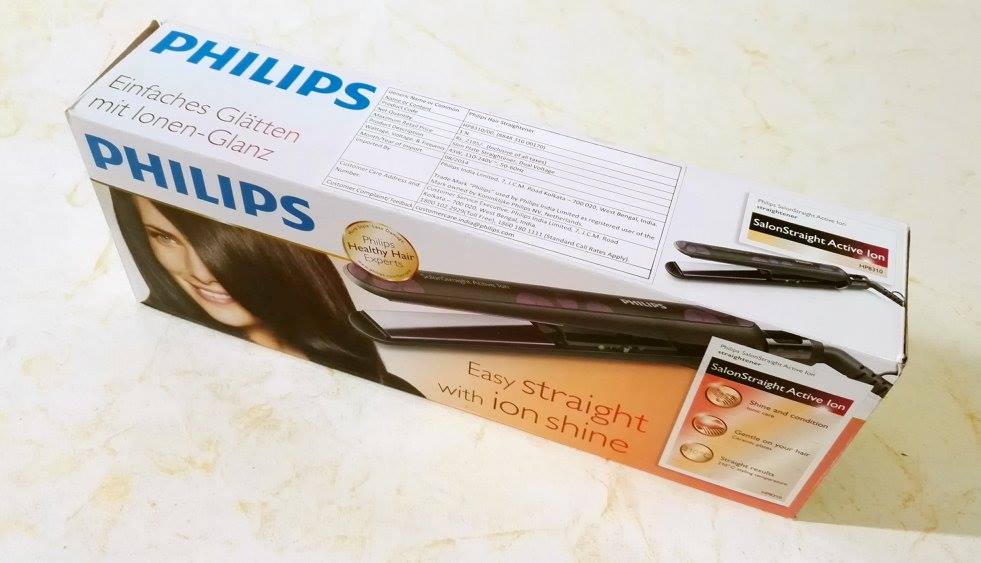
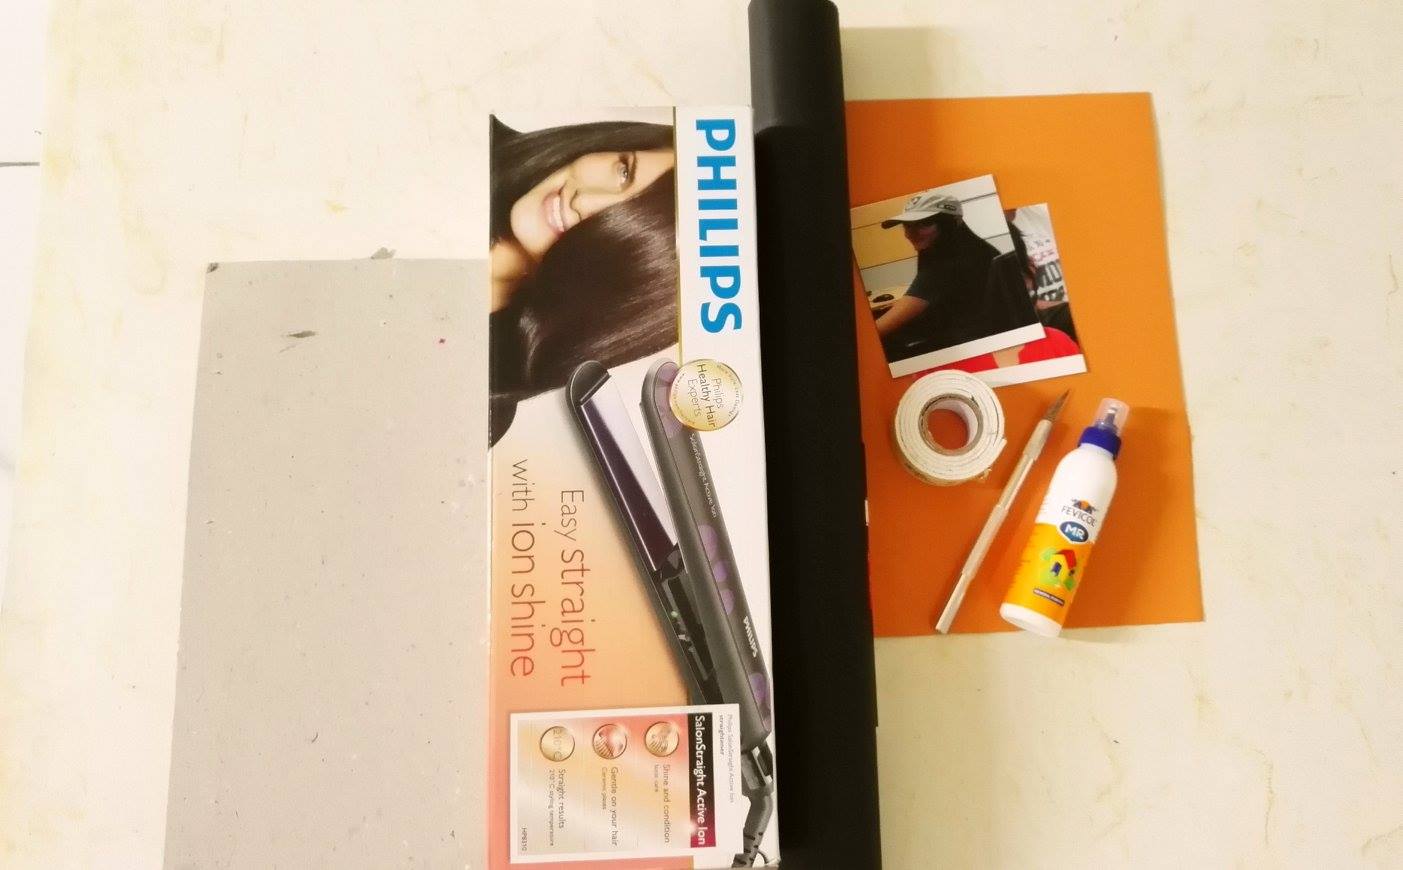
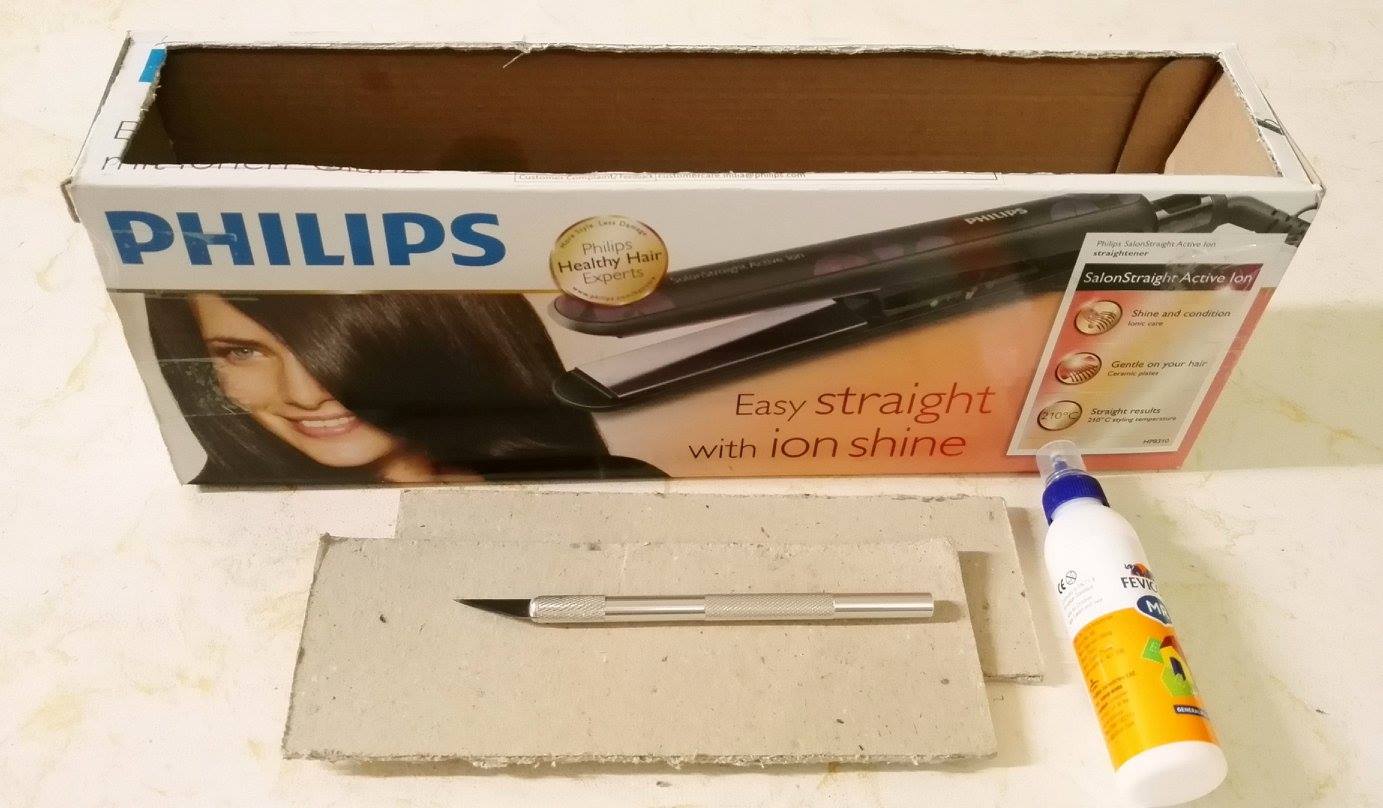
In-order to make this box all you need is a cardboard box,glue,thick cardboard sheet,scissor,photos,both-sided tape,sticky notepad,craft paper of your choice and black chart paper.
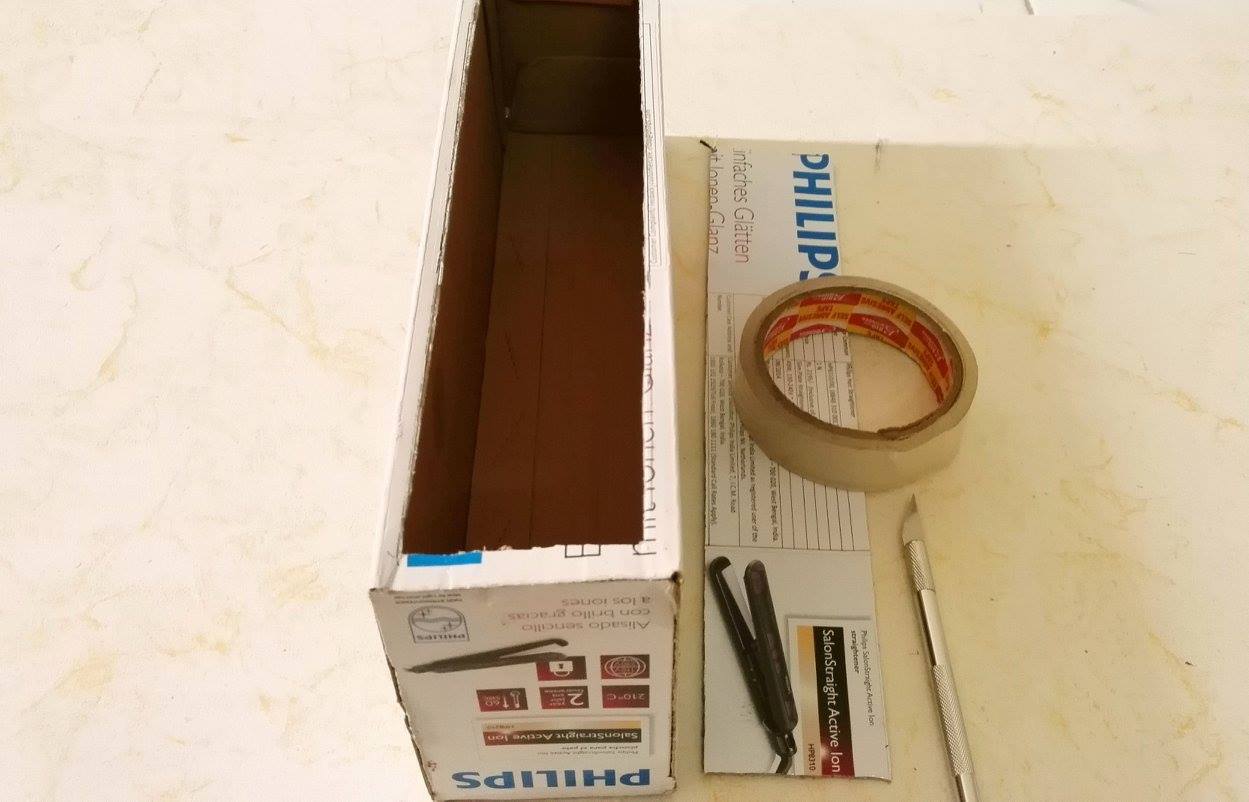
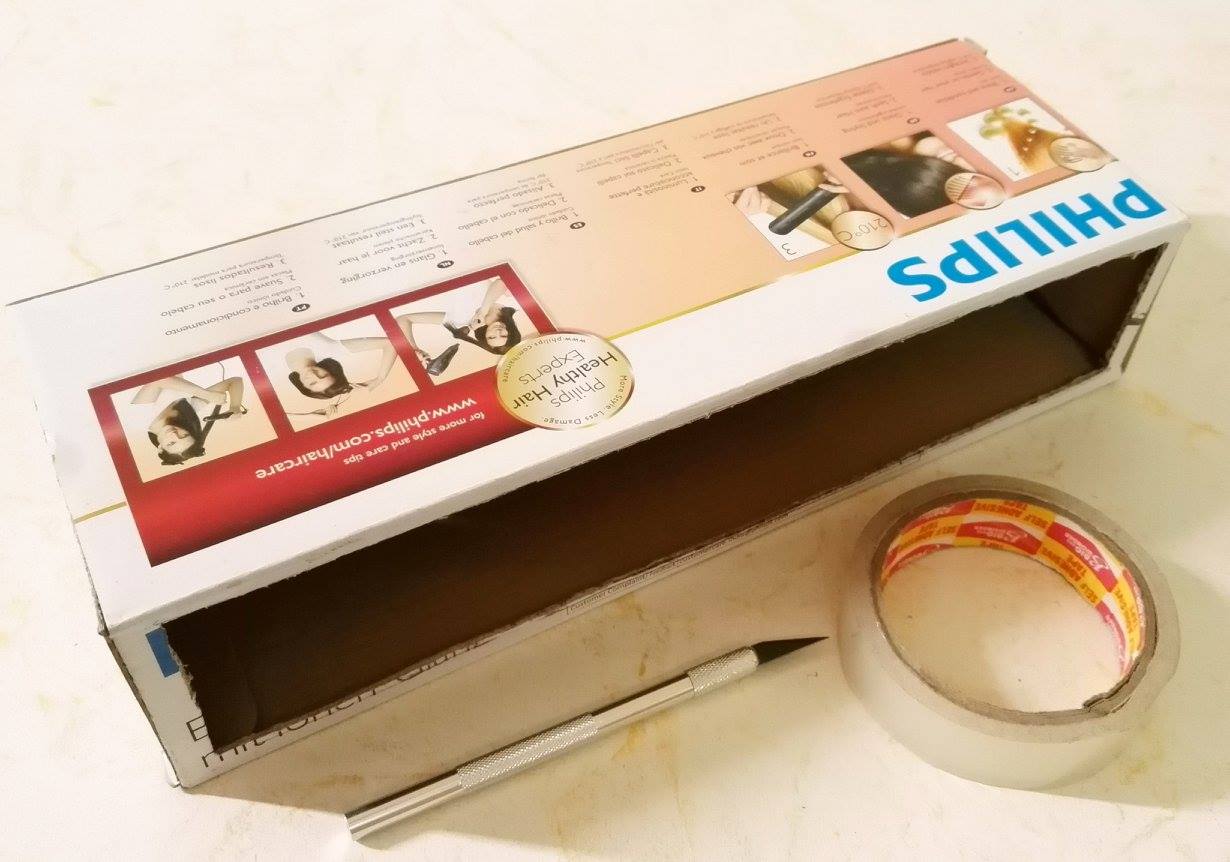
Now as you have collected the materials its time to get to work. From the top remove covers and make a cut as shown in the image.
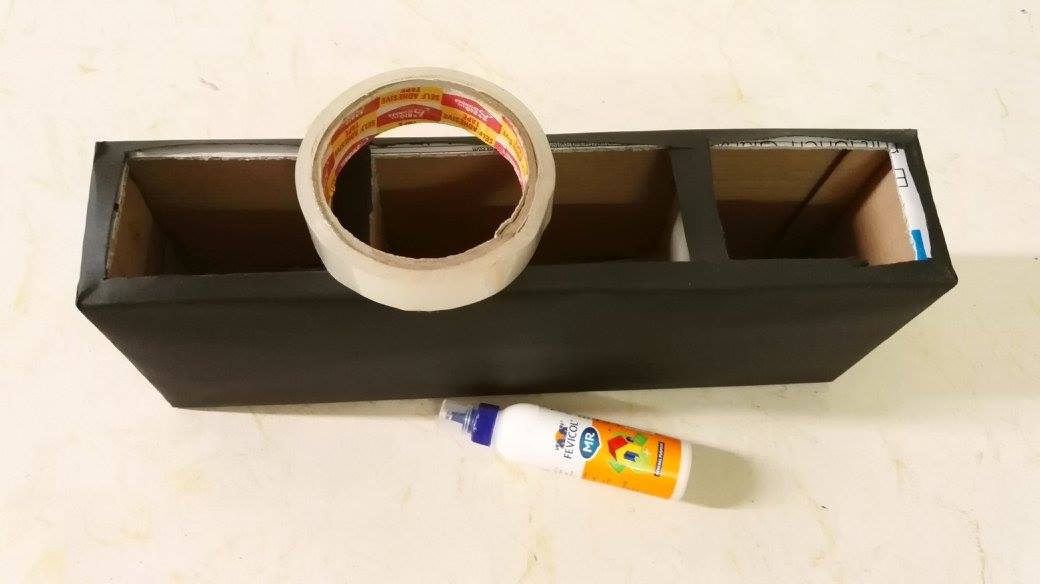
Try to cut as smoothly as possible. Once the top portion of the box has been cut its time to take small cardboard sheet equal to height of the box. This sheet will be used to make partitions in the holder.
Make a straight slit in the sheet at the center of the base of the sheet as shown, fold the sheet along the slit. This will help you to attach the cardboard sheet firmly to the base of the holder.
Glue the sheet with fevicol.
Once the base model is ready its time to make removable photo holder for the box.
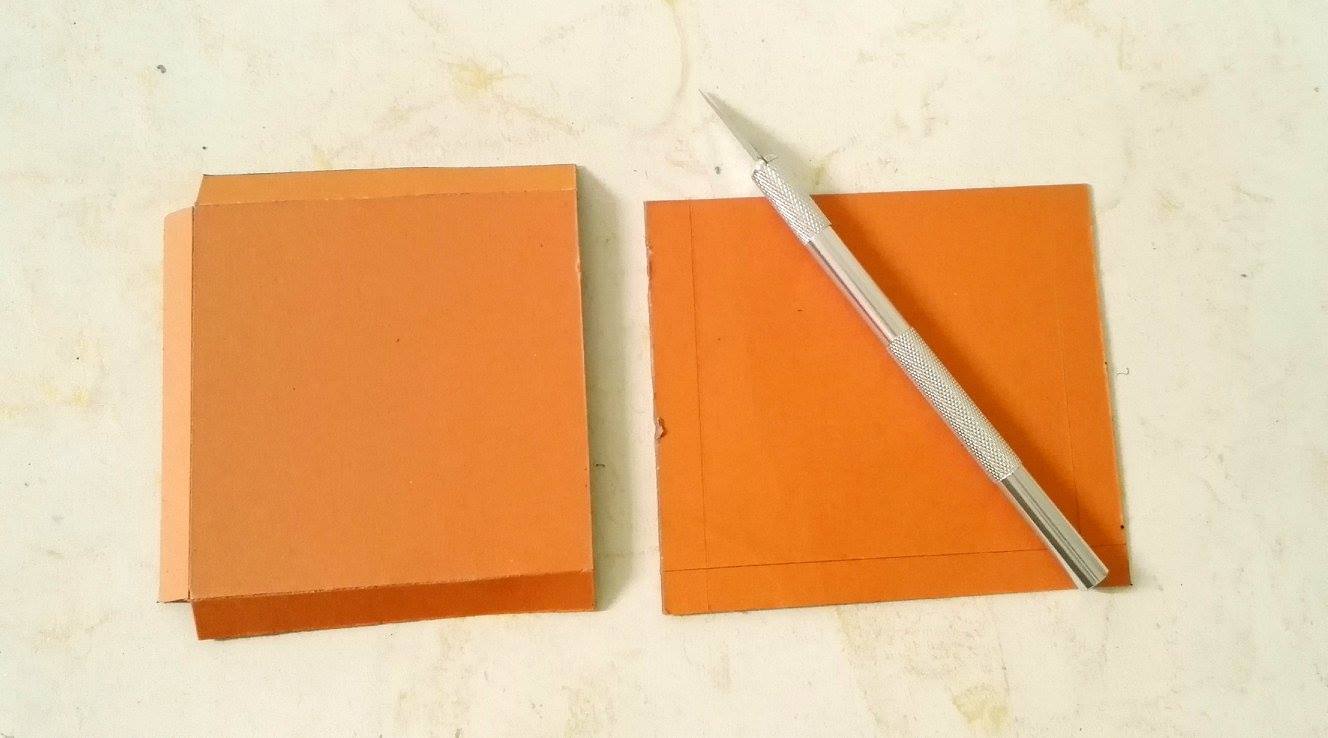
Take two sheets as shown and cut it into square size(measure the size according to your box).
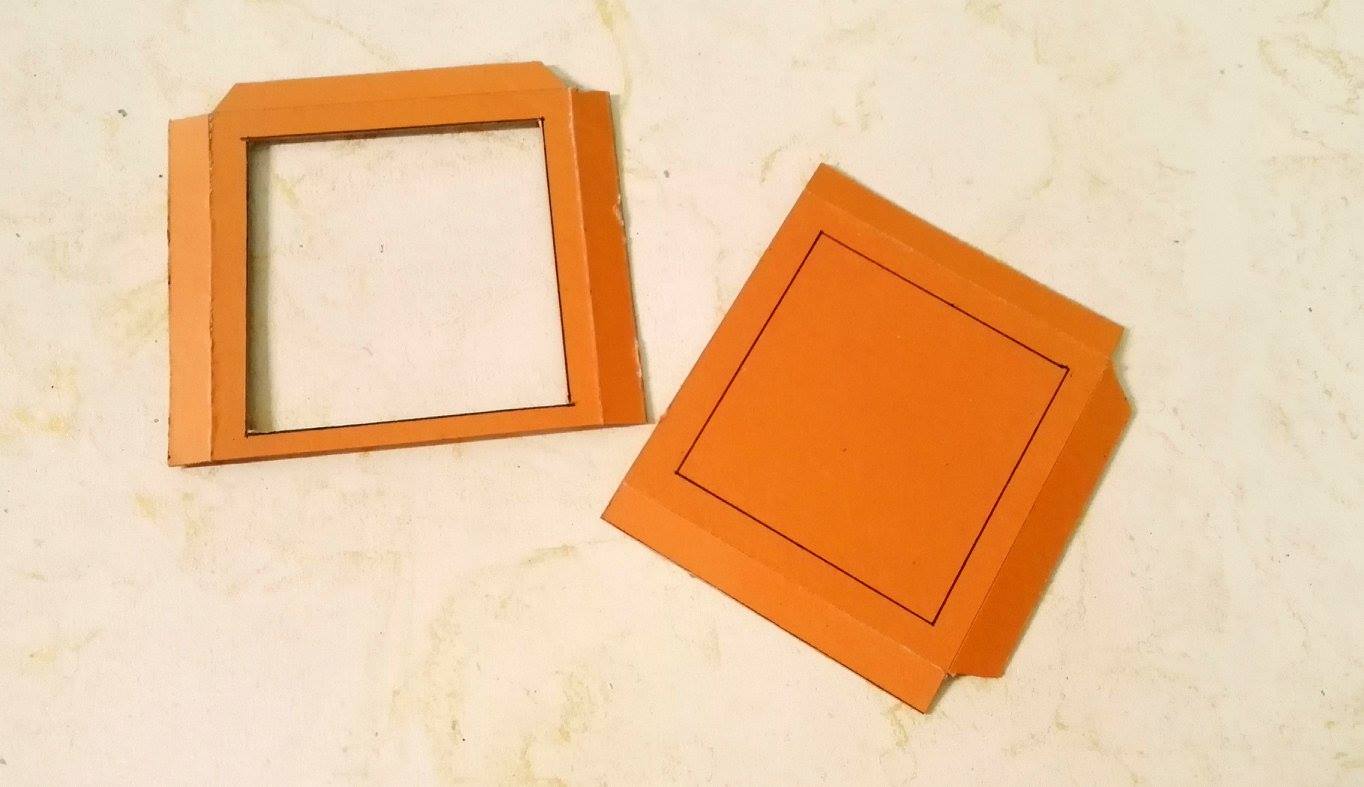
Mark 1 cm border on each side. Cut and fold the sheet at the edge as shown in the above image.
Again make a cut 1 cm away from the edge of the sheet. Your sheets should look exactly as above.
Once its complete use black chart paper to cover the box.
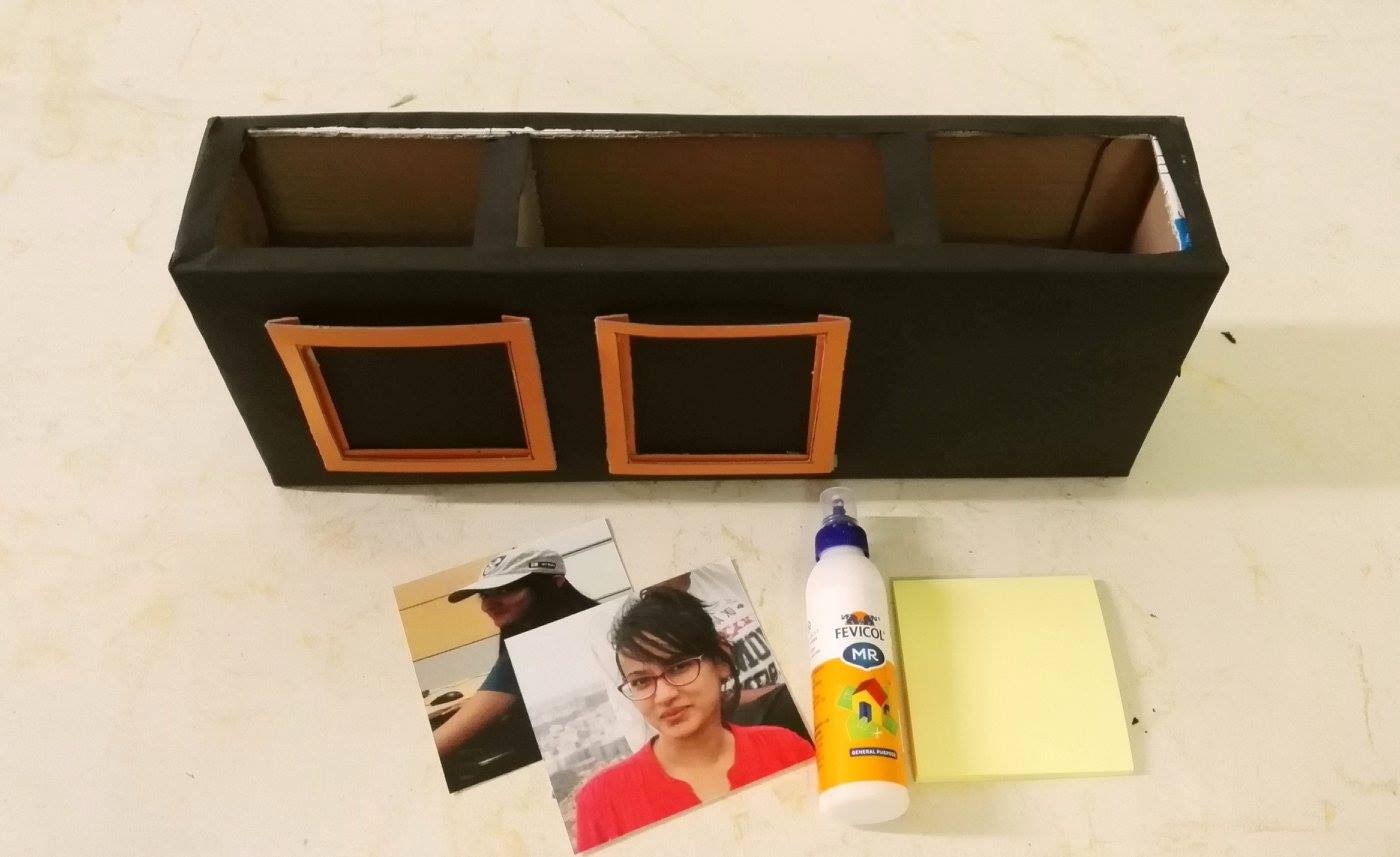
Once done. Its time to glue the photo holder sheets to the front portion of the box.
Cut photos into sizes that will exactly fit into the holder. Glue the sticky notepad and TADA….you are ready with your holder box 🙂
Use craft paper to decorate it…Just try it out with any box that you have at home….and enjoy the fun making it 🙂 🙂
